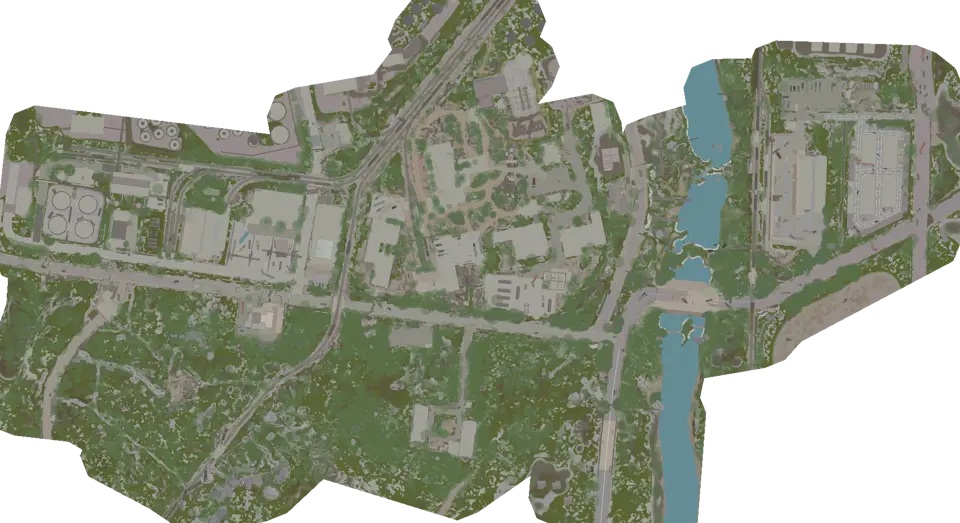
Reserve Map: Bunkers, D-2 and Exits | Escape from Tarkov
Set the point where you will abandon the underground route before descending. Track each control, connector, and extraction as a separate raid check.
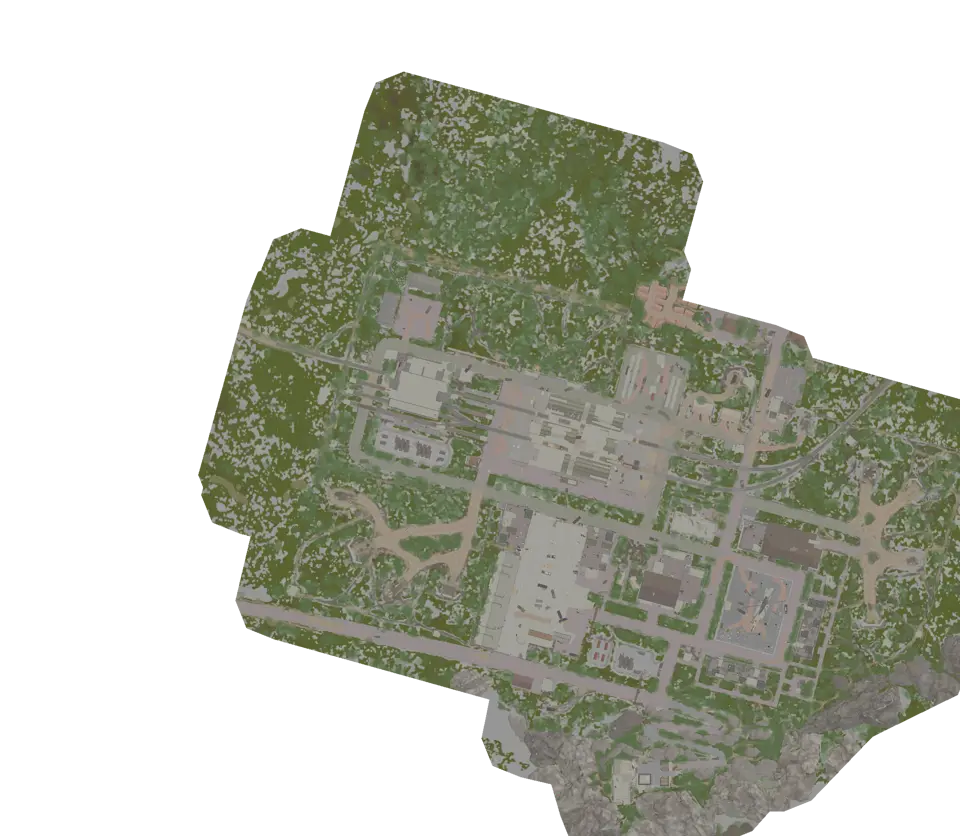
Layers this guide uses


Reserve has 1,110 markers in 3 views. Choose the point where you will abandon the underground plan before you descend. The route to D-2 includes separate locations and a live-state check, so the final icon cannot serve as the whole plan.
Set the surface fallback
Open extractions, controls, and connectors together. Match a surface exit to the in-game list and identify the entrance used for the underground route. The fallback needs a landmark on Surface and enough separation from the bunker entrance to remain useful.
Write the abandonment rule in plain terms: if the next connector cannot be confirmed, if a required state does not match, or if the return margin has been spent, go back to the surface branch. This is a route decision, not a prediction about what will happen in the raid.
Keep the planning view on the surface until you can identify the bunker entrance from outside. A pin below your position does not tell you which stair or building provides access.
Track the two bunker views separately
Deep bunker and Hermetic bunker represent different underground layouts. After descending, select the view that contains the arrival connector and compare the first corridor. Do not jump to the floor of the final marker before locating the route between them.
For each connector, note the departure room and arrival room. If the map and corridor disagree, return to that connection. Moving through several similar underground spaces removes the exterior references that would otherwise correct the mistake.
Loot is secondary to the connector sequence. Add Loot containers or Loose loot for one underground segment, then clear it before the next floor change. Their markers do not guarantee current contents.
Build the D-2 check as a list
The extraction plan needs the relevant Raid controls, the route from that point, the underground connectors, and the final marker. Open each detail separately. The map records fixed locations, but it cannot report whether someone has already used a control or whether the extraction is currently ready.
Mark the last connector where the surface fallback is still reachable. Beyond that point, reassess the raid state and remaining route. If a required step cannot be confirmed, use the rule set before descending instead of improvising beside the extraction.
Keep locked rooms off the extraction chain
View keyed doors with their neighboring connectors. An entry in Keyed doors may sit near the underground route without being part of D-2. Search the exact room and count its return as a detour.
Before entering, check whether the room is a dead end and where you rejoin the bunker sequence. Hide the door layer after the stop. This keeps optional access from looking like a required extraction waypoint.
Return to the surface with the edge hazards visible
If the underground plan ends, choose the connector that returns to the known exterior landmark. Reopen Surface before leaving the stairwell and confirm two outside features.
Compare transit and extraction markers on the surface. Transit points has a different purpose from an assigned exit. Keep Minefields and Sniper zones visible when the fallback approaches the boundary.
The map does not replace the current raid list. Check the chosen exit again after returning above ground, especially if the underground route consumed more of the raid than planned.
Questions about the bunker route
When should I abandon D-2?
Use the rule chosen before descending. If a connector, required state, or safe return cannot be confirmed while there is still a surface option, take the fallback rather than carrying uncertainty into the final bunker section.
Why does the underground marker look close from the surface?
The views overlap vertically. Reach a documented entrance, switch to the arrival bunker view, and follow connectors between underground layouts. Screen distance does not show that access route.
Maps in this guide
More Escape from Tarkov guides
All Extraction Points and Exits | Escape from Tarkov Map
The raid list decides which exits matter. Match those names to the map, read each marker, and choose a fallback before moving toward the final sector.Read the guidePMC Starts, Boss Areas and AI Zones | Escape from Tarkov Map
Read spawn layers before the first route choice, then clear them. Reopen boss or AI areas only when planning a specific approach on the correct floor.Read the guideKeys, Locked Doors and Map Controls | Escape from Tarkov
Search the exact door before routing to it. Check the threshold, the return path, and any separate control point without assuming its live state.Read the guideLoot Containers and Loose Loot Routes | Escape from Tarkov
Choose a compact cluster beside the extraction route. Treat containers as known stops and loose-loot markers as possible locations rather than promised items.Read the guideTransit Routes Between Maps | Escape from Tarkov Guide
Treat every transit as a directed leg to a named location, then rebuild the next route under the new map and raid conditions.Read the guide