Transit Routes Between Maps | Escape from Tarkov Guide
Treat every transit as a directed leg to a named location, then rebuild the next route under the new map and raid conditions.
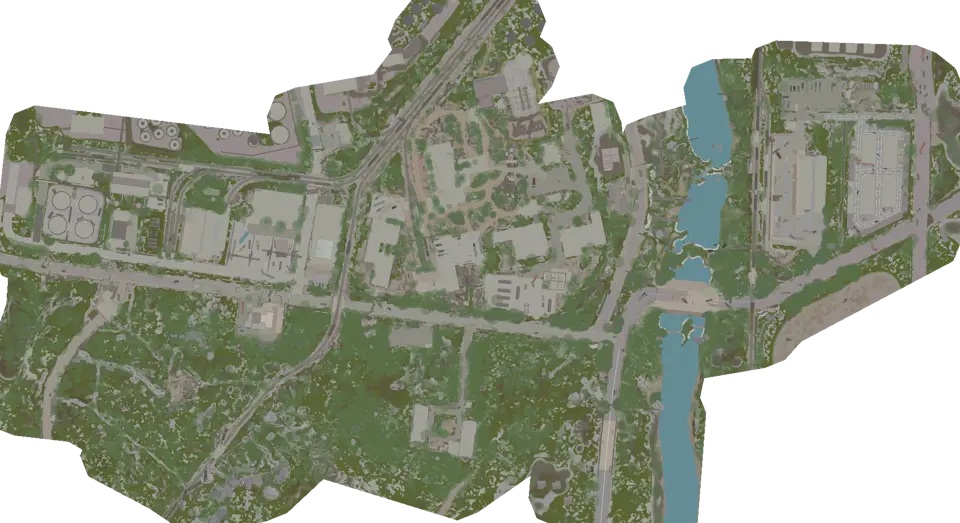
Choose a transit only when it advances a specific task or destination. Plan the next leg, its access point, and a fallback extraction; rebuild the route after the new location loads. Escape from Tarkov has 29 Transit points on 10 maps, but a longer chain is not automatically a better raid.
On Customs, compare a named transit with a raid-ending extraction. Read the destination in full and check the assigned view. Availability, group state, timer, access, and any other live requirement still need confirmation in the raid.
Worked handoff: Customs to Reserve
On Customs, search Transit to Reserve and keep the ordinary extraction layer beside it long enough to confirm the marker type. Before entering the point, note the named destination and any condition in its detail card.
After the transfer, open Reserve as a new route-planning problem. Choose an extraction assigned by the new raid information, re-establish orientation on the Surface, and do not assume that Transit to Customs is active, assigned or reached from the same side.
Read destination and category before moving
Do not choose the nearest boundary icon. Select the marker and read the complete destination name. Similar-looking points near a road, tunnel, gate, or map edge may belong to different categories. An extraction answers “where can this raid end?” A transit answers “where does this named onward route lead?”
Use this identification sequence:
- open the current raid location;
- leave Transit points and Extraction points visible;
- search the full destination name;
- select one transit result;
- confirm its view, approach, and listed conditions;
- keep the extraction list from the game as a separate reference.
A marker named for a destination is directional. If Map A has a route to Map B, do not infer a Map B route back to A. The reverse movement needs its own separate marker and may have a different approach or may not exist.
Build a chain as individual legs
A multi-map plan should not be one continuous line drawn across several images. Each leg belongs to one map and ends at a named transit. After the transition, open the new location and rebuild the route using its view, hazards, access, timer, and current choices.
For every leg, record five things: starting location, destination, correct floor or view, one recognizable approach landmark, and a fallback decision. The fallback might be another route, an extraction assigned by the game, or abandoning the chain when time, health, access, or combat makes the next move unreasonable.
Only prepare the next leg in detail. A long chain planned before loading in can become obsolete after the first fight, delayed objective, failed control, or changed inventory. Keeping one following destination in mind is useful; treating the whole chain as guaranteed is not.
Keep transit and extraction states separate
Transit and extraction markers may sit close together, but their names and conditions cannot be exchanged. Do not interpret an available extraction as proof that the transit beside it works. Likewise, reaching a transit does not mean every extraction condition has been fulfilled.
Open both categories on Shoreline and select individual markers rather than judging by position. If the immediate goal is to end the raid, use the extraction names assigned in game. If the goal is to continue toward another named location, select the corresponding transit and follow the game’s transit flow.
When playing with a team, everyone should agree on the route type before approaching the boundary. “We are leaving here” is ambiguous. State the destination name and whether the point is a transit or an extraction so that one player does not wait at a different interaction.
Check the floor and actual approach
Factory, Ground Zero, and The Lab include multi-level approaches where a point can appear close while belonging to another view. Select the marker, switch to its assigned floor, and add a mapped floor connection. Follow the last corridor from that connection rather than trying to move along a straight screen line.
On maps with broad Surface routes, boundary geometry still matters. Roads, walls, water, Minefields, Sniper zones, and restricted passages can turn a short-looking approach into a longer one. Keep the relevant hazards visible, especially when the final leg follows an outer boundary.
On Streets of Tarkov, open the view assigned to the transit marker you selected. Divide the approach by block and passage there instead of searching for another floor. On any location, follow the marker’s assigned view even if another level looks visually closer.
Verify live requirements at the interaction
The map cannot read the current timer, group state, character restrictions, control state, or another player’s actions. Before committing to the final corridor, review the marker details and inspect the game’s prompts. If an interaction fails, do not assume the map position is wrong. Recheck the selected category, destination, floor, prerequisites, and current raid restrictions.
Allow time to leave the approach if the transit cannot be used. A route that reaches the boundary with no fallback is fragile. Keep enough distance and time to return to a junction, choose an assigned extraction, or use another known option when available.
Maps without an outbound transit layer
Icebreaker, Terminal, and The Labyrinth show no outbound points under Transit points. Another map may still name one of them as a destination. A one-way arrival does not create a return route, so reopen the destination and use only the travel types actually shown there.
This distinction prevents two common mistakes: searching indefinitely for a hidden transit layer and assuming the arrival point must match the departure point on the previous map. After arrival, use only the routes visibly available at that location; a return path may begin elsewhere or may not exist.
Use transits for a goal, not just a longer route
A connected run should have a reason: reach a named location, continue a task sequence, or carry the current state toward a planned destination. More legs do not automatically make the route better. Every transition adds another approach to learn and another live condition to verify.
Before choosing the next map, compare remaining time, health, supplies, inventory purpose, and the ability to identify the next location. If those no longer support the original objective, use an appropriate exit path rather than continuing only because the chain was planned.
Transit questions
Does using a transit have the same result as extracting?
Do not treat them as equivalent. They use separate categories and names. Follow the current game’s prompt and route rules for the selected point.
Is every transit available in both directions?
No. Each direction requires its own marker on the departure map. Never infer a return route from a destination name alone.
Why can’t I reach a marker that looks nearby?
Check its assigned floor, walls, boundary hazards, and last mapped connection. A short screen distance may hide a vertical move or blocked approach.
When should I open the next map?
Open it after the destination location begins. Recheck that map’s current view, conditions, hazards, and available route rather than continuing the old line.
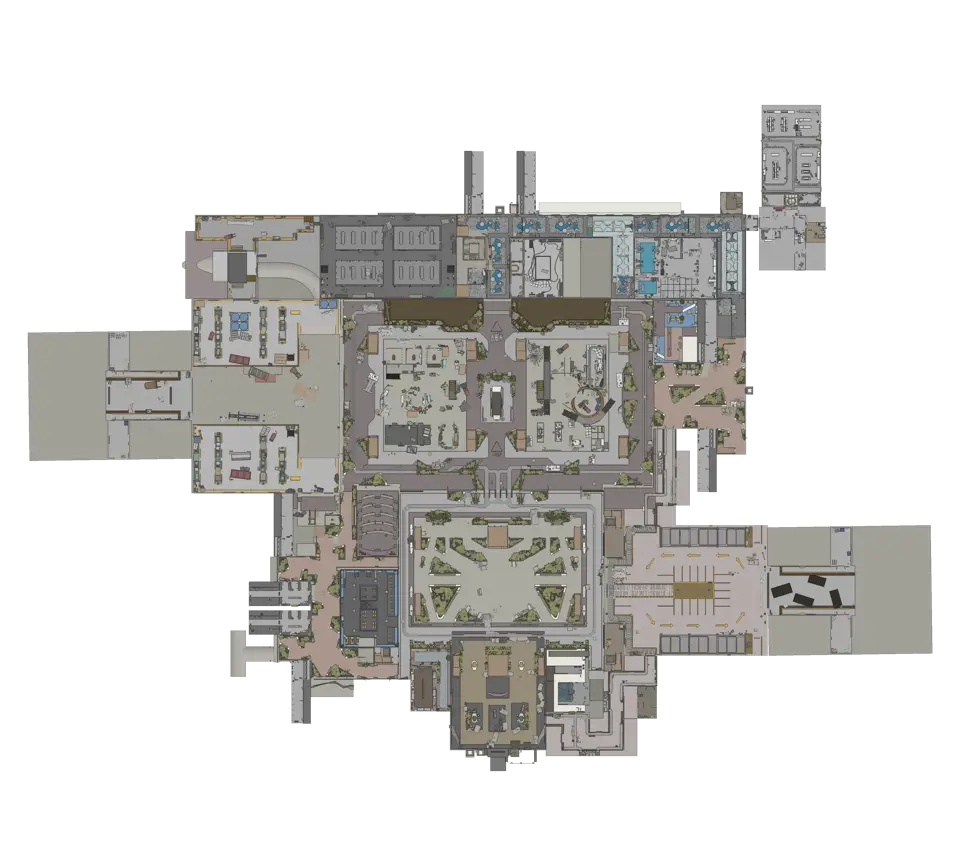
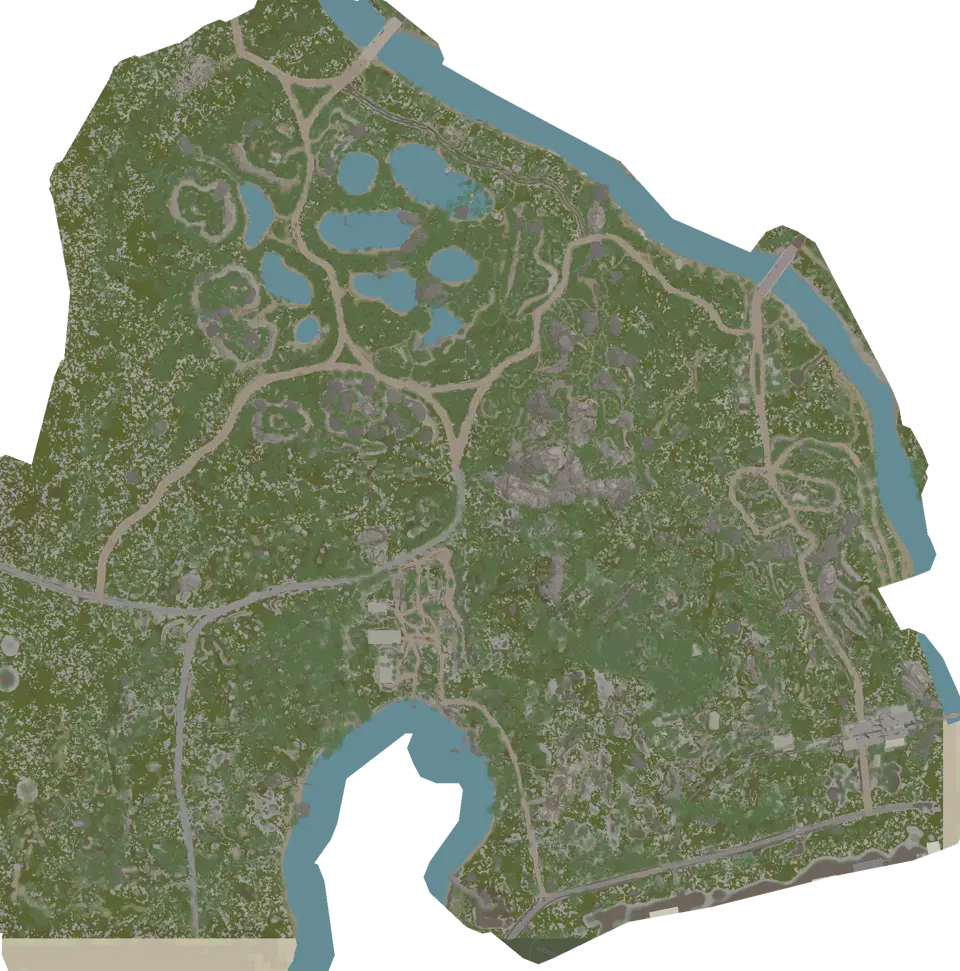
Maps in this guide
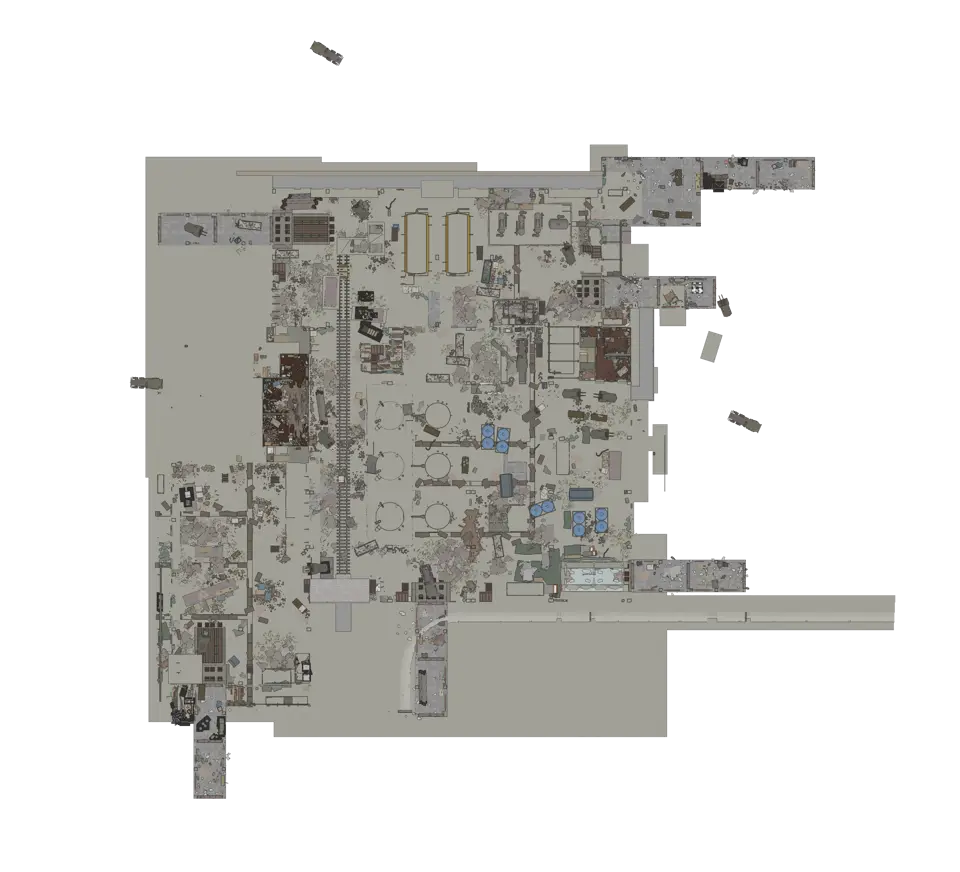
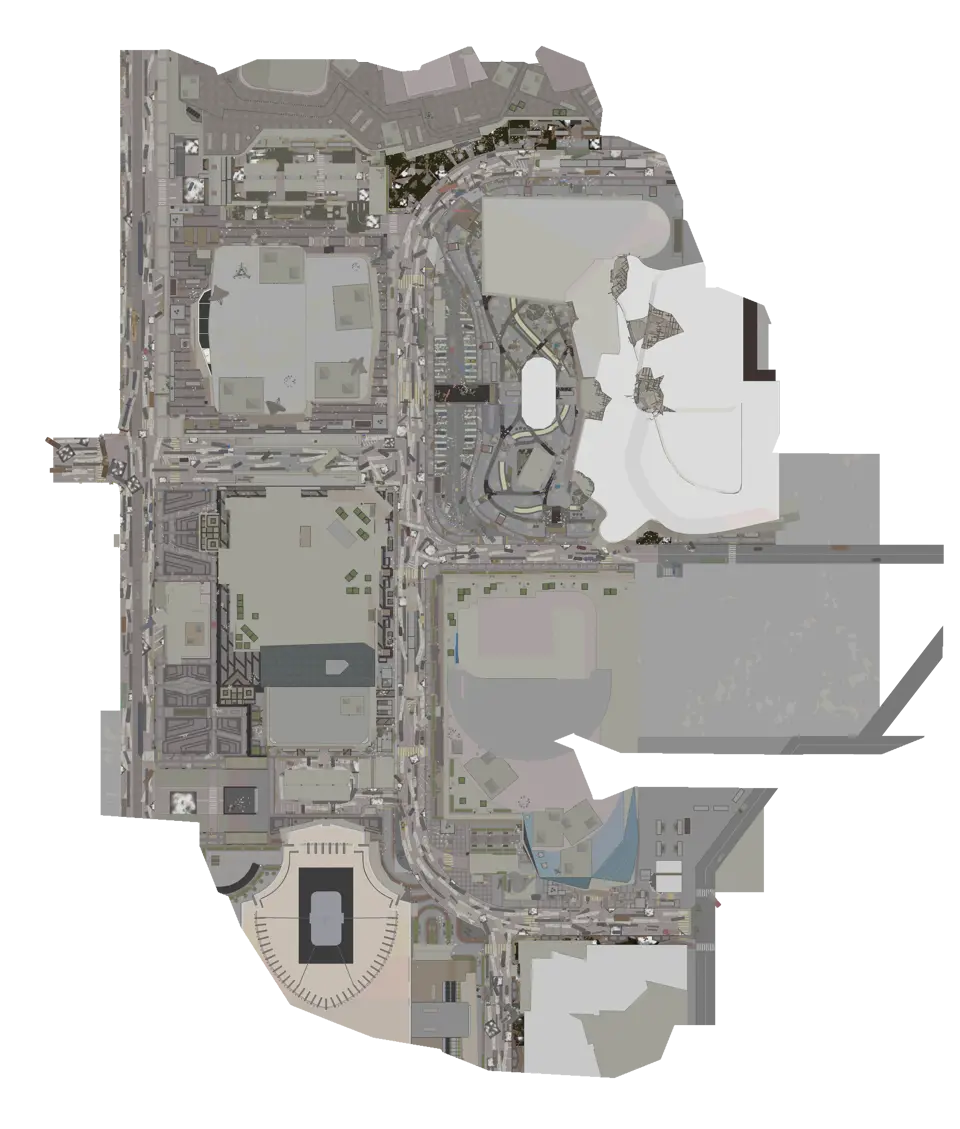
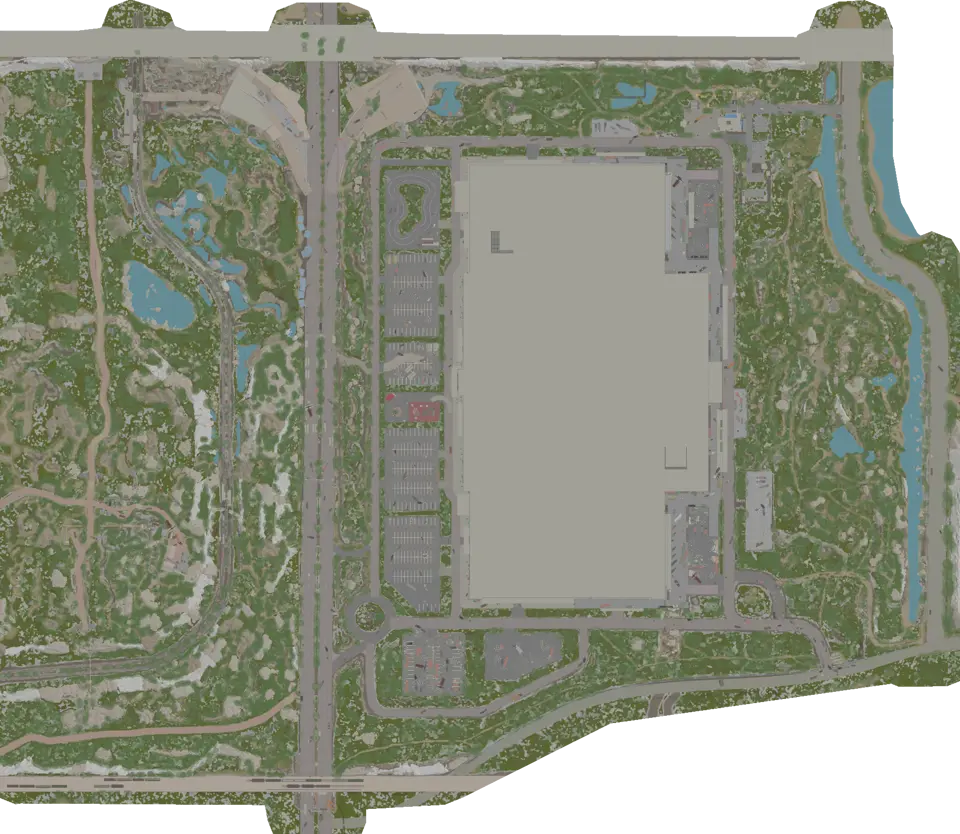
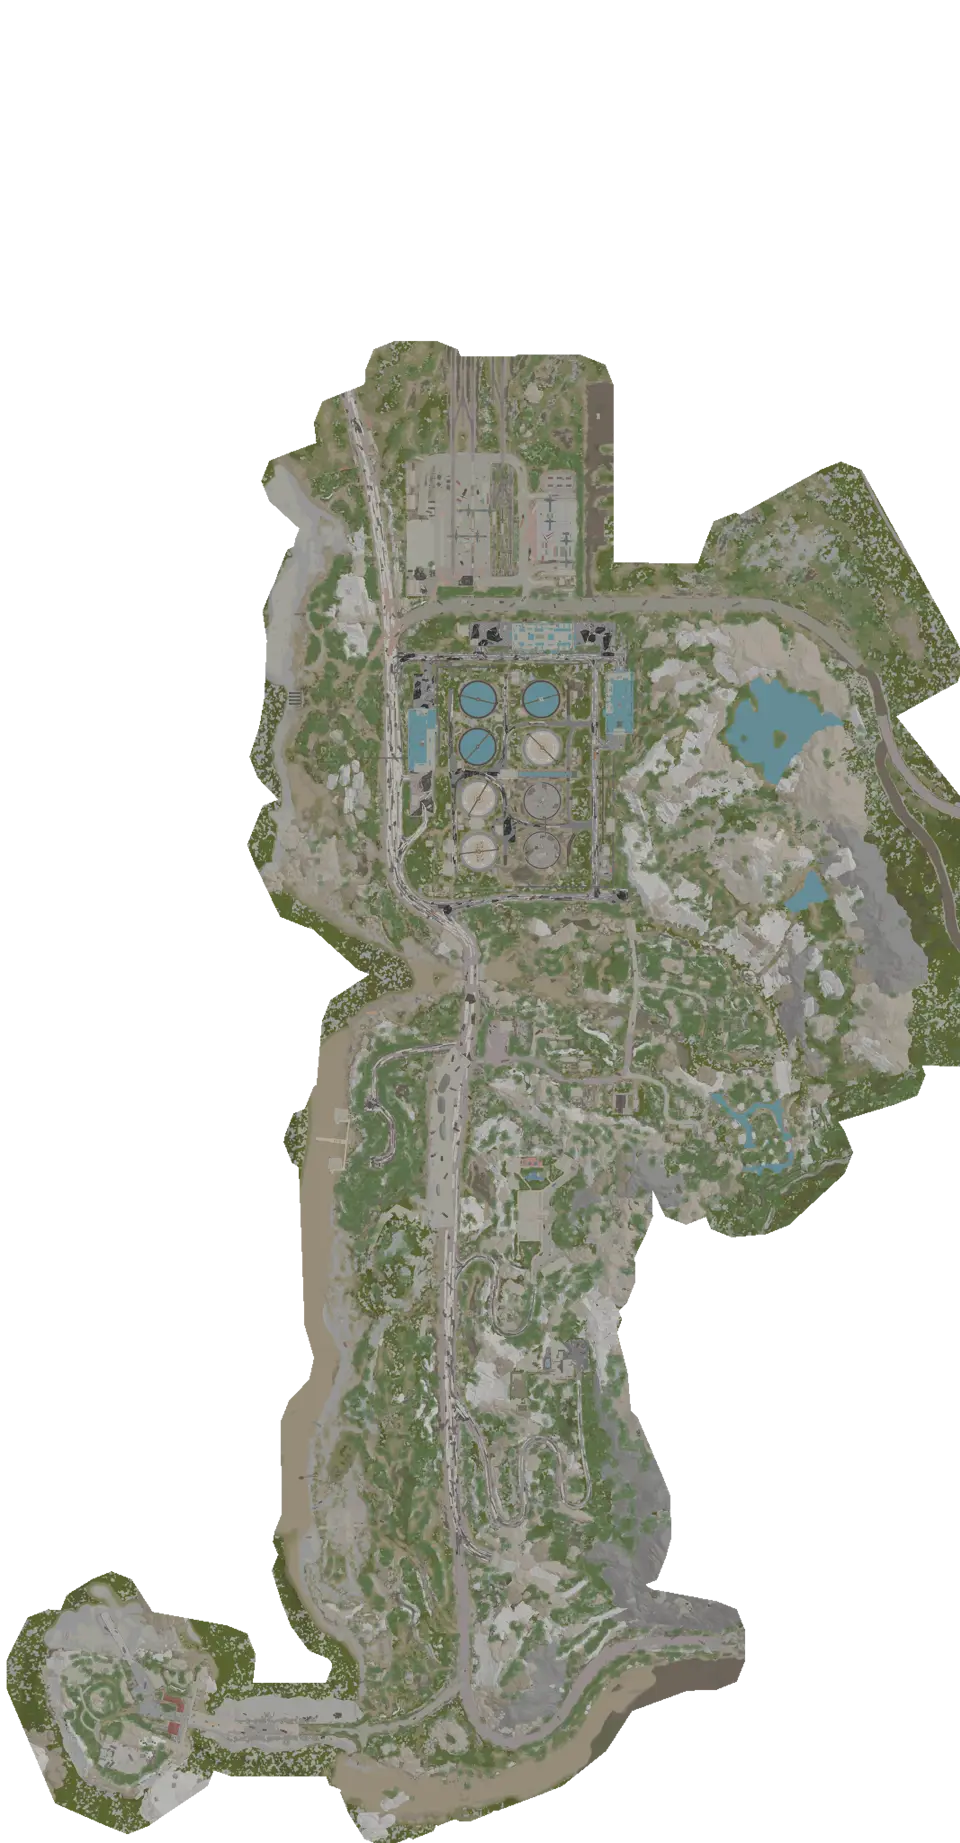
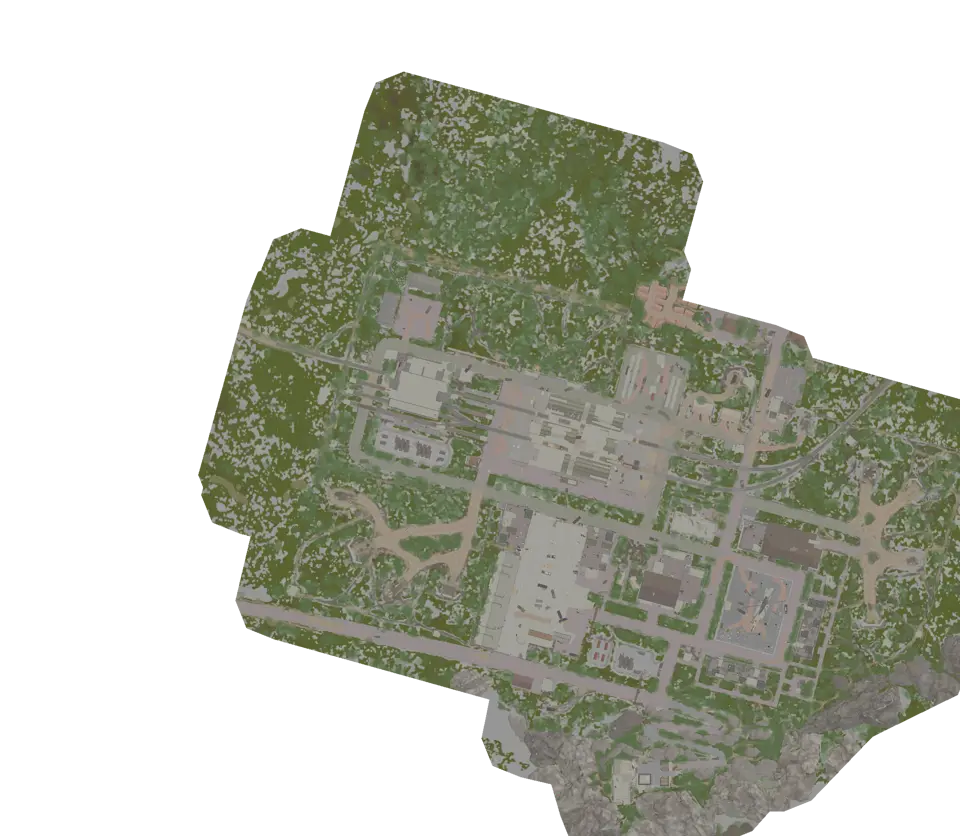
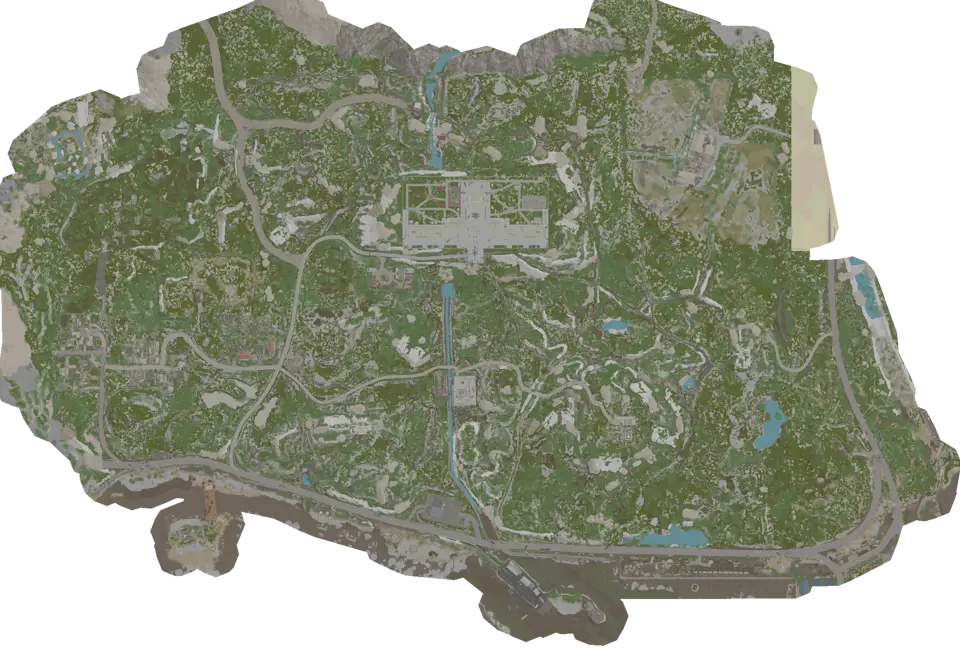
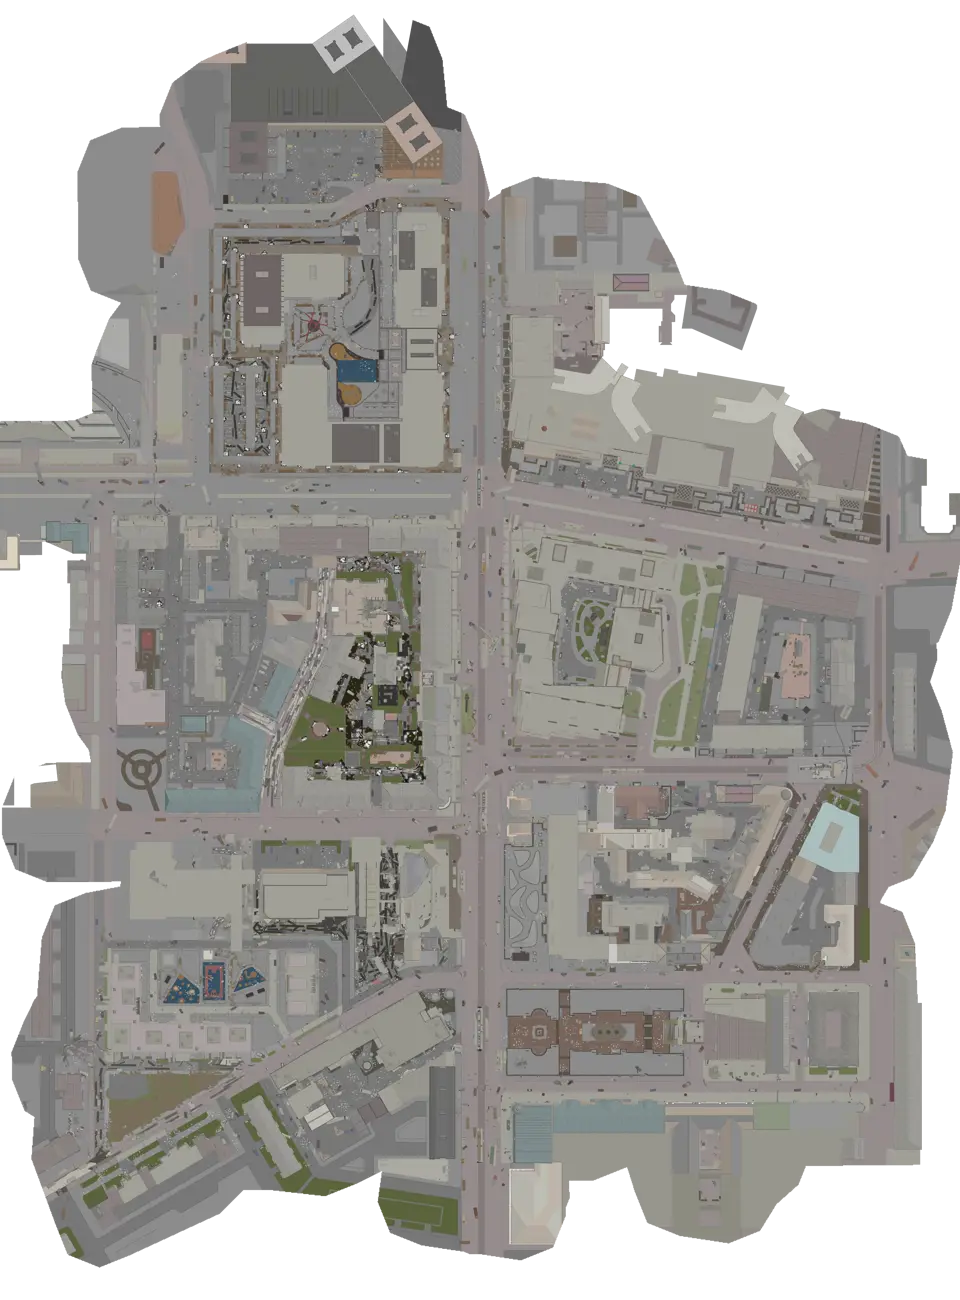
More Escape from Tarkov guides
All Extraction Points and Exits | Escape from Tarkov Map
The raid list decides which exits matter. Match those names to the map, read each marker, and choose a fallback before moving toward the final sector.Read the guidePMC Starts, Boss Areas and AI Zones | Escape from Tarkov Map
Read spawn layers before the first route choice, then clear them. Reopen boss or AI areas only when planning a specific approach on the correct floor.Read the guideKeys, Locked Doors and Map Controls | Escape from Tarkov
Search the exact door before routing to it. Check the threshold, the return path, and any separate control point without assuming its live state.Read the guideLoot Containers and Loose Loot Routes | Escape from Tarkov
Choose a compact cluster beside the extraction route. Treat containers as known stops and loose-loot markers as possible locations rather than promised items.Read the guideHow to Unlock Escape from Tarkov Maps through Tour
Tour unlocks direct location selection in stages, while several late locations require their own story chapter or a first visit through transit.Read the guide