Loot Containers and Loose Loot Routes | Escape from Tarkov
Choose a compact cluster beside the extraction route. Treat containers as known stops and loose-loot markers as possible locations rather than promised items.
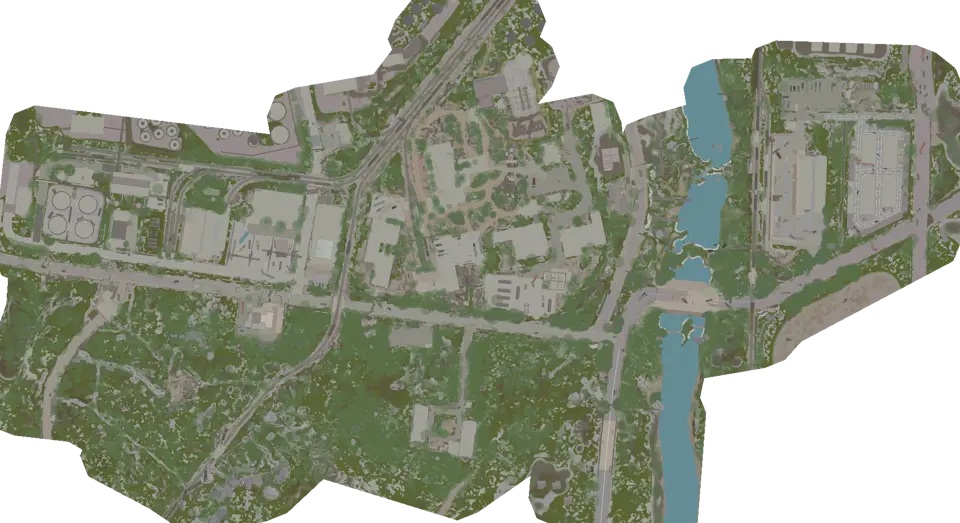
Choose the extraction route before the loot cluster. The maps contain 6,070 container markers and 1,096 possible loose-loot locations, but the largest cluster is not automatically the useful one. A good sweep stays on the correct floor, has a clear entrance and return, and can be abandoned without losing the exit route.
Compare clusters by travel cost
For each candidate cluster, count floor changes, locked thresholds, and dead-end returns. Then identify the connector where the sweep rejoins the extraction route. This is a manual comparison, not a promise about item value or current contents.
The Loot containers layer is useful for stable physical stops. Loose loot records places where loose items may appear. A container may already be searched, and a loose-loot point may be empty. Plan several nearby opportunities instead of routing around one expected item.
Set a cutoff before entering the cluster. The cutoff can be the last room in a corridor, the next connector, or the point where available bag space no longer justifies another branch. A preselected cutoff prevents every new pin from extending the route.
Use buildings differently from open maps
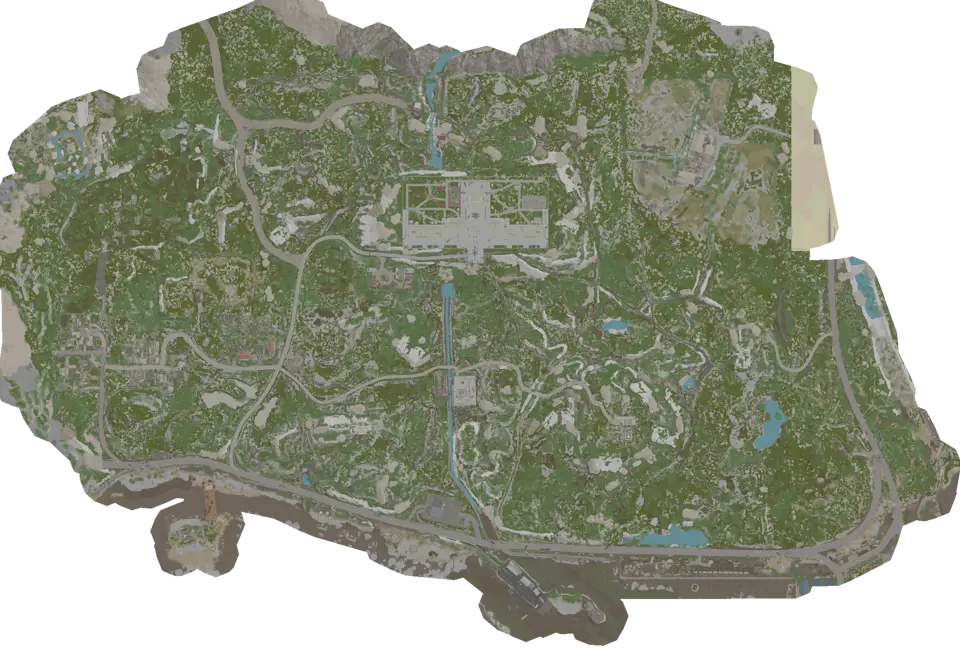
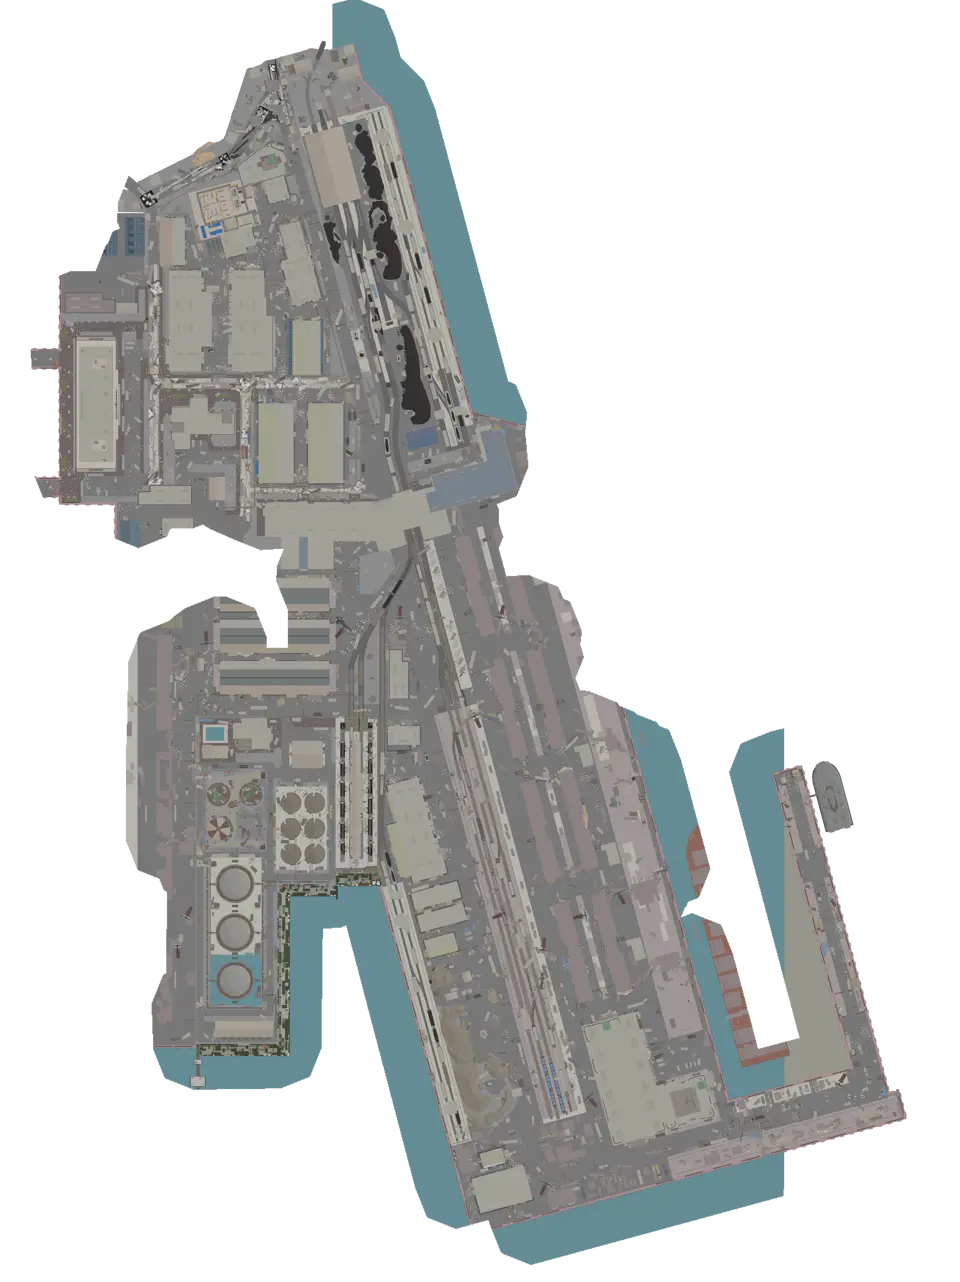
On Shoreline, compare containers, loose loot, and locked doors. Select one Resort floor and a return stair before choosing rooms. Pins on other floors should not pull the sweep away from that loop.
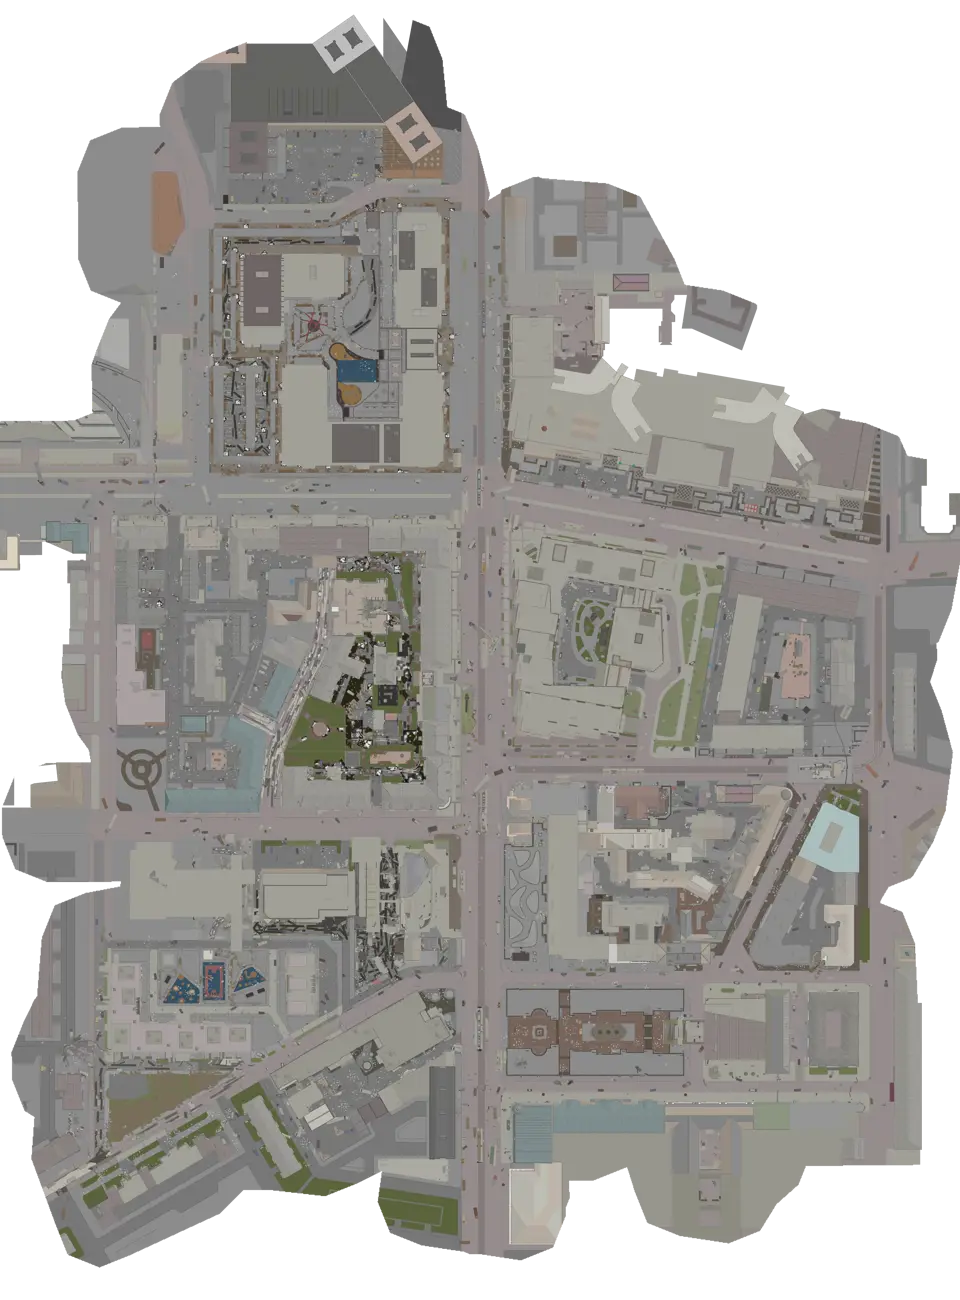
For Streets of Tarkov, reduce the block to the two loot layers. Choose one entrance, a short group of rooms, and the street used afterward. A dense group across parallel interiors may cost more than it appears in plan view.
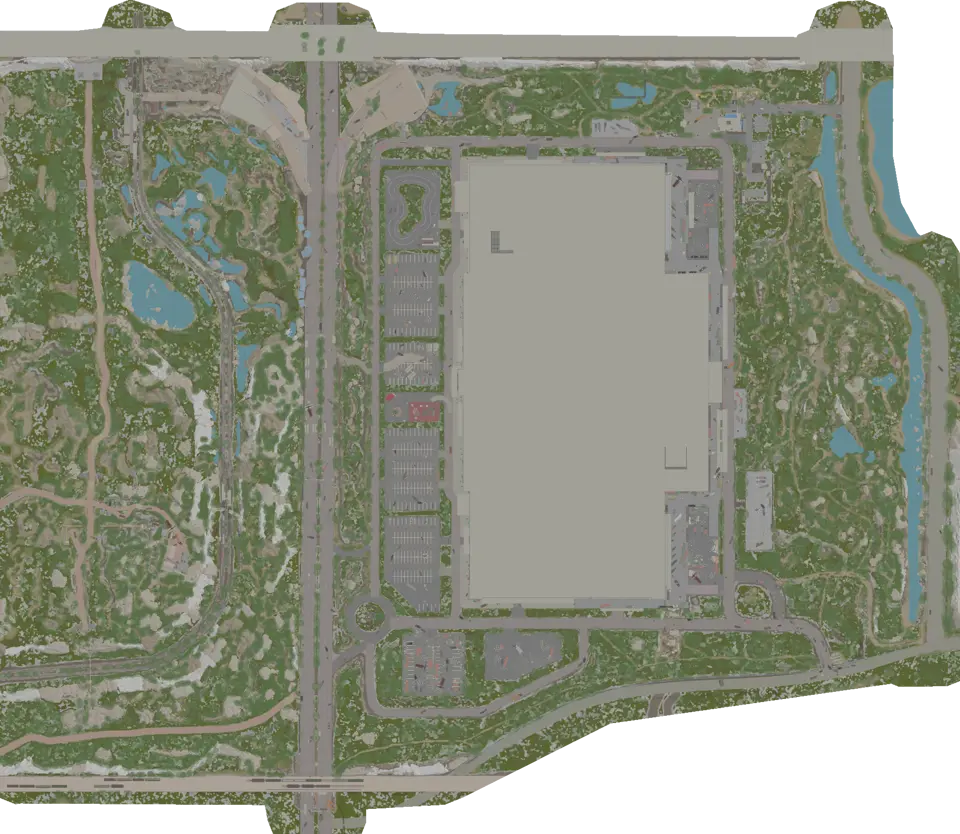
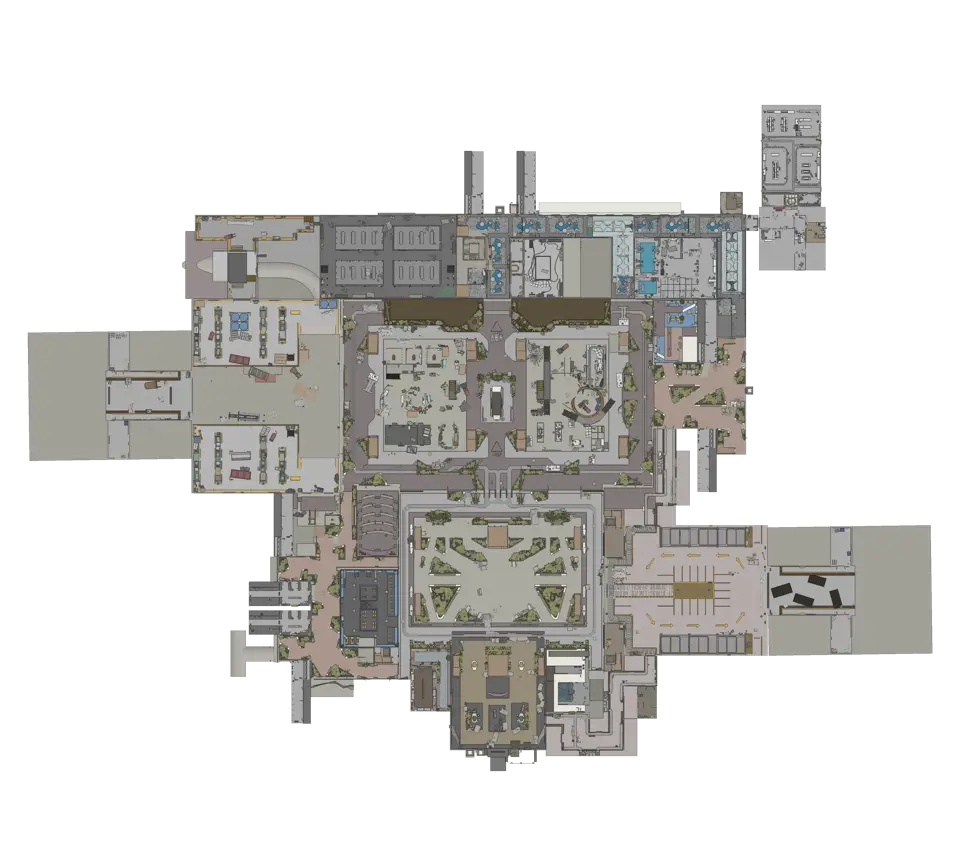
Interchange works best as a floor-specific sweep. Do not cross between the garage and mall for a single marker without counting the connector and return. On Ground Zero, confirm the street-facing entrance before treating an indoor cluster as reachable.
Charge vertical detours to the route
Icebreaker turns every extra deck into two decisions: how to reach it and how to rejoin the main sequence. If a loot pin adds another staircase transfer, write that transfer on the route before accepting the stop.
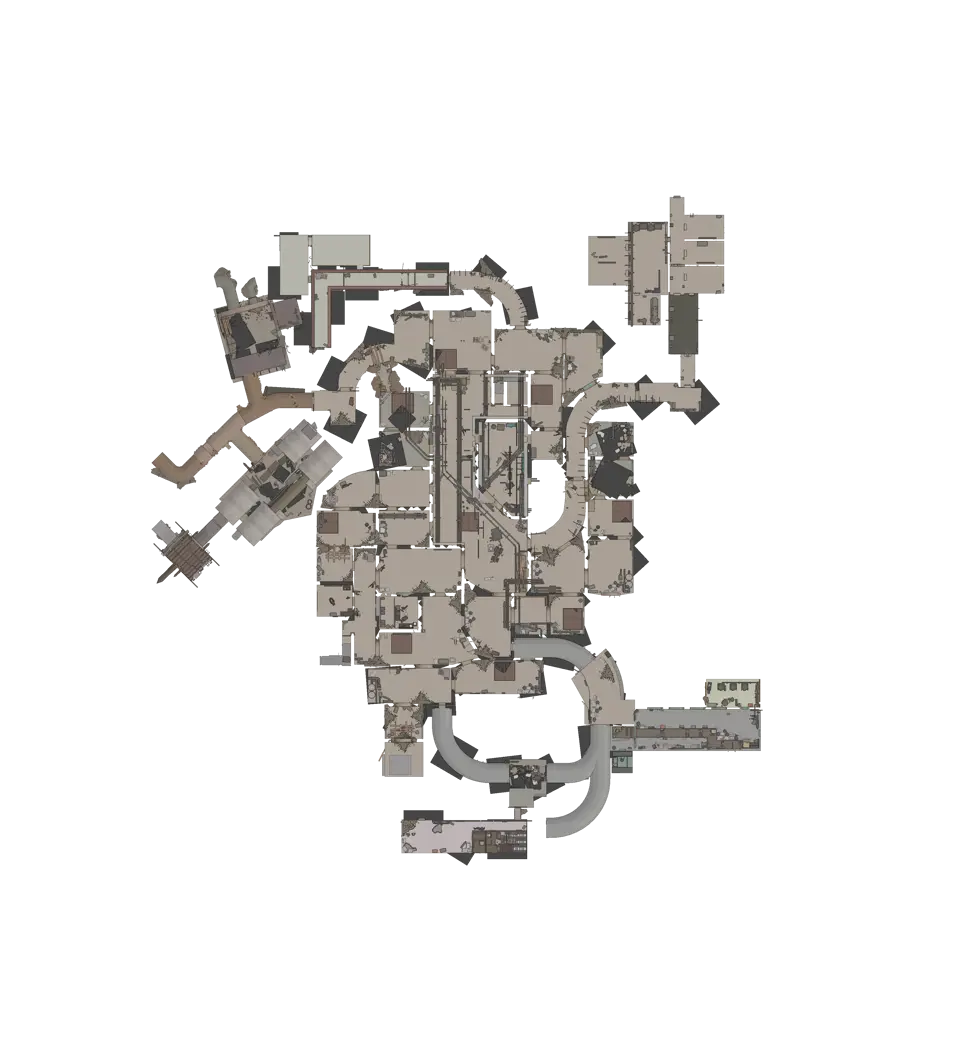
The Lab also requires an active floor check. A cluster aligned in a flat view may be divided by technical areas or another level. Use connectors to calculate the actual path instead of measuring the screen distance.
When Keyed doors is involved, the threshold is only part of the cost. Include the key decision, the route to the correct side of the door, and the return from the room. Skip the branch if any part remains unclear.
Spend bag space before time
Review the bag after each cluster, not after every individual pin. When space becomes tight, compare the route value of another room with the known extraction leg. The map cannot rank items or inspect the bag, so the decision depends on the current raid.
Remove loose-loot stops that require backtracking first. Next, remove locked rooms outside the route. Keep containers that also serve as recognizable landmarks only if visiting them does not obscure the exit plan.
Once the cutoff is reached, hide both loot layers. Leaving them visible during extraction makes optional points look unfinished and can pull the route back toward a cleared building.
Recover from an empty or searched cluster
An empty point does not prove that the floor is wrong. Check the view, the room shape, and the side of the wall before changing position. If those match, accept the current raid state and continue to the next planned stop.
Do not chase the nearest unplanned icon as compensation. Use the cluster cutoff and extraction route chosen earlier. A short route with several possible stops handles empty locations better than a long path built around one expected result.
Questions about loot markers
Does a loose-loot marker guarantee an item?
No. It identifies a possible location documented on the map. The current raid decides what is present. Build the sweep around a group of nearby opportunities rather than one promised item.
When should I end the sweep?
Stop at the cutoff you selected, when bag space changes the value of another detour, or when the return to an assigned exit becomes uncertain. Hide the loot layers and follow the extraction leg.
Maps in this guide
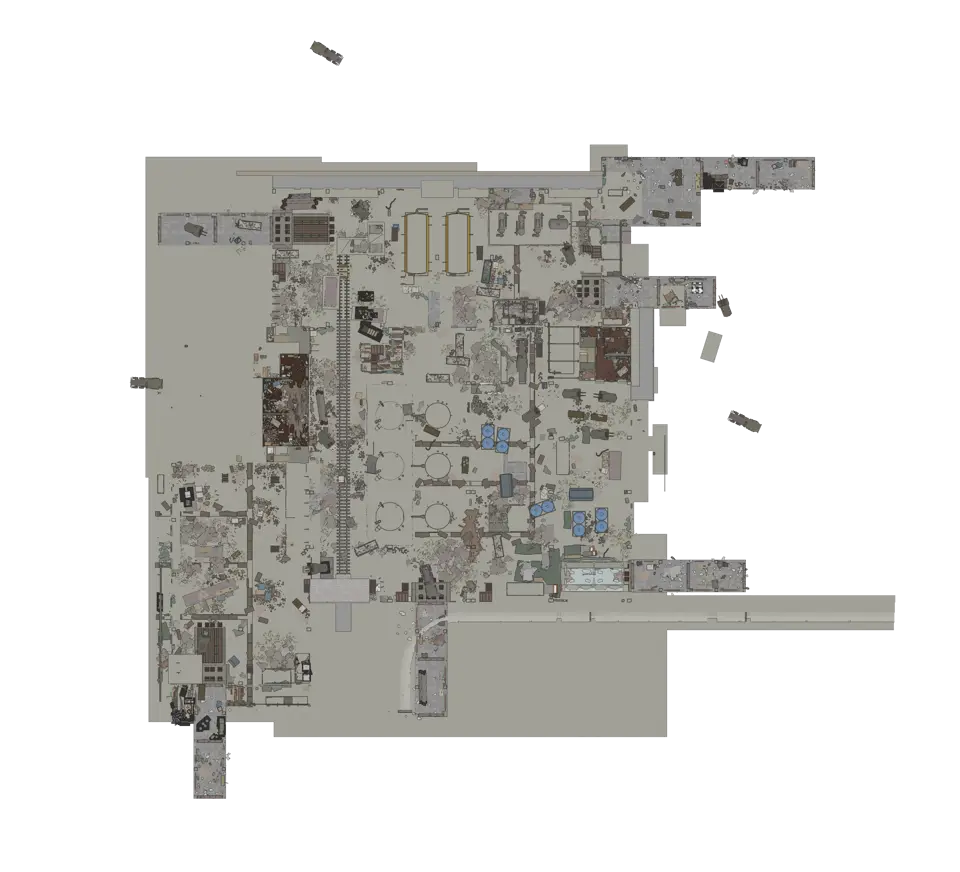
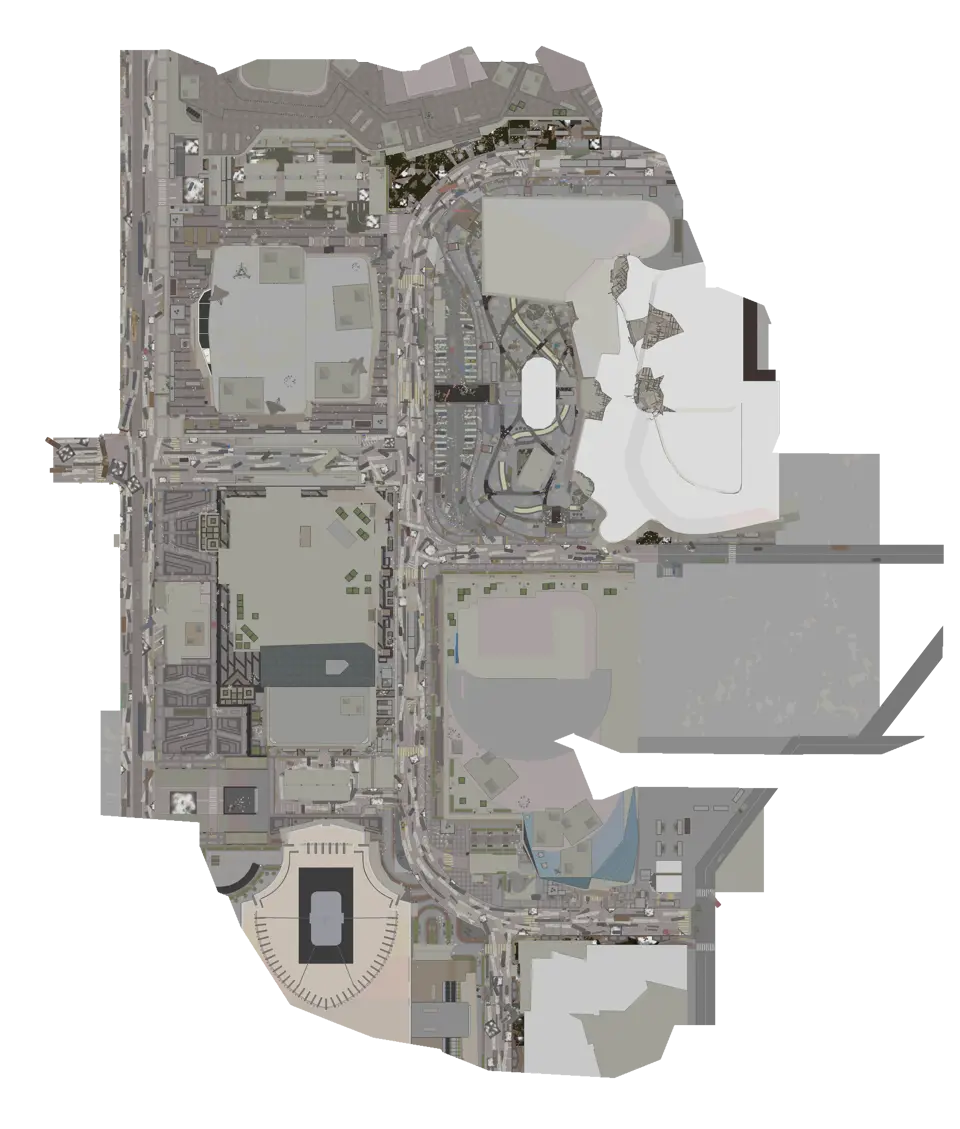
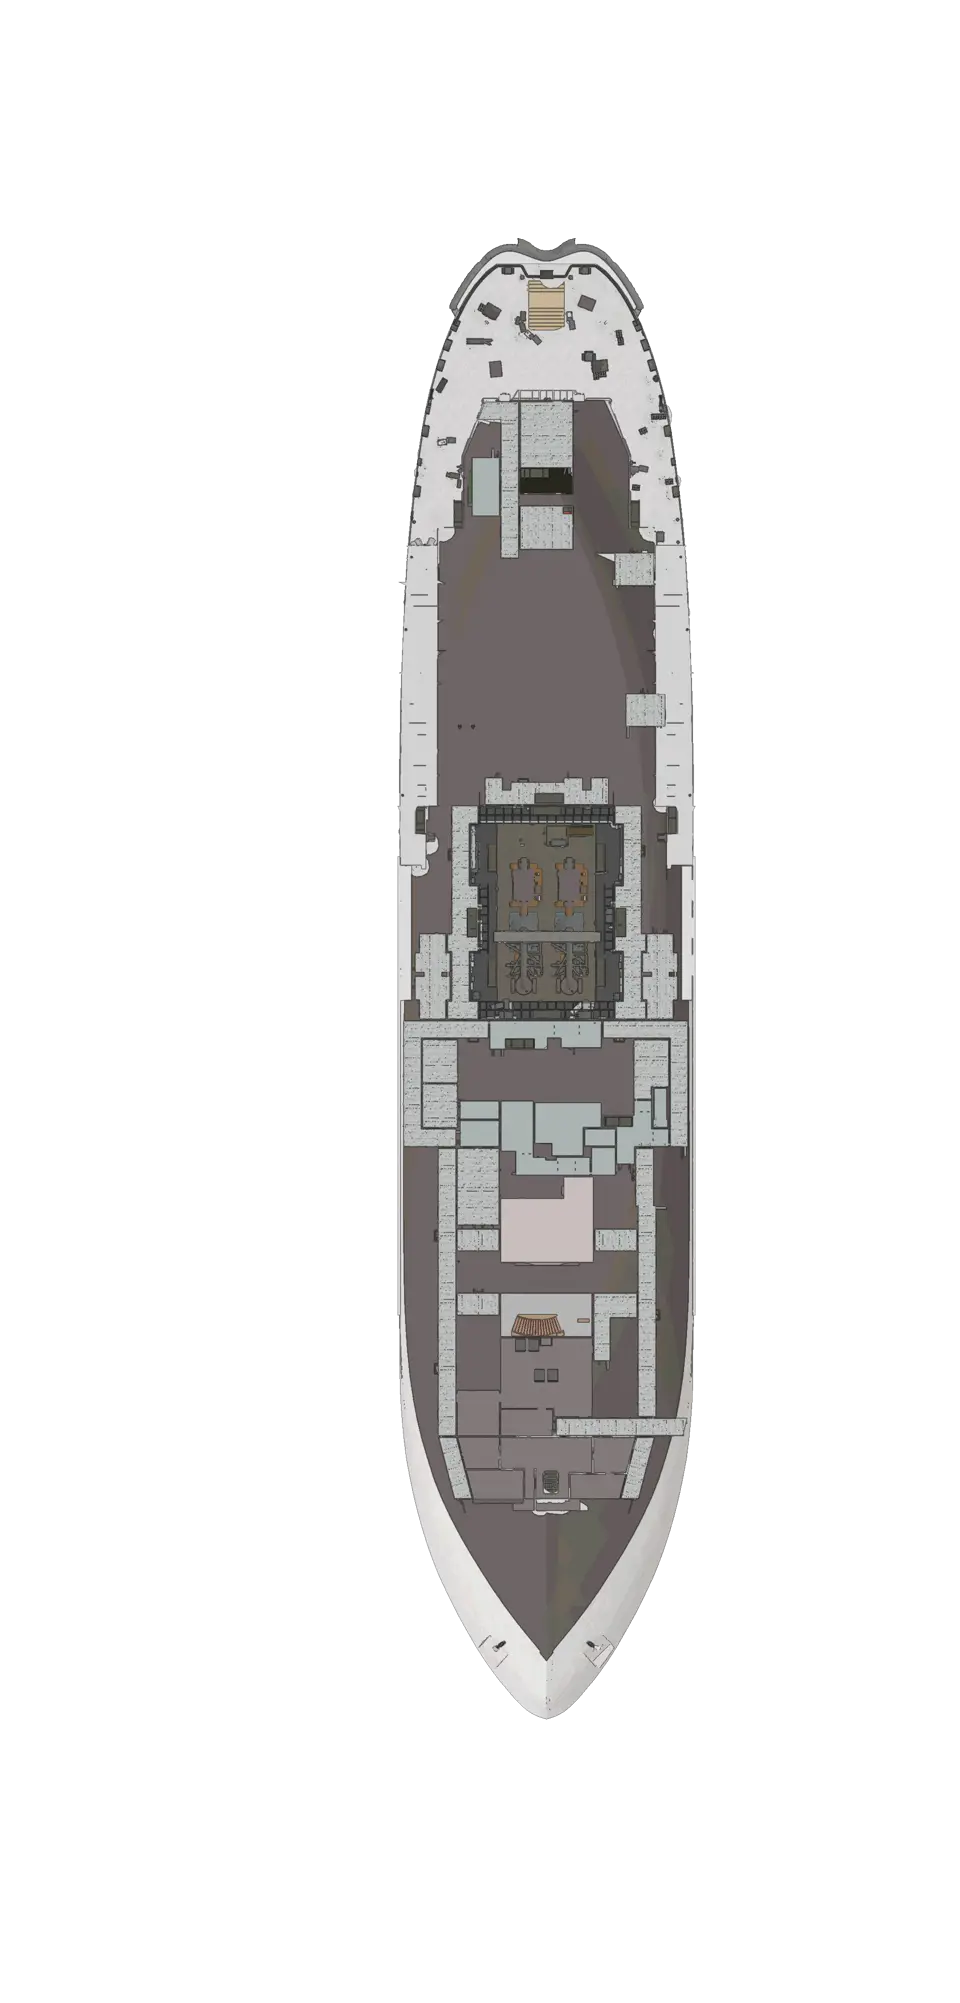
More Escape from Tarkov guides
All Extraction Points and Exits | Escape from Tarkov Map
The raid list decides which exits matter. Match those names to the map, read each marker, and choose a fallback before moving toward the final sector.Read the guidePMC Starts, Boss Areas and AI Zones | Escape from Tarkov Map
Read spawn layers before the first route choice, then clear them. Reopen boss or AI areas only when planning a specific approach on the correct floor.Read the guideHow to Unlock Escape from Tarkov Maps through Tour
Tour unlocks direct location selection in stages, while several late locations require their own story chapter or a first visit through transit.Read the guideKeys, Locked Doors and Map Controls | Escape from Tarkov
Search the exact door before routing to it. Check the threshold, the return path, and any separate control point without assuming its live state.Read the guideKORD BREACH Documents Map Guide | Escape from Tarkov
Each KORD BREACH document type belongs to three eligible maps, so choose the required type first and search only within its verified location set.Read the guide