Lighthouse Map: Floors and Exits | Escape from Tarkov
Give each long leg a place to stop and reassess. Enter a building only after selecting its floor and the exterior route used after leaving.
Layers this guide uses


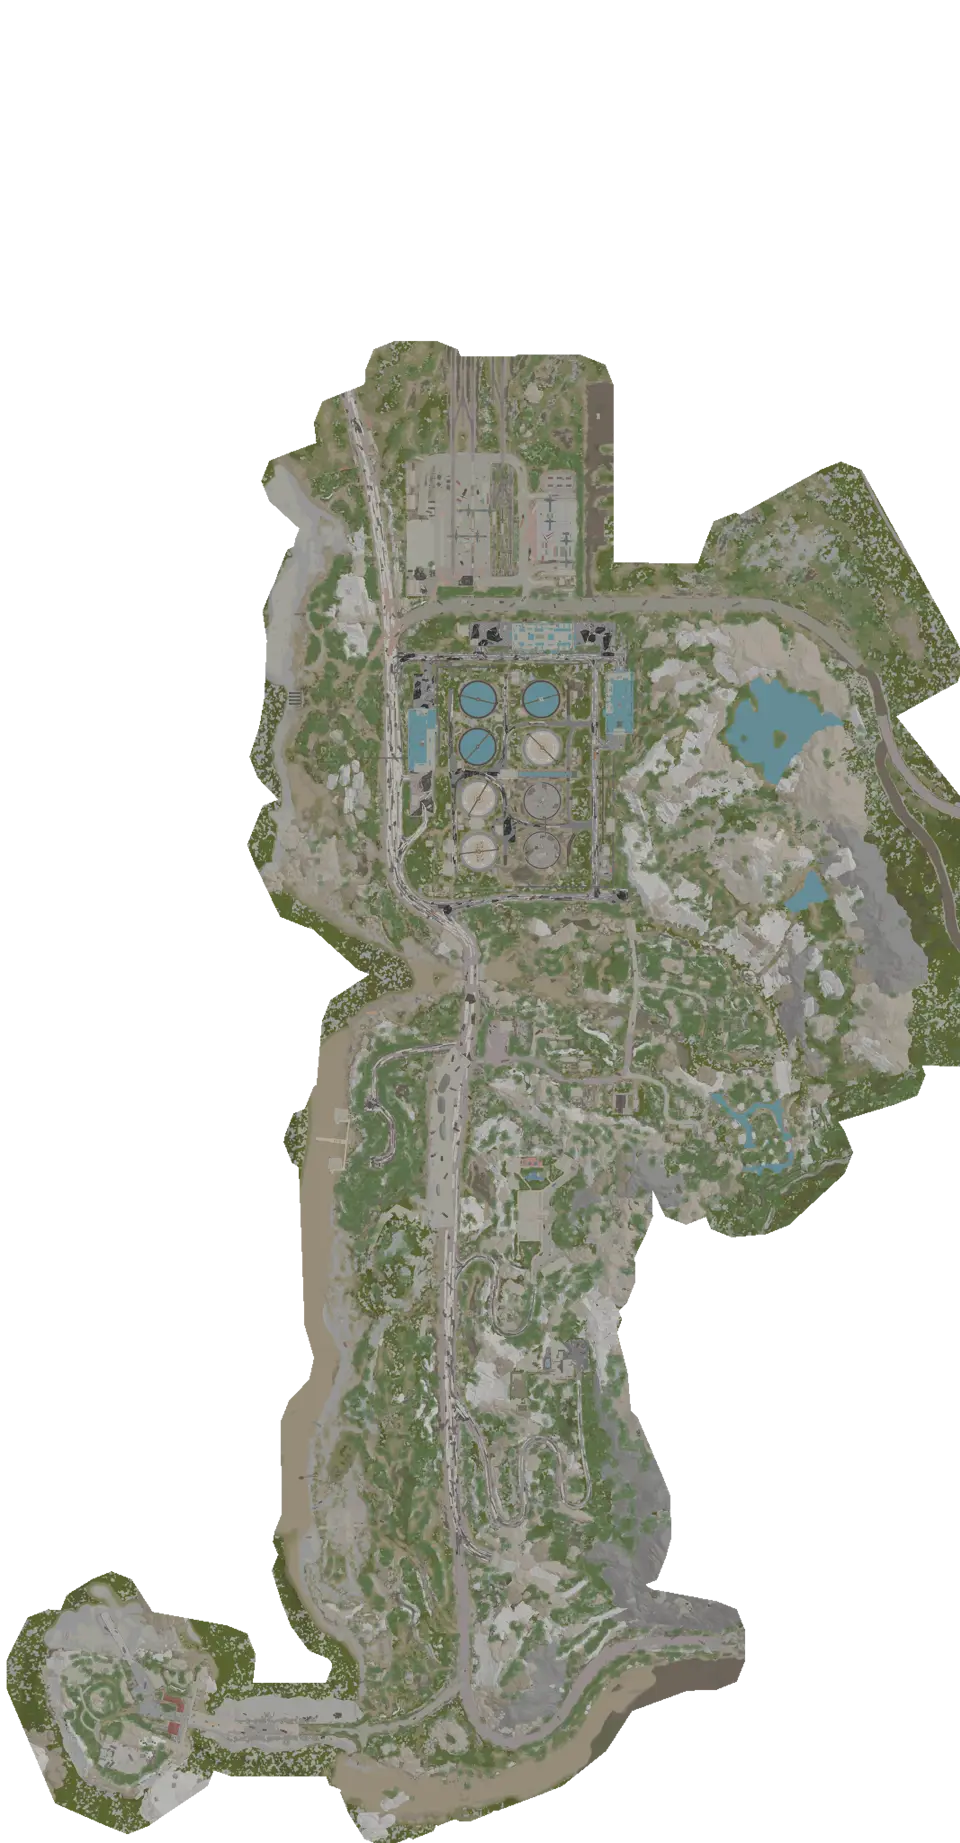
Lighthouse has 763 markers across 6 views. Long outdoor legs create the main navigation cost. Give each leg an abort point: a landmark where you can confirm direction, drop an optional detour, or switch to the backup extraction without crossing the next open section.
Select the abort points from the exit backward
Use container markers to identify sparse physical stops, but do not turn them into a loot sweep yet. Start at an assigned extraction and work backward through two or more recognizable areas on Surface. Choose an abort point before each long gap.
An abort point needs a clear next direction and a return route. It should not sit at the far end of the exposed leg, because by then the decision has already been made. If the next landmark cannot be identified from the current one, shorten the leg.
Possible start markers may help with the first direction. PMC spawns is static planning information, not player tracking. Hide it after the starting area so the map does not imply that an old possibility remains current.
Keep the boundary as a veto
Combine extracts with minefields and sniper zones. Minefields and Sniper zones rule out approaches near the edge. They should veto a route, not become destinations used to find the boundary.
If the direct line enters one of those areas, move the next abort point inward and route through known roads, terrain, or buildings. The map cannot describe live enemy positions, so an absence of spawn icons does not make an exposed boundary safe.
Give the Chalet visit an exit door
The Chalet uses Chalet, Ground floor and Chalet, Upper floor. Search the room or door, choose its view, and then find the exterior entrance through Floor connections. Before going upstairs, pick the door that returns to the next outdoor abort point.
For a keyed room, inspect Keyed doors and the side of the threshold. If the return requires a different stair, add that connection before showing loot. A room directly above the entrance can still depend on another internal route.
Read the Radar Station as three short routes
Radar station, Ground floor, Radar station, First floor, and Radar station, Second floor are separate navigation views. Treat each change as a new short route: arrival connector, selected room, departure connector. Do not draw one diagonal line through all three floors.
Show locked doors beside building connectors when the destination is inside. Once the room is complete, return to Surface and confirm the side of the building before starting another long leg.
Containers and Loose loot can be added within the chosen floor, but their contents are not guaranteed. Remove them before leaving the building so the outdoor route stays readable.
Verify the last outdoor leg
Isolate the surface extraction markers and match the name to the current raid list. Open the marker details before leaving the last abort point. The map records the location and fixed conditions; the game reports assignment and live state.
The backup should leave from an earlier abort point and head toward another assigned exit. If both choices share the same final boundary corridor, move the branch farther back.
Decide whether the trip continues through transit
Place transit and extraction markers side by side. Read the category and destination. Transit points is a different operation, even when its marker lies near an extraction.
Make the decision before the final outdoor leg. Choosing the wrong point type can change which side of a building or terrain feature you need to reach.
Questions about Lighthouse
Where should an abort point go?
Put it before a long exposed or uncertain section, at a landmark that supports another route. It should give you time to confirm direction, skip the detour, or move toward an assigned backup exit.
When should I switch to an interior view?
After reaching the confirmed building entrance. Search the target, select its floor, and keep the arrival connector visible. Return to the surface view as soon as you leave.
Maps in this guide
More Escape from Tarkov guides
All Extraction Points and Exits | Escape from Tarkov Map
The raid list decides which exits matter. Match those names to the map, read each marker, and choose a fallback before moving toward the final sector.Read the guidePMC Starts, Boss Areas and AI Zones | Escape from Tarkov Map
Read spawn layers before the first route choice, then clear them. Reopen boss or AI areas only when planning a specific approach on the correct floor.Read the guideKeys, Locked Doors and Map Controls | Escape from Tarkov
Search the exact door before routing to it. Check the threshold, the return path, and any separate control point without assuming its live state.Read the guideLoot Containers and Loose Loot Routes | Escape from Tarkov
Choose a compact cluster beside the extraction route. Treat containers as known stops and loose-loot markers as possible locations rather than promised items.Read the guideTransit Routes Between Maps | Escape from Tarkov Guide
Treat every transit as a directed leg to a named location, then rebuild the next route under the new map and raid conditions.Read the guide