S.T.A.L.K.E.R. 2: Heart of Chornobyl Iron Forest DLC Map
The map shows S.T.A.L.K.E.R. 2: Cost of Hope landmarks and loot in Iron Forest and CNPP. Use the in-game journal for DLC missions and confirm available services in your current save.
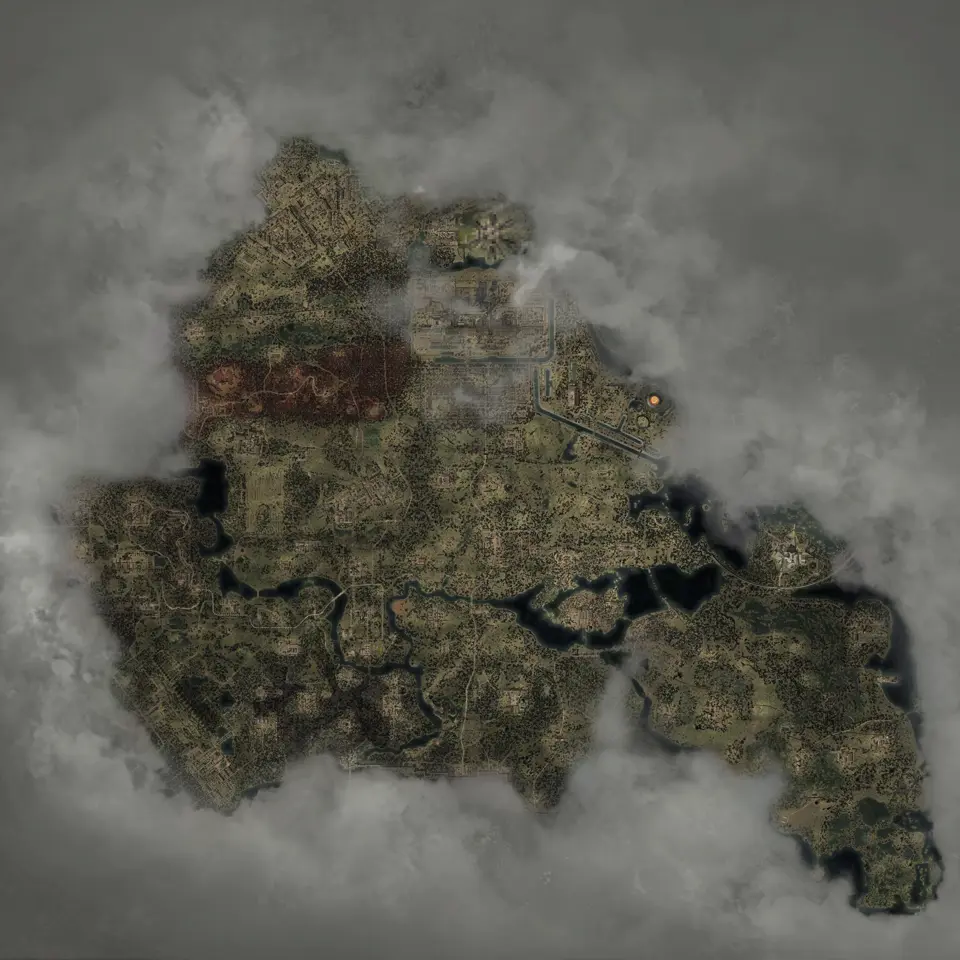
Layers this guide uses


Iron Forest and CNPP are on the same full map as the other named regions. Their borders remain visible while you filter S.T.A.L.K.E.R. 2: Cost of Hope landmarks, containers, guns, encounters, and variable artifact points.
Inside the two DLC region borders, the map marks 1 landmarks, 3 service hubs, 117 containers, 10 creature lairs, 7 variable artifact points, and fixed item pickups. Use the in-game journal for quests and confirm available service characters in your current save.
Find Iron Forest on the full map
Open the region with Locations and service hubs. The shared link centers the region; keep Locations visible before adding a dense loot layer. Named places make a better reference frame than a cloud of cache icons.
For a first visit, use this order:
- Open the region with Locations and service hubs.
- Add Stashes only for the section you are clearing.
- Replace Stashes with Weapons or Armor when hunting a named item.
- Use the in-game journal to identify the active DLC objective; the story-objective layer also includes base-game objectives.
This keeps roads, landmarks, and the region border readable. The healing, ammunition, and anomaly layers are useful, but each contains enough points to hide the route when left on during a full-region view.
Find CNPP without confusing map access and story access
This area has its own named border on the map. The border shows its position. Story progress controls access to its missions.
S.T.A.L.K.E.R. 2: Cost of Hope progression controls access. GSC says the second part of the expansion becomes available after the base mission A Minor Incident. If you can see the region on the map but cannot continue the story there, check mission progress instead of searching for an unmarked entrance.
Open the region with landmarks and caches. The link centers the region and keeps base-game story objectives hidden.
Use the region border for orientation
The outline marks the region boundary. Crossings still depend on water, walls, terrain, mission locks, and underground routes.
Use a location or mission marker as the destination, then follow the game’s roads and entrances. Do not head for the nearest point on the region border just because it looks shorter on screen.
A shared marker link preserves the map position. Terrain and accessible routes determine how long the trip will take.
Useful expansion-layer combinations
| Goal | Layers to open |
|---|---|
| Enter a new area | Locations and service hubs |
| Follow the story | Landmark pins, then use the in-game journal |
| Find new guns | Weapons and unique-gun pins |
| Prepare before a mission | Traders, repair stops, medical help, and sleeping spots |
| Sweep optional loot | Stashes, unlock items, documents, and PDA records |
If a view becomes unreadable, remove the largest layer first. Anomaly Fields has 1,523 markers, Medical Supplies has 2,039, and Ammo Supplies has 1,556. Each works better in a close view than across both DLC regions.
How the two DLC areas fit the 22-region map
The region overlay keeps both DLC areas beside the base-game regions. Use the map labels for the current complete region list rather than maintaining a separate checklist.
Keeping all regions on one sheet matters when the DLC sends you back into the base-game world. A copied marker link preserves the selected point and map view, so you can move between an expansion objective and a base-game service without changing maps.
Use CNPP as the second regional filter when checking later S.T.A.L.K.E.R. 2: Cost of Hope objectives.
Maps in this guide
More S.T.A.L.K.E.R. 2: Heart of Chornobyl guides
S.T.A.L.K.E.R. 2: Heart of Chornobyl Zone Interactive Map
The S.T.A.L.K.E.R. 2: Heart of Chornobyl map holds 17,109 markers in 49 layers, including named borders, landmarks, and loot for Iron Forest and CNPP.Read the guideHow to Begin S.T.A.L.K.E.R. 2: Cost of Hope: Save Guide
The cleanest S.T.A.L.K.E.R. 2: Cost of Hope start is after leaving Lesser Zone, when Answers Come at a Price begins, but an eligible existing save or a DLC skip start also works.Read the guideS.T.A.L.K.E.R. 2: Heart of Chornobyl Update 2.0 Guns Map
The map has fixed Update 2.0 markers for ARev, GP3A, and Fora-230. Other new models without a published fixed point are outside this location checklist.Read the guideS.T.A.L.K.E.R. 2: Heart of Chornobyl Exoskeleton Map
The current S.T.A.L.K.E.R. 2: Heart of Chornobyl map has 106 standard suit placements and 2 Unique Armor pins for that unique suit, including 12 exoskeleton placements; selected models are compared below.Read the guideS.T.A.L.K.E.R. 2: Heart of Chornobyl Artifact/Detectors Map
The Artifact Spawns layer marks 95 points where the artifact can vary. The Artifacts layer marks 29 fixed named pickups, with anomaly and detector layers for route planning.Read the guide