S.T.A.L.K.E.R. 2: Heart of Chornobyl Zone Interactive Map
The S.T.A.L.K.E.R. 2: Heart of Chornobyl map holds 17,109 markers in 49 layers, including named borders, landmarks, and loot for Iron Forest and CNPP.
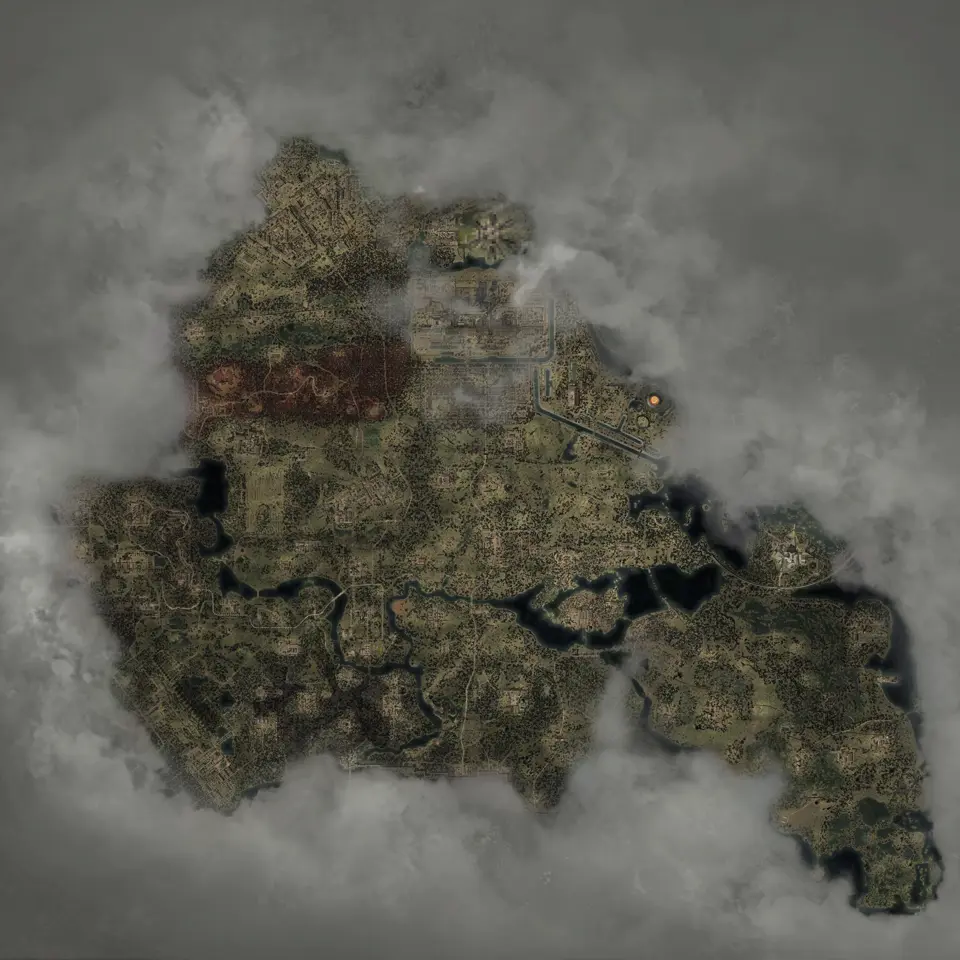
Layers this guide uses

The interactive map covers the whole open world on one continuous sheet. It contains 17,109 markers in 49 layers, with borders and labels for 22 regions. The same map also includes Iron Forest and CNPP from S.T.A.L.K.E.R. 2: Cost of Hope.
The markers include mission objectives, character positions, and supply points. More than one marker may refer to the same item or objective, characters can move with the story, and some supplies spawn dynamically.
Begin with the Locations layer
This guide opens the map with 281 Locations visible. Add one target layer after choosing a region, and leave dense supply layers switched off until you zoom in.
| Layer | Markers | Best use |
|---|---|---|
| Stashes | 1,515 | Clue-linked containers and named stash searches |
| Named NPCs | 804 | Characters whose availability may depend on quests |
| Shelters | 578 | Emission cover, separate from sleeping spots |
| Side missions | 174 | Conditional objectives from side quests |
| Weapons | 479 | Fixed gun pickups, including mapped S.T.A.L.K.E.R. 2: Cost of Hope positions |
| Main missions | 230 | Story objectives that change with progress |
| Landmarks | 281 | Named places and reference points |
| Variable artifact points | 95 | Places where the game can select an artifact |
Opening every layer at once makes the map hard to read. Begin with one target, then add a second layer only when it answers a route question. For example, containers with sleeping spots is useful before a long sweep. Opening all 49 layers makes individual routes harder to read.
Explore 22 regions on one map
The region overlay includes base-game areas such as Zaton, Garbage, Prypiat, and SIRCAA, alongside the two expansion areas named above. Use the map labels for the current complete region list.
The border is useful when a search result gives only a region. Turn on landmark pins, type the place name, and use the region label to check that you are looking at the correct side of the world. This matters around adjoining areas where a short straight-line gap can hide a long usable route.
The open world spans more than 60 square kilometers. A short gap on the map can still hide a long trip because roads, terrain, and blocked routes determine the playable path.
Search, filters, and exact marker links
Search matches the names shown on the map. Use it when you know the name, such as ARev, Poppy Field, Slag Heap, or Wandering Lights. Use layer filters when you know only the type, such as suits, merchants, or unlock items.
Opening a marker makes the selected point, active layers, and current view shareable through the URL. Copy that address when you want someone else to open the same place.
Markers also carry status where the game requires it. Artifact spawn points are dynamic because the game chooses the item. Mission targets and some NPCs are conditional because the current save decides which state is active.
The dense layers switched off by default
Supply and encounter data is available without covering the first view in icons.
| Layer | Markers |
|---|---|
| Healing stock | 2,039 |
| Hazardous fields | 1,523 |
| Ammo supplies | 1,556 |
| Bodies | 1,541 |
| Drinks | 964 |
| Loose ammunition | 774 |
| Creature lairs | 98 |
These are best used as temporary layers. Switch one on, clear the area you are working in, then switch it off before planning the next route.
Gun attachments have their own layers
The map has separate layers for 31 suppressor placements, 36 optic placements, 64 magazine placements, and 5 underbarrel placements.
A marker can point to a loose attachment, one already fitted to a placed gun, or one guaranteed in a specific cache. Conditional cache loot, shop stock, and compatible guns do not count as attachment placements.
Choose layers by task
The total also includes mission objectives, character positions, dynamic supplies, hazardous fields, services, documents, PDA records, and sleeping spots. Choose the layers that help with your current route.
Check whether the map has the layer you need and whether a search opens the correct point. For a first pass, open the full map with landmarks. Add dense layers only when they solve the next problem.
Maps in this guide
More S.T.A.L.K.E.R. 2: Heart of Chornobyl guides
How to Begin S.T.A.L.K.E.R. 2: Cost of Hope: Save Guide
The cleanest S.T.A.L.K.E.R. 2: Cost of Hope start is after leaving Lesser Zone, when Answers Come at a Price begins, but an eligible existing save or a DLC skip start also works.Read the guideS.T.A.L.K.E.R. 2: Heart of Chornobyl Iron Forest DLC Map
The map shows S.T.A.L.K.E.R. 2: Cost of Hope landmarks and loot in Iron Forest and CNPP. Use the in-game journal for DLC missions and confirm available services in your current save.Read the guideS.T.A.L.K.E.R. 2: Heart of Chornobyl Update 2.0 Guns Map
The map has fixed Update 2.0 markers for ARev, GP3A, and Fora-230. Other new models without a published fixed point are outside this location checklist.Read the guideS.T.A.L.K.E.R. 2: Heart of Chornobyl Exoskeleton Map
The current S.T.A.L.K.E.R. 2: Heart of Chornobyl map has 106 standard suit placements and 2 Unique Armor pins for that unique suit, including 12 exoskeleton placements; selected models are compared below.Read the guideS.T.A.L.K.E.R. 2: Heart of Chornobyl Artifact/Detectors Map
The Artifact Spawns layer marks 95 points where the artifact can vary. The Artifacts layer marks 29 fixed named pickups, with anomaly and detector layers for route planning.Read the guide