S.T.A.L.K.E.R. 2: Heart of Chornobyl Exoskeleton Map
The current S.T.A.L.K.E.R. 2: Heart of Chornobyl map has 106 standard suit placements and 2 Unique Armor pins for that unique suit, including 12 exoskeleton placements; selected models are compared below.
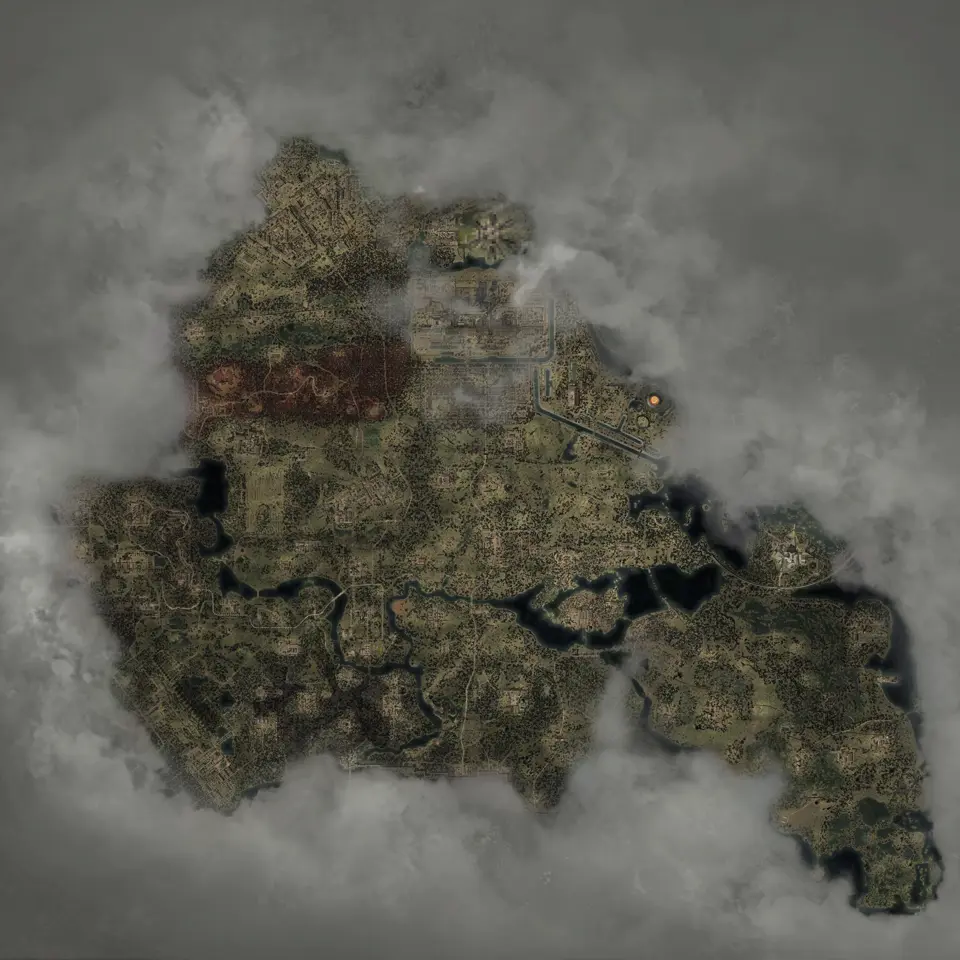
Layers this guide uses

The current map has 106 Armor markers. The Unique Armor layer includes 2 placements for its featured suit. The Armor layer also contains fixed placements for several standard and named exoskeleton models.
Open Armor and Unique Armor together for the complete fixed-location view. Quest progress can still affect whether each suit is available.
Unique-suit markers
Turn on both layers to compare standard and unique suit placements.
Selected exoskeleton placements on the Armor layer
The Armor layer has 12 exoskeleton markers. The table highlights selected models with direct examples.
| Model | Fixed markers | Example marker |
|---|---|---|
| Operator Exoskeleton | 3 | Open one Operator point |
| Diamond Exoskeleton | 2 | Open one Diamond point |
| Brummbar Exoskeleton | 2 | Open Brummbar |
| Cuirass Exoskeleton | 1 | Open Cuirass |
| Liberty Exoskeleton | 2 | Open Liberty |
| Standard model | 2 | Open one standard point |
Search by model when you want one suit. Keep the whole Armor layer visible when comparing which option lies near your current route.
Where the other suit markers fit
Armor includes suits, helmets, gas masks, body protection, and exosuits. Repeated names are separate placements, so the same model can appear at different fixed positions.
The 106 markers represent placements, not 106 different suit models. Each marker gives the suit name and fixed pickup position.
Use Armor with nearby landmarks to read the route. Do not turn on supplies at the same time unless you are already zoomed in, because large supply layers hide the relatively small suit set.
Compare suit placements
Use the map to compare the distance to each suit rather than treating the nearest marker as an overall protection ranking. Upgrade state, carry weight, and story progress still shape the choice.
Use this shorter process instead:
- Search the model name in the map.
- Open each matching placement.
- Compare the route against your current region and unlocked services.
- Add repair-service pins before deciding where to finish the run.
A suit that is slightly weaker on paper can be the practical choice if it is on your route and near a technician you can use.
Zoom in before committing to a pickup. A marker can sit inside a compound or structure whose usable entrance is not on the side closest to your current position. Read the surrounding roads and landmark pins, then keep the suit selected while you find the actual approach in the game. Mark the point found only after confirming the pickup, not when you first reach the outside of the building.
S.T.A.L.K.E.R. 2: Cost of Hope suit searches
Expansion search results often mix fixed suit pins with equipment found behind DLC locks or mission progression. Keep Armor visible for fixed placements and add quest layers only when following a named mission.
If a guide names a safe or story reward but the Armor layer has no point at that exact lock, use the region border and nearby landmarks for orientation.
For a clean sweep, open suit markers alone, mark each checked placement, and add repair-service pins before moving on.
Maps in this guide
More S.T.A.L.K.E.R. 2: Heart of Chornobyl guides
S.T.A.L.K.E.R. 2: Heart of Chornobyl Zone Interactive Map
The S.T.A.L.K.E.R. 2: Heart of Chornobyl map holds 17,109 markers in 49 layers, including named borders, landmarks, and loot for Iron Forest and CNPP.Read the guideHow to Begin S.T.A.L.K.E.R. 2: Cost of Hope: Save Guide
The cleanest S.T.A.L.K.E.R. 2: Cost of Hope start is after leaving Lesser Zone, when Answers Come at a Price begins, but an eligible existing save or a DLC skip start also works.Read the guideS.T.A.L.K.E.R. 2: Heart of Chornobyl Iron Forest DLC Map
The map shows S.T.A.L.K.E.R. 2: Cost of Hope landmarks and loot in Iron Forest and CNPP. Use the in-game journal for DLC missions and confirm available services in your current save.Read the guideS.T.A.L.K.E.R. 2: Heart of Chornobyl Update 2.0 Guns Map
The map has fixed Update 2.0 markers for ARev, GP3A, and Fora-230. Other new models without a published fixed point are outside this location checklist.Read the guideS.T.A.L.K.E.R. 2: Heart of Chornobyl Artifact/Detectors Map
The Artifact Spawns layer marks 95 points where the artifact can vary. The Artifacts layer marks 29 fixed named pickups, with anomaly and detector layers for route planning.Read the guide