The Labyrinth Exits and Doors | Escape from Tarkov Map
Choose a valid extraction, work backward through named door decisions, and keep one continuous landmark chain instead of following the closest pin.
Layers this guide uses


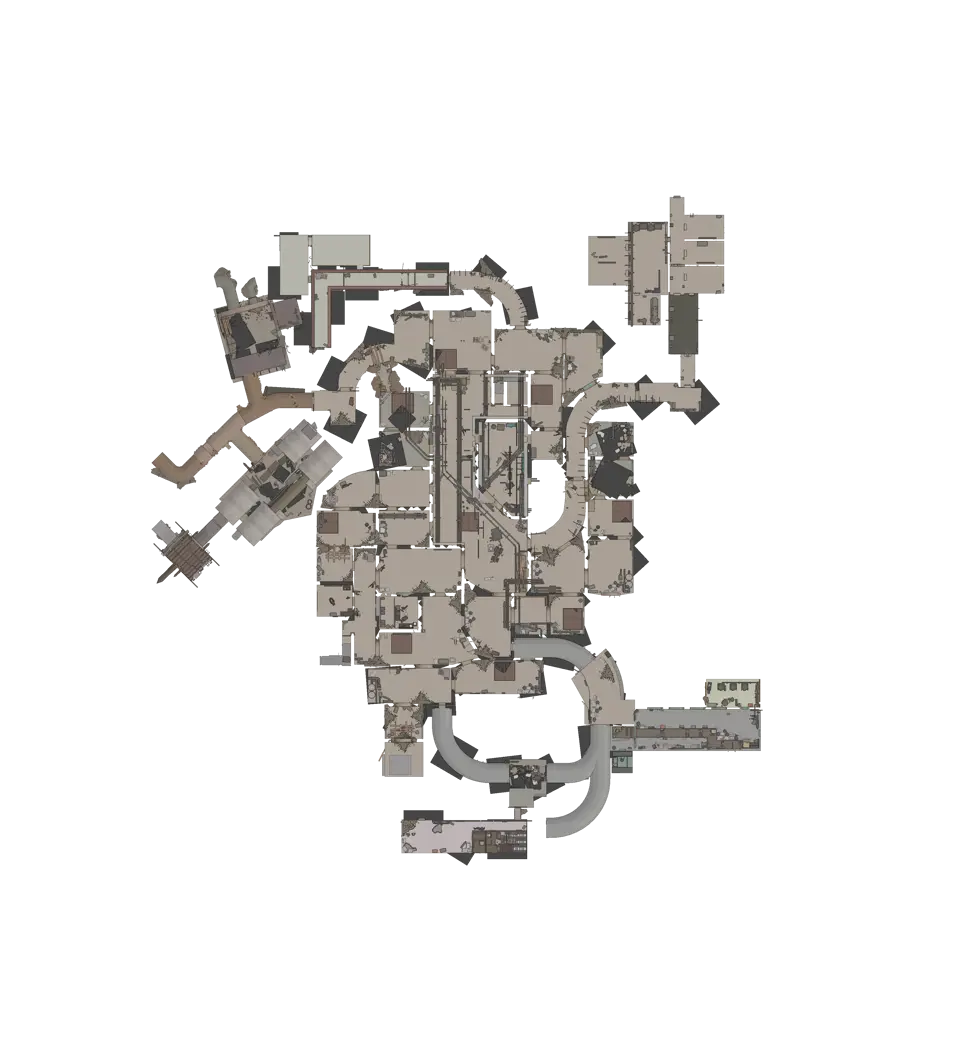
The interactive map for The Labyrinth uses 1 view, so the main problem is choosing between 2 named exits and preserving the correct door sequence. Start by checking whether the raid gives you Ariadne's Path or The Way Up. Keep that exit selected, then search each required key by its full name instead of following the closest door icon.
The Labyrinth contains 74 markers across 1 view. A target that appears close may be behind a wall or on the inaccessible side of a door. Treat walls, crossings, and the doors you actually find as the route, not straight-line distance.
Match an extraction before choosing a branch
The Labyrinth contains Extraction points (2): Ariadne's Path and The Way Up. Show both by themselves, compare their conditions with the current raid information, and select the assigned option.
Keep the other assigned option as a fallback, but plan it as a separate chain. If two exit routes share a screen full of doors, it becomes hard to know which turn belongs to which destination. A map marker records a fixed place and description; it does not prove availability, access, or safety in the live raid.
Do not reinterpret the boundary, an open-looking passage, or a keyed door as another extraction. If the raid information does not match the expected marker, stop and check it again.
Build a landmark chain backward from the exit
With the extraction selected, use named doors as hard checkpoints. Search Observation room key or Corpse room key only when that key is part of the branch you intend to use. The map also distinguishes Labyrinth key, Torture room key, and the numbered keys, so “the next locked door” is not specific enough for a reliable route.
A reliable chain records:
- the selected exit, Ariadne's Path or The Way Up, and its condition;
- the last junction before the final approach;
- every turn where two similar passages diverge;
- each required key name and the side from which its door is reached;
- a fallback junction before the first blocked keyed door.
Read the sequence forward and backward. If the return version reaches a door from the wrong side, crosses a wall, or skips an unexplained junction, the route is incomplete. The closest pin is less useful than a chain that can be verified at every turn.
Search every keyed door by its full name
The map includes Keyed doors (8). Open Keyed doors with extracts, search the complete key name, and select one result. Observation room key and Corpse room key are separate decisions; Torture room key and Labyrinth key must not be treated as aliases for either one.
Possessing a key does not prove that the nearest marker is its lock. A similar-looking door may send the route into another branch. Before entering, select the junction that returns to the extraction chain. Hide unrelated door markers once the decision is made.
Progress tracking can remember that a location was visited, but it cannot show whether a door is currently open or whether another player changed access. Verify that state in the raid.
Recover orientation at the last confirmed junction
Repeated passages make guessing expensive. When the current walls or door arrangement no longer match the selected chain, stop at the last recognised junction. Hide loot, keep the extraction and next door selected, and compare the number and direction of exits from the room.
Do not continue simply because a corridor seems to point toward the extraction icon. A wall can keep the destination close on the image while the valid route travels away before returning. Restore two consecutive landmarks before moving on.
If a door blocks the prepared branch, return to the fallback junction and trace a new chain from there. Avoid switching between several half-finished alternatives after every turn.
Use possible starts only for the opening
The candidate starts under PMC spawns show where a PMC may begin, not where anyone is now. Compare nearby options to estimate which branches may receive early movement, then hide the category after selecting the first route.
The Possible boss spawns category identifies a possible boss area. Compare possible PMC and boss areas, but do not treat the marker as confirmation. Current presence and movement must be judged from evidence inside the raid.
Add containers after the return chain is complete
Markers in Loot containers are much denser than the small set of exits and doors. Fixed containers can serve as physical room checks after the branch is known. Locations under Loose loot indicate possible pools, not guaranteed items.
Open containers on the selected branch and add stops from the extraction backward. Set a turning point that leaves enough time to follow the entire confirmed chain. A nearby container across an unchecked door is a different branch, not a free extension.
If orientation becomes uncertain, hide all loot immediately. Keep the assigned extraction, next required door, and last recognised junction. The map cannot report live contents, enemies, door state, or exit availability.
Junction, key-door, and return-route questions
Does The Labyrinth require a floor selector?
No. All markers use 1 view. Access is determined by passages and door state rather than a floor change.
Are all 2 mapped extractions usable in every raid?
Do not assume that. Compare exact names and conditions with the current raid information before selecting a branch.
What should remain visible while recovering orientation?
When your mental map breaks, return to the last junction you can identify and trace a route from there to an extraction that is still reachable. Add a keyed door only after confirming that it belongs to that branch; leave loot and spawn overlays off until the route makes sense again.
Why can a close extraction still require a long route?
A wall or inaccessible door side can separate the current branch from the exit. Follow the verified junction chain rather than the flat distance.
Maps in this guide
More Escape from Tarkov guides
All Extraction Points and Exits | Escape from Tarkov Map
The raid list decides which exits matter. Match those names to the map, read each marker, and choose a fallback before moving toward the final sector.Read the guidePMC Starts, Boss Areas and AI Zones | Escape from Tarkov Map
Read spawn layers before the first route choice, then clear them. Reopen boss or AI areas only when planning a specific approach on the correct floor.Read the guideKeys, Locked Doors and Map Controls | Escape from Tarkov
Search the exact door before routing to it. Check the threshold, the return path, and any separate control point without assuming its live state.Read the guideLoot Containers and Loose Loot Routes | Escape from Tarkov
Choose a compact cluster beside the extraction route. Treat containers as known stops and loose-loot markers as possible locations rather than promised items.Read the guideHow to Unlock Escape from Tarkov Maps through Tour
Tour unlocks direct location selection in stages, while several late locations require their own story chapter or a first visit through transit.Read the guide