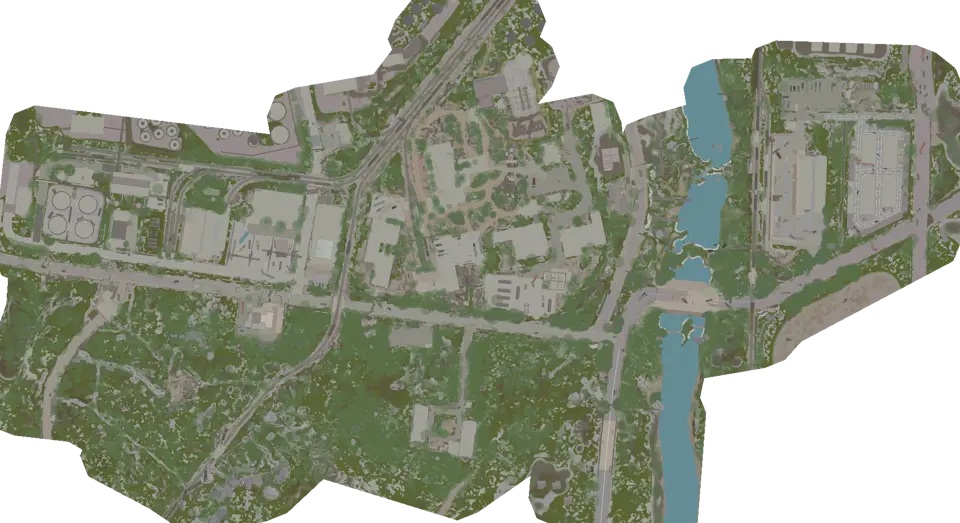
The Lab Map: Controls and Routes | Escape from Tarkov
Complete an extraction preflight before chasing loot. Name the control, last floor change, final corridor, and fallback for the current raid.
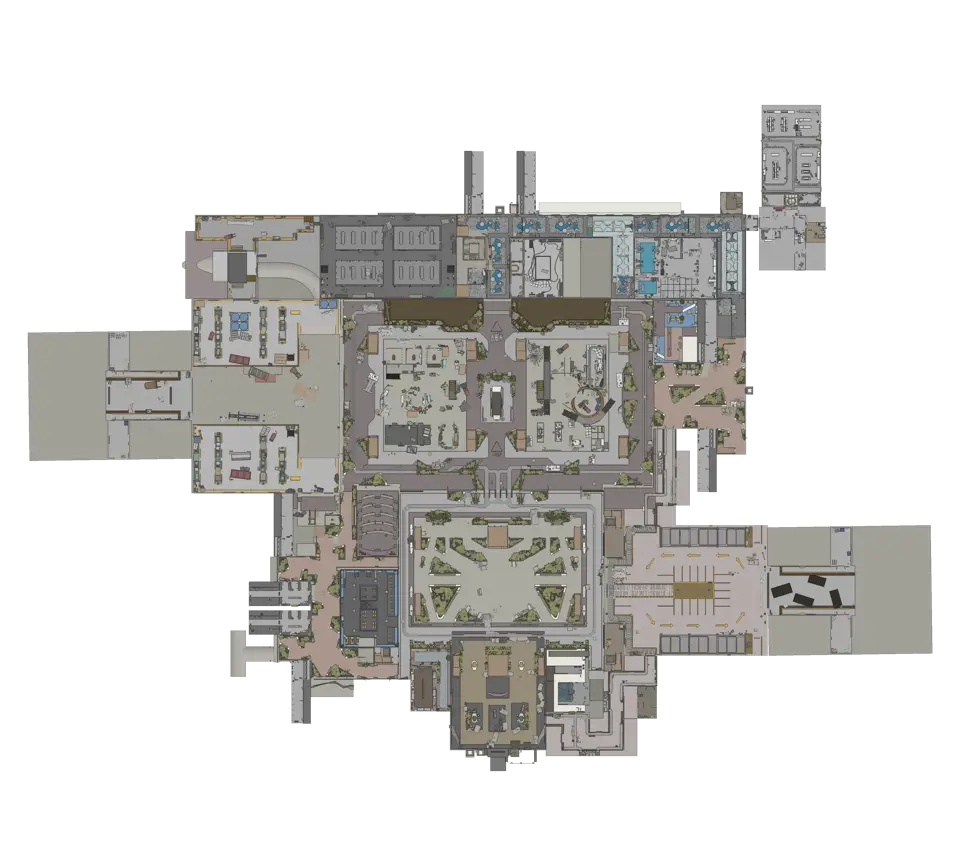
Layers this guide uses


The Lab has 519 markers spread across 3 views. Complete an extraction preflight before adding loot. The preflight names the assigned exit, any documented control, the last floor connector, the final corridor, and a fallback. It prevents a useful raid from ending with an untested chain of assumptions.
Fill out the extraction preflight
Open controls, connectors, and extractions. Match the exit to the current in-game list, then work backward from its marker.
| Preflight field | Map check |
|---|---|
| Assigned exit | Exact marker name and fixed condition |
| Control | Separate location and route back from it |
| Last connector | Departure view and arrival corridor |
| Final approach | Correct side of the room or passage |
| Fallback | Another assigned route before the shared section |
The map cannot report live control state or personal assignment. Use it to locate each step, then confirm current information in the raid. Do not mark the preflight complete merely because the final extraction pin is visible.
Keep the route on the correct view
The three map views are Level 1, Technical level, and Level 2. Search a waypoint and select the view where it appears. Follow Floor connections one change at a time.
After each floor change, identify the first corridor or room on the arrival view. If it does not match, return to the connector. Several similar corridors can overlap on the screen, and changing views while walking makes the original landing difficult to recover.
Practice the preflight on the first level before adding a route through the other views. A shorter correct chain is more useful than a complete-looking line that skips an access point.
Give keyed rooms a rejoin point
Inspect locked doors with their nearest connectors. Search the exact room, confirm the floor, and choose the connector where the detour returns to the preflight route. Keyed doors identifies the threshold, not a passage through any nearby wall.
If the room has no clear return or requires an unplanned floor change, leave it out of this run. When it is an objective, remove optional loot stops and keep the room, connector, and extraction route visible.
Add loot inside one preflight segment
Turn on Loot containers and Loose loot between two existing preflight points. Stops beyond the next connector belong to another segment. The markers document physical containers and possible loose-loot locations; they do not guarantee current contents.
Set a cutoff at the connector. On reaching it, clear the loot layers and check the next preflight field. This keeps a searched room from pulling the route backward later.
PMC spawns may help explain possible opening areas. It does not track players and should be hidden after the first route decision.
Distinguish transit from the assigned exit
Review transit and exit markers before the last connector. Transit points has its own purpose and destination. An edge icon cannot be substituted for an extraction listed in the raid.
Resolve the type while the fallback is still accessible. If the chosen marker was wrong, update the preflight rather than trying to repair only the final corridor.
Questions about the The Lab preflight
Why work backward from the exit?
Backward planning exposes the control, connector, and approach that must happen before the final marker. It also shows where a fallback must diverge from the primary route.
What if a control marker is present but the exit is unavailable?
The marker does not confirm live state. Recheck the in-game list and current prompts, then use the fallback recorded before entering the shared final section.
Maps in this guide
More Escape from Tarkov guides
All Extraction Points and Exits | Escape from Tarkov Map
The raid list decides which exits matter. Match those names to the map, read each marker, and choose a fallback before moving toward the final sector.Read the guidePMC Starts, Boss Areas and AI Zones | Escape from Tarkov Map
Read spawn layers before the first route choice, then clear them. Reopen boss or AI areas only when planning a specific approach on the correct floor.Read the guideKeys, Locked Doors and Map Controls | Escape from Tarkov
Search the exact door before routing to it. Check the threshold, the return path, and any separate control point without assuming its live state.Read the guideLoot Containers and Loose Loot Routes | Escape from Tarkov
Choose a compact cluster beside the extraction route. Treat containers as known stops and loose-loot markers as possible locations rather than promised items.Read the guideTransit Routes Between Maps | Escape from Tarkov Guide
Treat every transit as a directed leg to a named location, then rebuild the next route under the new map and raid conditions.Read the guide