The Blood of Dawnwalker Ancient Circle Locations and Trial Guide
There are 13 Ancient Circle markers in Vale Sangora; activate each altar with the required ability, survive the trial, then search its chest.
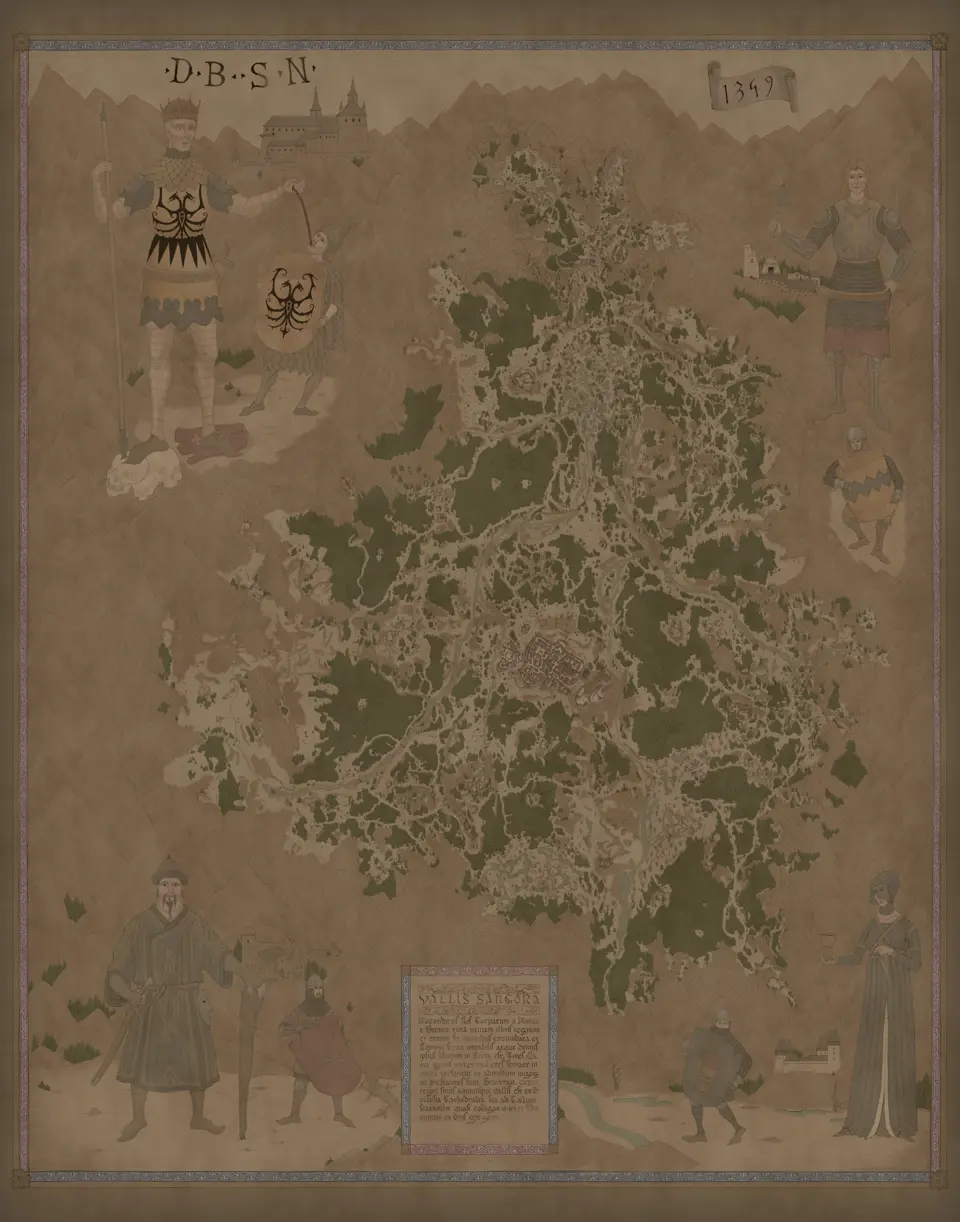
Layers this guide uses

Vale Sangora has 13 Ancient Circle markers. Open the complete Ancient Circle layer, keep only that layer visible, and use your found marks as a completion checklist. At every circle, follow the same confirmed sequence: Start the trial using Astral Communion Witchcraft Ability, Survive the trial, then Search the chest.
Do not count arrival as completion. The activity is finished only after you awaken the circle, defeat the guardians that answer the trial, and search the chest. The journal’s successful result says I've awoken the magic slumbering in the ancient circle and gained its power. Mark the map point found after that result, not when you first see the ruins.
Prepare before starting a circle
The altar requires the ability named in Start the trial using Astral Communion Witchcraft Ability. If the prompt does not let you begin, do not treat the marker as wrong or completed. Leave it unmarked, continue the relevant progression, and return when your current character can perform the stated action.
Prepare for a fight before activating the altar. The journal explains the consequence: As soon as I cast the hex, the guardians of the circle came to test or punish me. Whatever their reasons, I must defeat them. That makes the default order simple. Recover before interacting, finish any urgent nearby task, then commit to the trial. The alternative is to record the point and return later if you are not ready for the guardians.
The map proves the fixed locations, but it does not promise an enemy type, a reward amount, a daytime restriction or a travel time for every circle. Plan from the sequence the journal actually gives you. Avoid building a route around details that may differ or are not stated for the complete set.
Start the trial at the altar
Reach the selected marker and identify the altar inside the ruins. The objective clarifies the action: I have to use Astral Communion by the altar to awaken the magic resting in this ancient circle. Use the required ability beside the altar and wait for the objective to change.
If nothing begins, check three things. Confirm that you selected an Ancient Circle rather than another nearby activity. Stand at the altar, not merely inside the outer ruins. Finally, check that the journal still asks you to discover how the trial starts. The wider task can show Explore the ancient circles and Figure out how to start the trial before the local sequence becomes clear.
Do not mark the point found at this stage. Starting the trial creates the encounter; it does not finish it. Keep the marker selected so you can return to the same altar and chest after moving around during the fight.
Survive the guardians and search the chest
Once the guardians appear, the active instruction is Survive the trial. Defeat the encounter before leaving the circle. If you retreat or the activity remains open, keep the point unfinished and revisit it rather than assuming activation was enough.
After the fight, follow Search the chest. The journal makes the handoff explicit: It's done. Now let's see what's inside the chest. Search the activity chest before updating your checklist. This last interaction separates a cleared fight from a completed circle.
The safest completion test uses both signals. First, the local objective advances through altar, survival and chest. Second, the successful journal result confirms that the circle’s magic was awakened and its power gained. Only then mark the corresponding map point found.
Reconcile all 13 journal entries
The map contains 13 points, while the journal supplies a distinct title for each activity. Use the following official titles to check that your save has registered the full set. The map does not assign these titles to individual pins, so match them to your journal rather than guessing a title from a pin’s position.
- Ancient Circle: Northern Swamps
- Ancient Circle: East of Maragir
- Ancient Circle: St. Tyna's Grove
- Ancient Circle: Maragir Wealds
- Ancient Circle: East of Parlita
- Ancient Circle: North-West Pass
- Ancient Circle: The Wallows
- Ancient Circle: South-West Silts
- Ancient Circle: Blind Gorge
- Ancient Circle: Silts Overgrowth
- Ancient Circle: Southern Swamps
- Ancient Circle: Hills of Tantari
- Ancient Circle: Tantari Vista
Use the journal list as a set and total check. If you began marking points when you started this guide, each successful result can safely update the point you still have selected. An older save with no LootMap history cannot recover a title-to-pin match from this page. Compare completed totals, then revisit every pin you have not personally confirmed; if none can be identified, revisit the full layer rather than assigning titles by guesswork.
Choose an efficient collection order
Use a regional sweep rather than a rigid numbered route. Start from a discovered travel point near several unfinished circles, open the Ancient Circle layer, and choose the next marker that fits your current destination. Finish its full altar, guardian and chest sequence before moving on.
This default minimizes repeated setup and prevents half-finished activities from becoming ambiguous. Its cost is that the visually nearest marker may not be the best next stop if your current task leads elsewhere. In that case, combine the circle with the journey you already need to make and leave distant clusters for a later sweep.
After each success, mark exactly one point found. Reopen the layer whenever you change regions and count the remaining unmarked points. The category total is the fixed target; your found state is the personal progress record.
Fix a circle that will not complete
If the trial will not start, return to the altar and confirm the required ability is available. If the guardians appeared but the objective remains active, finish the encounter inside the activity instead of moving to another pin. If the fight is over but completion is missing, search for the chest and follow Search the chest.
If your totals disagree, separate discovery from completion. Seeing all 13 markers does not mean all trials are complete. Players who recorded each success can revisit their unmarked points. With older progress and no point history, the reliable options are a total comparison and a fresh sweep of every location you cannot personally confirm.
The journal also records the overall unsuccessful outcome as I didn't find the way to activate the ancient circles after all. Do not count that result as proof that the full set is complete. This page cannot establish whether that concluded state can be resumed, so follow the objectives still available in your current journal and do not infer a recovery path.
Maps in this guide
More The Blood of Dawnwalker guides
The Blood of Dawnwalker Shrine Fast Travel and Services Guide
Choose a discovered Shrine for the service you need, check the destination condition, and fix excess inventory weight before travel.Read the guideThe Blood of Dawnwalker Haunted Site Locations and Spirit Guide
Vale Sangora has 4 Haunted Site markers; investigate the scene, summon its spirits, defeat them, then search the chest before marking the site complete.Read the guideThe Blood of Dawnwalker Will-o-the-Wisps Locations Guide
Use the filtered Will-o-the-Wisps map as a checklist, follow the active journal instruction at each light, and mark the point only after the treasure result.Read the guideThe Blood of Dawnwalker Destroyed Shrine Restoration Guide
Select one Destroyed Shrine, follow the objective shown in your journal, recover its heart, and return before marking the repair complete.Read the guide