The Blood of Dawnwalker Shrine Fast Travel and Services Guide
Choose a discovered Shrine for the service you need, check the destination condition, and fix excess inventory weight before travel.
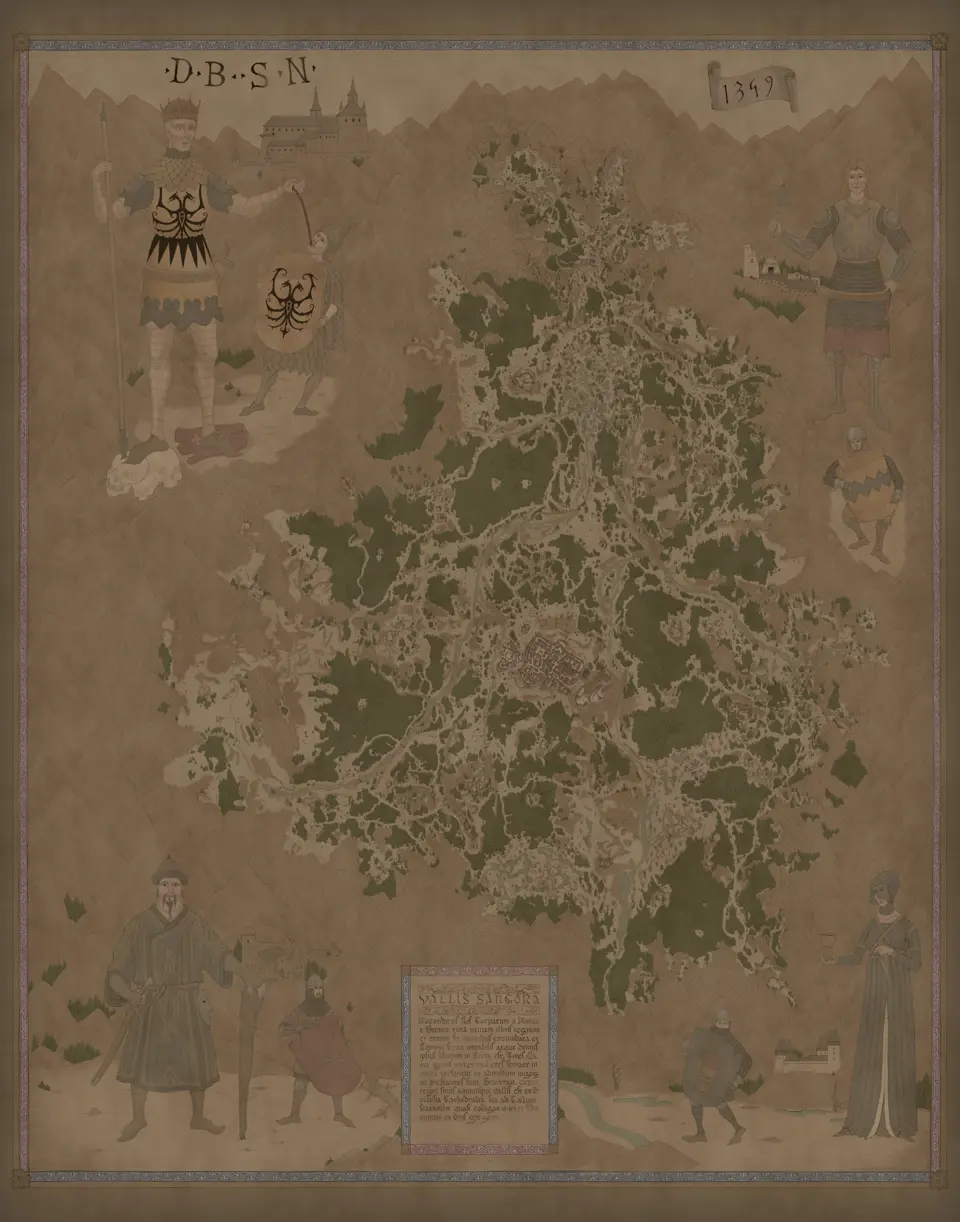
Layers this guide uses


Vale Sangora has 94 Shrine markers. Open the service-stop map, choose a shrine that is usable in your current save, and plan from the task you want to do after the stop.
The shrine description lists three services: Allows you to spend Skill Points, fast-forward time or travel to any other previously discovered fast travel point. The wider guidance also includes Storage. A visible marker tells you where the shrine is; your save determines whether a travel destination was previously discovered.
Repaired Destroyed Shrine points remain on the Destroyed Shrine layer. Once repaired, they provide the listed services, so the complete service map includes the 94 ordinary locations and the 19 repairable locations. An unrepaired point is not yet a usable stop.
The repairable-location description confirms the resulting services: A shrine you can restore to fast travel, spend Skill Points, and fast-forward time.
Travel stops when your carried inventory is too heavy. Use the complete recovery rule shown by the game: When you exceed your Inventory Weight Limit, you become Overencumbered. In this state you can't run or use Fast Travel. To reduce the Weight of your Inventory, Sell, Destroy, or stash some items in Storage, which you can access from every Shrine.
Choose the stop from your next task
Start with the service you need: point spending, time control, storage, or travel. Then compare visible shrines with the activity or settlement you want afterward. The nearest shrine to your present position is not automatically the best destination if it leaves a long final walk.
Keep both Shrine and Destroyed Shrine visible while choosing. For a damaged marker, first confirm that you repaired it in your current save. Then select the intended stop and open its card to keep a stable, shareable view.
If the place you reached is damaged and asks for an investigation, switch to the Destroyed Shrine restoration guide. This page covers service-ready shrines and does not treat the first visit to a repair activity as an available stop.
How fast travel works at a shrine
Travel through a shrine is limited to a previously discovered fast travel point. That clause matters. A marker visible on LootMap is not proof that your current save has discovered it. If the desired destination is absent from the shrine’s travel choices, reach and discover that place through normal movement first.
For a simple journey, use this order: confirm that the destination was discovered in your game, choose a nearby usable shrine, open the travel choice there, and select the destination. If the target has not been discovered, switch from travel planning to navigation. Use the map marker as the destination, reach it, and let the game establish its availability.
The default destination should be the discovered shrine nearest your next player task, not necessarily the closest one on the full map. A geographically short jump can still leave a longer final walk. Compare the shrine markers with the activity or settlement you actually want, and judge the last leg rather than the shrine alone.
When to move time forward
An ordinary shrine can fast-forward time. Use that service only after deciding which state your next confirmed task needs. The map shares one set of fixed locations across the game’s day and night forms; it does not label a shrine as a separate daytime or nighttime point.
Moving time forward has a cost even when no currency value is stated: your current form and immediate plan may change. Before confirming, reopen the next destination and make sure you still want to do that task after the change. If you only need travel or skill spending, do not advance time by habit.
The safer default is to combine services. Arrive at a usable shrine, spend any points you deliberately planned to spend, select the needed time only if the next activity requires it, then travel toward that activity. The alternative is to preserve the current time and use only the other shrine functions. This keeps the decision tied to a known next step.
Combine services without changing your plan by accident
Before using the shrine, state the result you want after leaving it. Spend points only when you have already chosen the upgrade, move time only for a known next task, and select travel only after confirming that the destination appears in the current save. Using storage is the practical first step when excess weight blocks travel.
A useful default is to solve blockers before optional choices. Reduce carried weight, confirm the destination, make the deliberate point or time decision, then travel. If no next task requires a time change, preserve the current time and use only the other services.
When the menu differs from what you expected, separate location from availability. Reopen the shrine map to confirm the physical stop, then inspect the current save for the destination discovery and weight conditions. Do not interpret a fixed map marker as proof that every menu choice is unlocked.
Maps in this guide
More The Blood of Dawnwalker guides
The Blood of Dawnwalker Ancient Circle Locations and Trial Guide
There are 13 Ancient Circle markers in Vale Sangora; activate each altar with the required ability, survive the trial, then search its chest.Read the guideThe Blood of Dawnwalker Haunted Site Locations and Spirit Guide
Vale Sangora has 4 Haunted Site markers; investigate the scene, summon its spirits, defeat them, then search the chest before marking the site complete.Read the guideThe Blood of Dawnwalker Will-o-the-Wisps Locations Guide
Use the filtered Will-o-the-Wisps map as a checklist, follow the active journal instruction at each light, and mark the point only after the treasure result.Read the guideThe Blood of Dawnwalker Destroyed Shrine Restoration Guide
Select one Destroyed Shrine, follow the objective shown in your journal, recover its heart, and return before marking the repair complete.Read the guide