The Blood of Dawnwalker Haunted Site Locations and Spirit Guide
Vale Sangora has 4 Haunted Site markers; investigate the scene, summon its spirits, defeat them, then search the chest before marking the site complete.
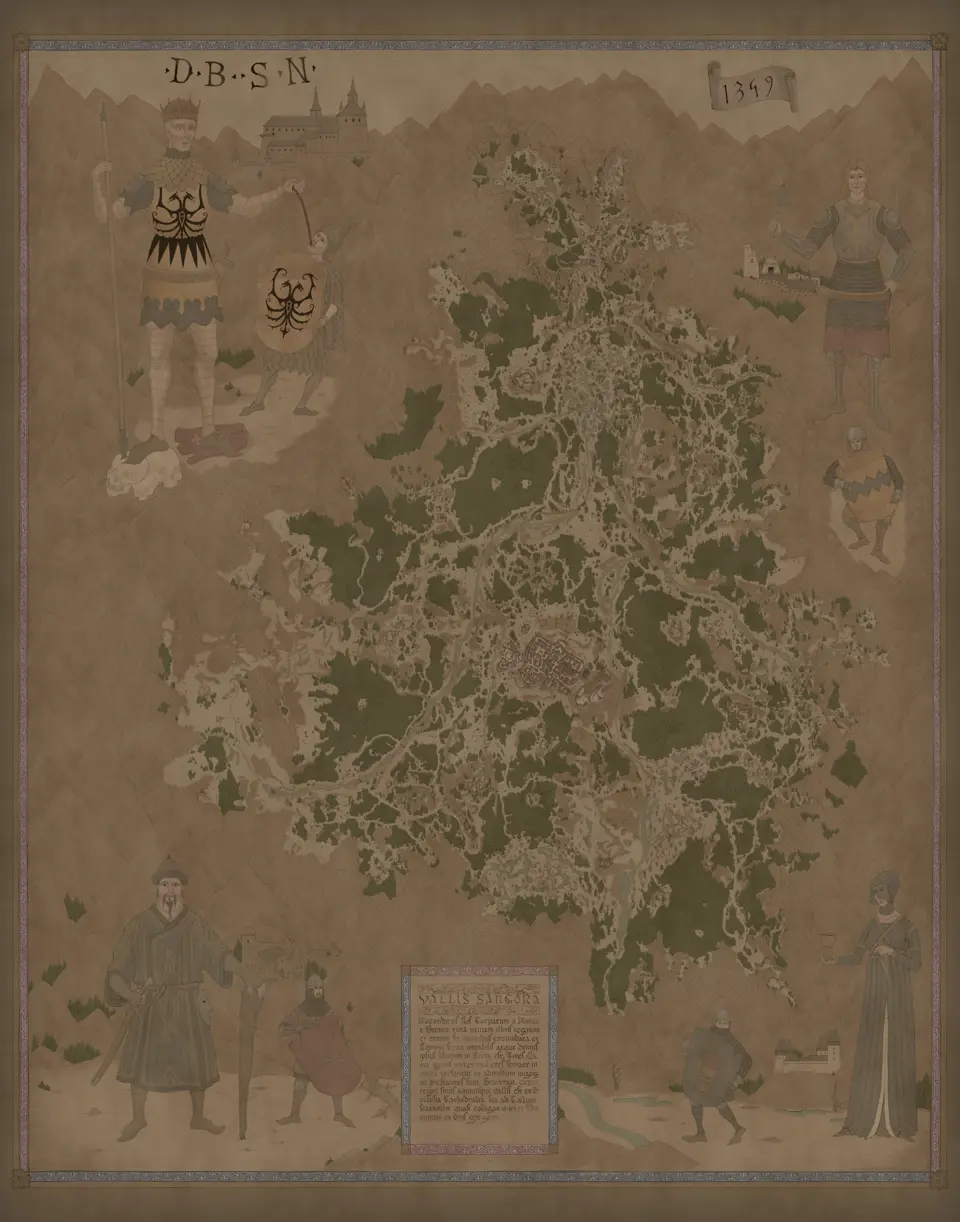
Layers this guide uses

Vale Sangora has 4 Haunted Site markers. Open the filtered layer and use it as a focused checklist. At each location, investigate the old tragedy, follow Summon the spirits, complete Defeat the spirits, and finish with Search the chest.
Arrival is only the start. The local successful result is I've put the spirits to rest. For the complete set, the wider journal result is I've visited the haunted sites of Vale Sangora and given rest to its wayward souls. Mark a site found only after its spirits are gone and its chest step is complete.
Investigate before summoning anything
Select one marker and keep it selected while you enter the scene. The wider task can ask you to Investigate the scene of the old tragedy. Look through the activity area until the journal advances. Do not assume that stepping across the marker’s coordinate is the investigation itself.
The sites represent different old tragedies, but the reliable action sequence is shared. Treat visible remains and scenery as the area to inspect, not as proof that you have already triggered the activity. When the journal moves to the spirit step, you know the investigation registered.
If nothing changes, confirm that you chose a Haunted Site rather than an overlapping activity. Reopen the filtered map, zoom in, and return to the selected location. Keep the point unmarked until the objective progresses.
Summon the spirits and stay for the fight
After the investigation, follow Summon the spirits. The journal explains the intention: I should summon the spirits that haunt this place so they can be put to rest at last. Prepare before performing the interaction because the next step is a combat objective.
Once the spirits appear, the journal changes to Defeat the spirits. It also states The spirits are here. I can now grant them their eternal rest. No more anguish. Finish the encounter before leaving the site. Moving to the next pin after the summon would leave this activity in an uncertain state and make the checklist less useful.
The safest default is one complete site at a time: investigate, summon, defeat, chest, then mark. If you are not ready to fight, do not begin the sequence. Leave the point unmarked. This page cannot establish what happens after an activity closes or whether a failed site can be resumed.
If the journal records In the end, I didn't put the spirits to rest., that site has not supplied the success needed for your list. The overall result I wasn't able to visit all the haunted sites of Vale Sangora – other things got in the way. also does not prove a full clear. Neither result proves that recovery is possible. Follow a current objective only while the journal still presents it.
Search the chest before marking the site
Defeating the spirits is not the final journal step. Follow Search the chest. The local explanation says The spirits are gone. Now let's see what's inside the chest. Search the activity chest, wait for the local success result, and only then update your map mark.
Use both signals. First, the active objective must advance beyond the chest. Second, the journal must say the spirits were put to rest. A cleared combat area without the chest interaction is not enough for this checklist.
If you lose track of the chest after moving during combat, return toward the selected marker and inspect the same activity scene. Do not use a nearby unrelated container as confirmation. The journal objective is the deciding signal.
Check every official activity title
The map has 4 fixed points. The journal identifies the activities with these official titles:
- Haunted: River Massacre
- Haunted: Site of Crucifixion
- Haunted: Destroyed Caravan
- Haunted: Mass Grave
Use the titles to verify the set and completed total, not to guess which title belongs to a particular pin. The map does not publish a stable title-to-pin assignment. If you start tracking with this guide, mark the point that remains selected immediately after each confirmed success.
For an older save with completed journal entries but no LootMap history, compare the completed title count with the category total. Revisit every site you cannot personally confirm. If you cannot distinguish any of them, sweep all 4 markers rather than inventing a mapping.
Choose a practical order
Because the set is small, combine each site with a journey you already need to make. Start from a discovered travel point, open the filtered activity layer, and choose the unfinished marker nearest your next confirmed task. Complete the full sequence before continuing.
This default reduces separate travel while keeping each activity’s state clear. Its cost is that the shortest visible line between markers may not match your current route. If no other task takes you near a site, switch to a dedicated regional sweep and clear the remaining points one by one.
After each local success, mark exactly one point. Recount the unmarked locations when you change regions. The category total is the fixed target; the marks describe only your own progress.
Fix a site that remains open
If the task never advances after arrival, continue the investigation around the old tragedy and follow Investigate the scene of the old tragedy. If the spirits do not appear, check for the explicit summon step. If they appeared but the site remains active, complete Defeat the spirits. If the fight ended without success, search the chest.
When your totals disagree, separate seeing a pin, starting its investigation, defeating the spirits, and finishing the chest. Only the last confirmed result belongs in a full-clear count. With no reliable point history, revisit uncertain sites instead of assigning official titles to coordinates by memory.
Maps in this guide
More The Blood of Dawnwalker guides
The Blood of Dawnwalker Shrine Fast Travel and Services Guide
Choose a discovered Shrine for the service you need, check the destination condition, and fix excess inventory weight before travel.Read the guideThe Blood of Dawnwalker Ancient Circle Locations and Trial Guide
There are 13 Ancient Circle markers in Vale Sangora; activate each altar with the required ability, survive the trial, then search its chest.Read the guideThe Blood of Dawnwalker Will-o-the-Wisps Locations Guide
Use the filtered Will-o-the-Wisps map as a checklist, follow the active journal instruction at each light, and mark the point only after the treasure result.Read the guideThe Blood of Dawnwalker Destroyed Shrine Restoration Guide
Select one Destroyed Shrine, follow the objective shown in your journal, recover its heart, and return before marking the repair complete.Read the guide