The Blood of Dawnwalker Destroyed Shrine Restoration Guide
Select one Destroyed Shrine, follow the objective shown in your journal, recover its heart, and return before marking the repair complete.
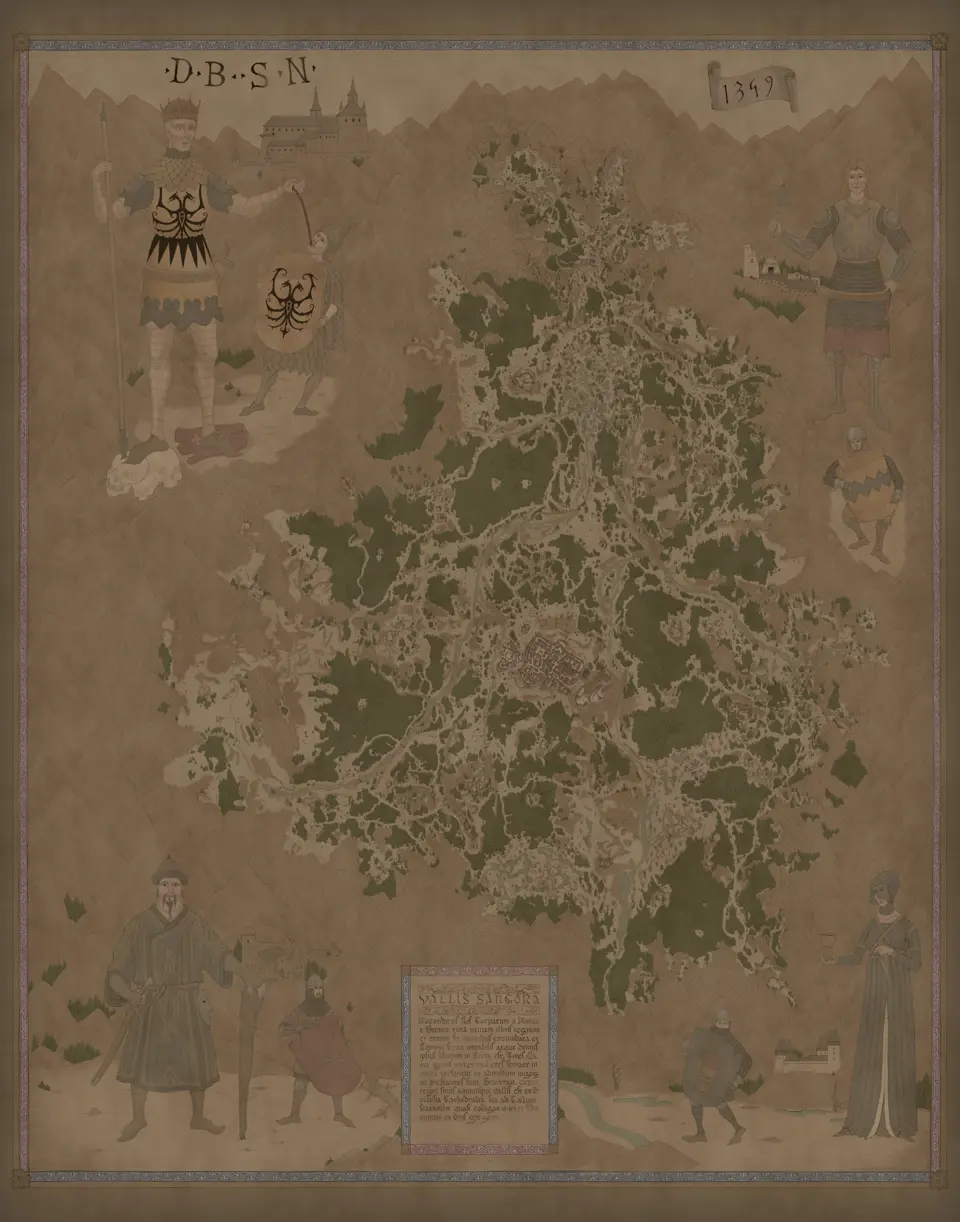
Layers this guide uses

Vale Sangora has 19 Destroyed Shrine markers. Open the restoration checklist, select one starting point, and leave it selected while its investigation leads away from the marker. A first visit is not completion.
The location description gives the result of the activity: A shrine you can restore to fast travel, spend Skill Points, and fast-forward time. The work before that result varies. Read the objective attached to the shrine in your current journal instead of forcing every marker into one route.
Treat each selected marker as one open case. Follow its clues, recover the missing heart when directed, return to that same shrine for Restore the shrine, and mark it found only after the restored state is acknowledged.
Begin a destroyed shrine restoration
Select a Destroyed Shrine marker and reach the physical shrine. Follow the journal prompt that appears for that location. Several restoration entries begin with Investigate the shrine. When the next step is Search for clues around the shrine using Focus Mode, search the immediate scene in that mode before leaving the area.
Do not force every shrine into the same sequence. Some entries continue with Follow the tracks and then Search the area using Focus Mode. Others tell you to stop soldiers and search them. A separate chain can direct you toward a house and a stash of missing shrine hearts. The active journal objective is the authority for the branch you encountered.
When a direct confrontation appears, follow its exact objective pair:
- Stop the soldiers → Search the soldiers
- Stop the guards → Search the guards
After you recover the heart, the journal can switch to this exact return instruction:
I reclaimed the shrine's heart. Only thing left to do is return to the shrine and restore it.
The journal result is the observable completion signal. Success wording varies by branch; the next two entries are soldier and guard examples, followed by the common unfinished result:
I stopped the soldiers and was able to restore the shrine to its former glory.
It turns out that the attic was a meeting place for two Christian lovers who weren't discreet enough – and were reported to the guard. The Christians were already dead when I arrived there, but at least I was able to restore the shrine they prayed to.
Since I couldn't waste any more time, I wasn't able to restore the shrine to its former glory.
This is why a blind circuit that touches every marker is a poor restoration route. Reaching a marker may start an investigation that leads away from it and then requires a return. Finish the branch you opened before selecting another destroyed shrine, unless the journal explicitly gives you a broader collection task.
Recover the heart and return
The recurring restoration problem is a missing shrine heart. Follow the current evidence until the journal changes to a recovery or return step. If the task directs you along tracks, keep following that branch. If it directs you to search an area, use the requested mode. If soldiers are involved, follow the stop and search objectives shown for that event.
Once the game gives Restore the shrine, return to the same shrine rather than marking it complete at the recovery site. After reclaiming the heart, bring it back and complete the restoration. The outbound search and the final return are both part of the activity.
Keep the original marker selected while following the branch. If the investigation takes you away from the road, the selected point remains the return reference. Mark it found in LootMap after the game confirms restoration, not when you first inspect it or recover an item.
Handle the wider missing-hearts branch
One restoration chain is broader than the local track or soldier variants. Its objectives include Find Breslauer's house, Search Breslauer's attic using Focus Mode, Find the stash and Find the missing hearts. Follow that journal chain when it appears instead of assuming every shrine’s heart lies near its marker.
This branch changes the useful route. A local investigation should usually be completed immediately because its evidence remains tied to the nearby scene. A stash branch can supply a later restoration step, so preserve the journal’s order and return to the specific destroyed markers when their hearts are available.
Do not infer that every marker uses the stash. The task wording distinguishes the wider branch from local investigations. Read the objective attached to the shrine you selected, then use the matching procedure.
Verify restoration before updating the map
A restoration is complete when the game acknowledges the shrine’s restored state. Reaching the point, inspecting damage, finding tracks, defeating an obstacle or recovering a heart is not the final check on its own. Complete the return interaction and wait for the journal result.
After confirmation, mark the corresponding Destroyed Shrine found. The found state is your personal checklist, while the game’s restored state controls the services. If you use found marks for initial visits instead, you lose the ability to distinguish an open investigation from a finished shrine.
For a full reconciliation, compare the 19 activity markers with your completed marks. Ordinary Shrine markers are a separate layer and should not be counted as unfinished restorations. Keeping the two filters separate prevents repaired services and remaining repair tasks from being mixed into one total.
Fix a trip that did not work
If a destroyed shrine does not restore after you inspect it, read the active objective. Look for the requested search, tracks, an area search, soldiers or the missing-hearts chain. Do not stop after recovering the heart. Return for Restore the shrine and wait for confirmation.
Keep open investigations separate
Finish the branch from one selected marker before opening another whenever your journal permits. That default costs fewer return checks and preserves a clear link between the selected start, the heart you recovered, and the shrine that still needs the final interaction. The alternative is to leave an investigation open, but then keep its map point unmarked and use the journal, not memory, to decide what remains.
If two open activities seem alike, do not transfer a clue or a result from one marker to the other. Reopen the filtered restoration map, choose the point whose branch you can currently follow, and require its own completion acknowledgment. The fixed category total is the target; your found marks should represent only repairs you personally confirmed.
Need travel, point spending, time control, or inventory recovery instead? Use the separate Shrine services guide. It answers the usable-shrine task without treating an unfinished restoration as an available service stop.
Maps in this guide
More The Blood of Dawnwalker guides
The Blood of Dawnwalker Shrine Fast Travel and Services Guide
Choose a discovered Shrine for the service you need, check the destination condition, and fix excess inventory weight before travel.Read the guideThe Blood of Dawnwalker Ancient Circle Locations and Trial Guide
There are 13 Ancient Circle markers in Vale Sangora; activate each altar with the required ability, survive the trial, then search its chest.Read the guideThe Blood of Dawnwalker Haunted Site Locations and Spirit Guide
Vale Sangora has 4 Haunted Site markers; investigate the scene, summon its spirits, defeat them, then search the chest before marking the site complete.Read the guideThe Blood of Dawnwalker Will-o-the-Wisps Locations Guide
Use the filtered Will-o-the-Wisps map as a checklist, follow the active journal instruction at each light, and mark the point only after the treasure result.Read the guide