The Blood of Dawnwalker Will-o-the-Wisps Locations Guide
Use the filtered Will-o-the-Wisps map as a checklist, follow the active journal instruction at each light, and mark the point only after the treasure result.
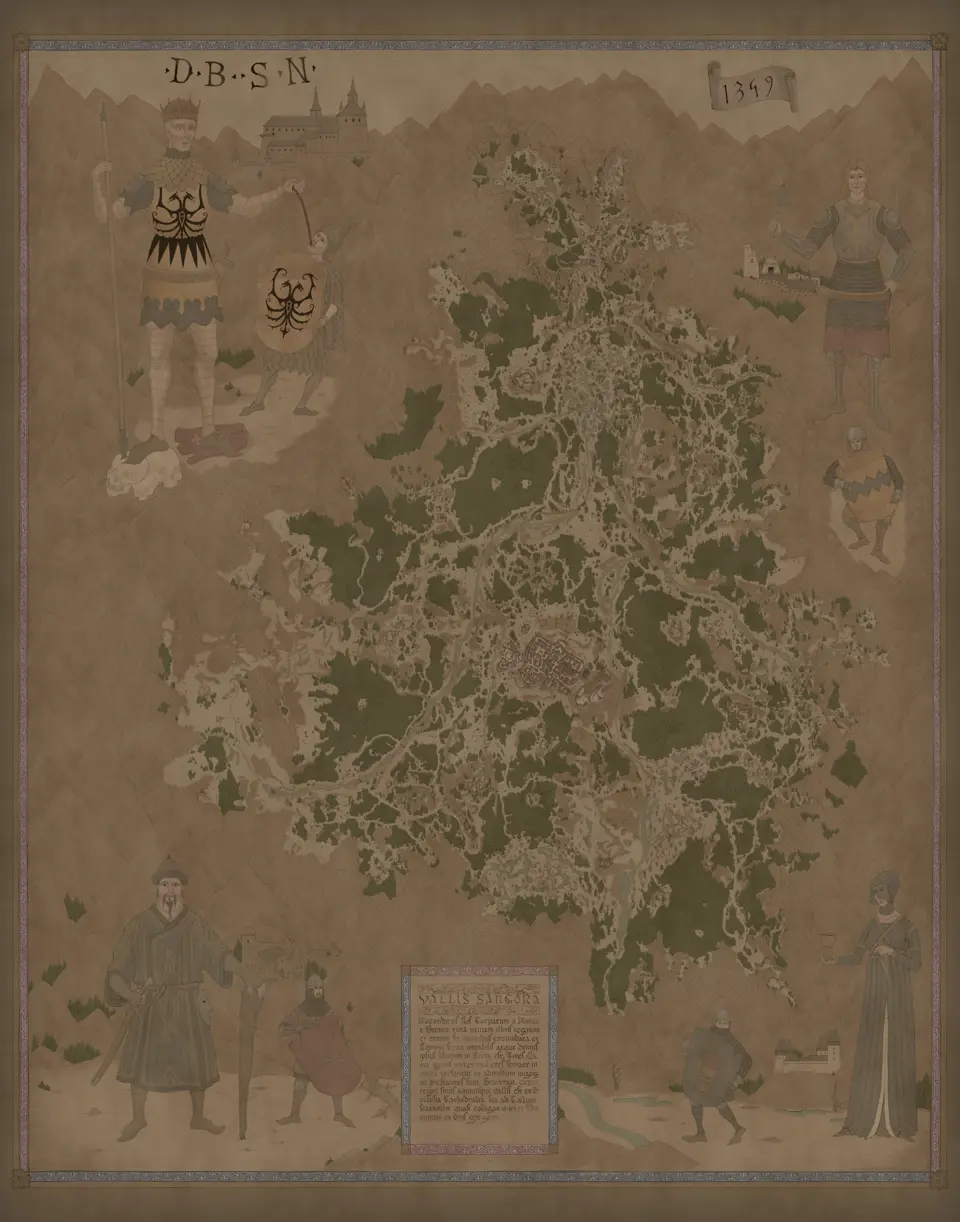
Layers this guide uses

Vale Sangora has 6 fixed Will-o-the-Wisps markers. Open the filtered layer, select one point, and keep it selected while you investigate the dancing lights. Follow whichever objective your current journal displays until you reach the stash and receive the local success result.
Do not mark a point at first sight. The discovery text says I've spotted dancing lights up ahead. I could follow them to see what treasures they hoard. That is an invitation to begin, not proof that the treasure hunt is complete.
Start from one selected light
Keep only Will-o-the-Wisps visible when you approach a marker. Selecting the point before leaving the map gives you a stable reference if the lights move away from the starting area. It also keeps another nearby activity from becoming your accidental checklist entry.
Enter the activity area and read the current journal objective. The available formal instructions include See what the wisps want to show you, Search for the wisp treasure, Follow the wisps, and Get to the wisp treasure. These are possible states, not a guaranteed universal order. Always act on the one shown in your save.
The related note repeats the same practical direction: I must see where these will-o-the-wisps want to guide me. Stay with the activity until its active instruction changes.
Follow the activity rather than the map pin
The marker identifies the fixed starting location. Once the hunt begins, the active lights and journal are your guide. Do not keep walking back to the starting coordinate merely because the objective moved away from it. The selected point is a return reference for your checklist, not a claim that every stage happens on that exact spot.
If the journal tells you to follow, keep the lights in view and continue until the objective changes. If it tells you to search, inspect the area indicated by the activity instead of opening unrelated containers along the route. If it tells you to reach the treasure, continue until the stash interaction becomes available.
This guide does not give you a fixed path, travel time, enemy rule, or reward list. Choose your approach from what is present in your current activity. A route that worked at one marker may not use the same turns or obstacles as another.
Reach the stash and confirm success
When the journal displays Get to the wisp treasure, reach the activity’s stash and complete the treasure interaction. Do not treat proximity, a stopped light, or an ordinary container as the final check.
The local success appears in one of these official forms:
- I've survived the will-o-the-wisps's trickery and found their treasure.
- I've survived will-o-the-wisps's trickery and found their treasure.
After one of those results appears, mark the original selected point found. One success should produce one checklist mark. If you lose track of which point began the hunt, reopen the filtered map and leave uncertain points open rather than assigning the result from memory.
If the journal instead records I decided that following the lights would be a waste of precious time., the activity has not supplied the success required for this checklist. That result does not prove that the hunt can be resumed. Continue only when the current journal still offers an objective.
Check the official activity set
The journal uses these activity titles:
- Wisp Treasure Hunt: East Road
- Wisp Treasure Hunt: Watermill Hills
- Wisp Treasure Hunt: Drawing Place
- Wisp Treasure Hunt: South Foot
- Wisp Treasure Hunt: North Clearing
- Wisp Treasure Hunt: North Creek
Use the titles to compare the completed journal set with 6. The map does not publish a stable title-to-pin assignment, so do not attach a title to a coordinate by guesswork. Starting with an empty LootMap list is straightforward: select one marker, finish its local hunt, and mark that same marker immediately.
For an older save, count confirmed completed titles and compare that number with the category total. Revisit every marker you cannot personally account for. If several entries are complete but your map history is empty, sweep all unconfirmed points; a guessed mapping makes the last missing hunt harder to identify.
Choose a practical sweep
The default is to combine a hunt with travel you already need. When another task takes you near a marker, open the filtered map, complete that activity through its local result, then continue the original journey. This reduces separate travel, while leaving remote hunts for later.
For a dedicated cleanup, reopen the filtered map from wherever you are and choose an unmarked start that fits the roads you already know. Complete one hunt before selecting the next. The map does not calculate the moving-light route, so the shortest line between starts is only a planning aid, not a promised activity path.
Recount the unmarked points after each success. The fixed category total is your target; found marks are your personal history. Keeping those two ideas separate prevents a visible marker from being mistaken for a completed hunt.
Fix a hunt that remains open
First read the active objective instead of assuming a missing step. See what the wisps want to show you and Follow the wisps keep attention on the lights. Search for the wisp treasure changes the task to searching. Get to the wisp treasure means the stash is the remaining target.
If no local success appears, do not mark the point. Check whether the journal still shows one of those objectives and continue only that instruction. If the failure result is already recorded, this guide cannot establish recovery. When your total disagrees with the map, return to unconfirmed starts and require a local success before adding each mark.
Maps in this guide
More The Blood of Dawnwalker guides
The Blood of Dawnwalker Shrine Fast Travel and Services Guide
Choose a discovered Shrine for the service you need, check the destination condition, and fix excess inventory weight before travel.Read the guideThe Blood of Dawnwalker Ancient Circle Locations and Trial Guide
There are 13 Ancient Circle markers in Vale Sangora; activate each altar with the required ability, survive the trial, then search its chest.Read the guideThe Blood of Dawnwalker Haunted Site Locations and Spirit Guide
Vale Sangora has 4 Haunted Site markers; investigate the scene, summon its spirits, defeat them, then search the chest before marking the site complete.Read the guideThe Blood of Dawnwalker Destroyed Shrine Restoration Guide
Select one Destroyed Shrine, follow the objective shown in your journal, recover its heart, and return before marking the repair complete.Read the guide