S.T.A.L.K.E.R. 2: Heart of Chornobyl Stash and Clue Map
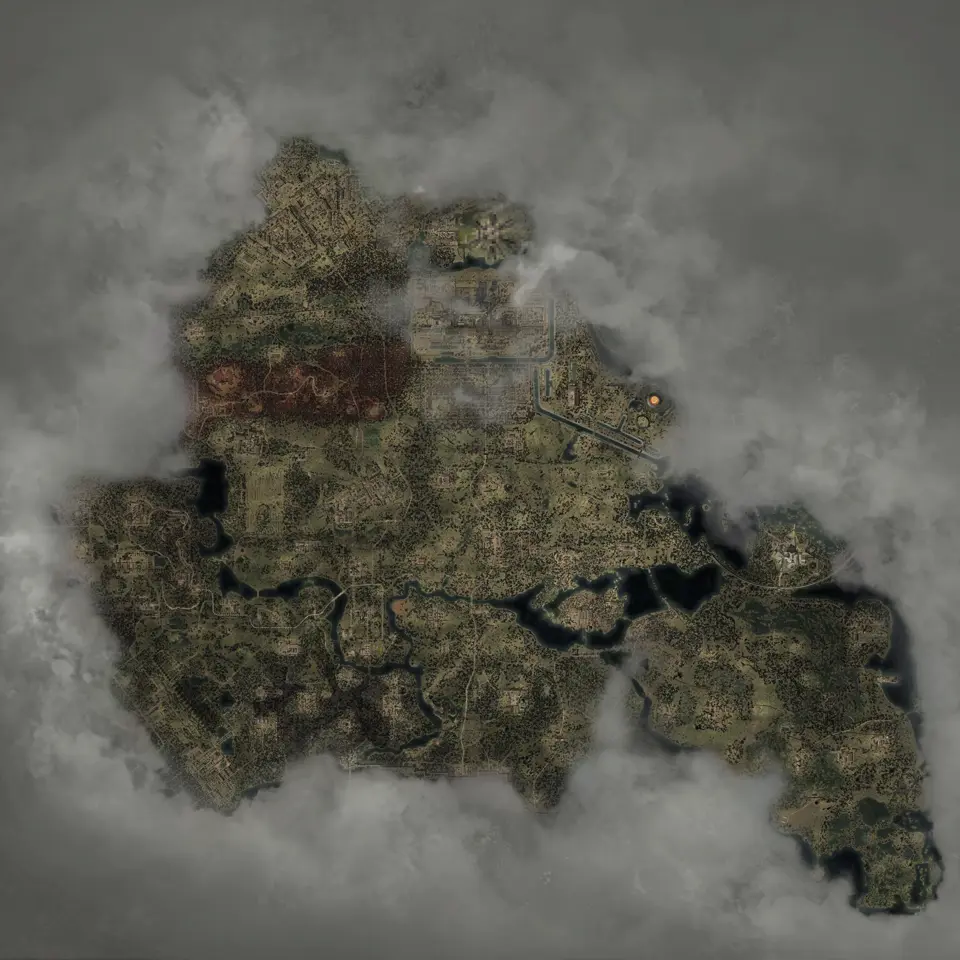
Five separate layers contain 1,868 map markers for containers, unlock items, PDAs, documents, and mission objects, so you can search each type separately.
Layers this guide uses


The map separates 1,515 container markers, 46 unlock-item markers, 116 PDA markers, 116 document markers, and 75 mission-object markers. Open all five layers when tracing a clue, then keep only the layer that contains the object you need.
The 1,868 total is the number of map markers across all five layers. Some items have more than one marker, and story progress can affect availability.
Why containers and unlock items are separate
A container marker shows the lock or cache. An unlock-item marker shows the object used to open it. Related markers can appear in different places.
Search the container name first if a clue gives one. If it requires an item, add Keys and search that object’s in-game name. Drawing a straight line between the two points is only a planning aid; terrain and mission access still decide the route.
Open Stashes and Keys alone for the cleanest lock-and-container view.
PDAs versus Notes
PDAs and written documents have their own layers. Both preserve available in-game titles and descriptions, which makes exact-name search more reliable than scanning nearby generic icons.
Use this rule:
- Search PDAs when the clue names a device, owner, or PDA entry.
- Search Notes when the clue names a written message or document.
- Search both only when the guide or quest does not identify the format.
The separate layers also make a region sweep easier. Finish a PDA pass, then switch to Notes without mixing the two checklists.
Quest items provide conditional context
The mission-object layer has 75 markers. Their positions can depend on mission state, and an item may be unavailable outside the expected stage.
Check the current quest text before treating a quest-item point as missing. The active mission stage determines whether a conditional item is available.
For mission context, add main- and side-story objectives after selecting the item. Remove those layers again once the active objective is clear.
How to search a clue-linked container
- Type the exact container or clue name into map search.
- Select the result rather than panning across all 1,515 icons.
- Read the marker description for the in-game clue text.
- Add Keys, PDA records, or documents only if the clue points to one of them.
- Copy the selected marker URL before leaving the page.
This is faster than leaving every document layer visible. It also reduces the chance of opening a nearby but unrelated stash.
Marking collection progress
After checking a point in the game, open its marker card and choose Mark as found. The marker fades, and the status stays in the current browser. Treat it as a personal checklist after confirming each item in the game.
Use separate passes for Stashes, PDA records, and documents. A single all-layer sweep is possible, but the large container layer will dominate the map and make smaller document sets harder to see.
Add route context without adding clutter
Stashes with Beds and merchant pins is a useful long-route view. Add repair-service pins when carrying gear that needs work. Add Locations when a clue uses a landmark rather than a container name.
Avoid Medical Supplies and Ammo Supplies until you zoom in. Together they add 3,595 markers and can hide the container route you were trying to plan.
Maps in this guide
More S.T.A.L.K.E.R. 2: Heart of Chornobyl guides
S.T.A.L.K.E.R. 2: Heart of Chornobyl Zone Interactive Map
The S.T.A.L.K.E.R. 2: Heart of Chornobyl map holds 17,109 markers in 49 layers, including named borders, landmarks, and loot for Iron Forest and CNPP.Read the guideHow to Begin S.T.A.L.K.E.R. 2: Cost of Hope: Save Guide
The cleanest S.T.A.L.K.E.R. 2: Cost of Hope start is after leaving Lesser Zone, when Answers Come at a Price begins, but an eligible existing save or a DLC skip start also works.Read the guideS.T.A.L.K.E.R. 2: Heart of Chornobyl Iron Forest DLC Map
The map shows S.T.A.L.K.E.R. 2: Cost of Hope landmarks and loot in Iron Forest and CNPP. Use the in-game journal for DLC missions and confirm available services in your current save.Read the guideS.T.A.L.K.E.R. 2: Heart of Chornobyl Update 2.0 Guns Map
The map has fixed Update 2.0 markers for ARev, GP3A, and Fora-230. Other new models without a published fixed point are outside this location checklist.Read the guideS.T.A.L.K.E.R. 2: Heart of Chornobyl Exoskeleton Map
The current S.T.A.L.K.E.R. 2: Heart of Chornobyl map has 106 standard suit placements and 2 Unique Armor pins for that unique suit, including 12 exoskeleton placements; selected models are compared below.Read the guide