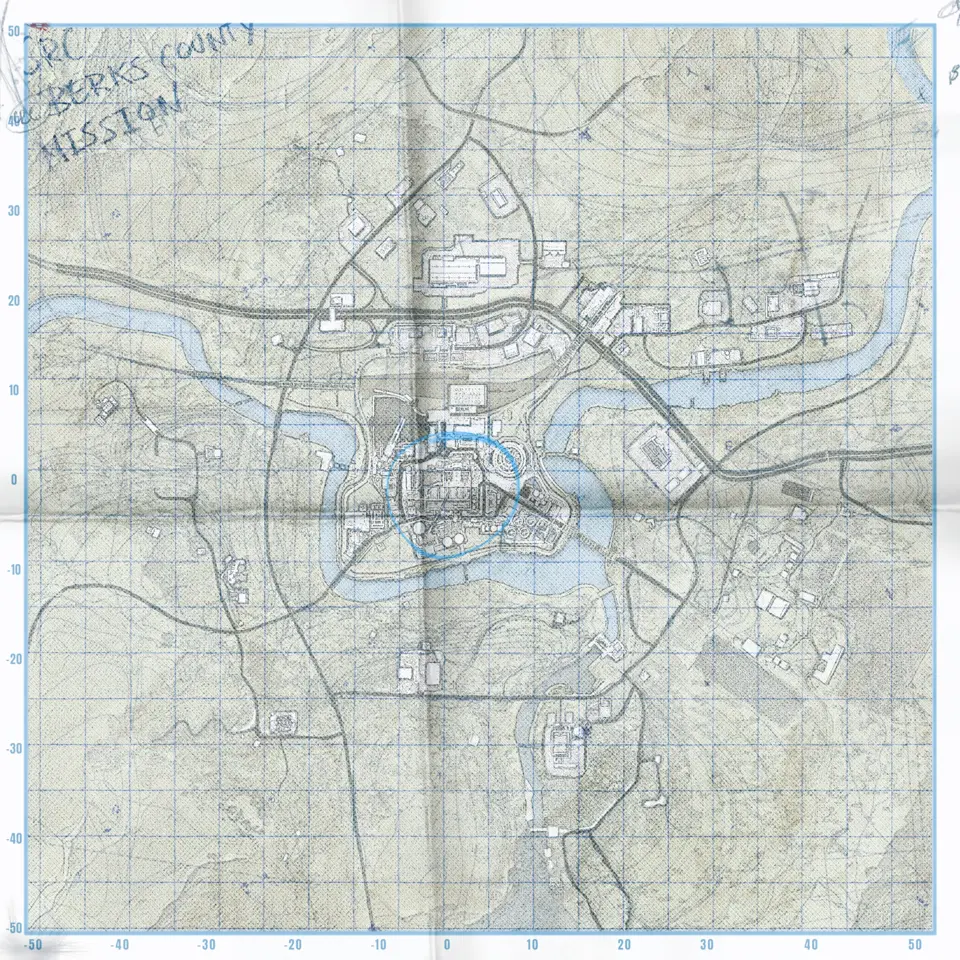
No More Room in Hell 2 Survival Mode Maps and Routes
Survival has 3 maps and 3 waves of about 5 minutes; success adds supplies, while 2 failed waves unlock early extraction.
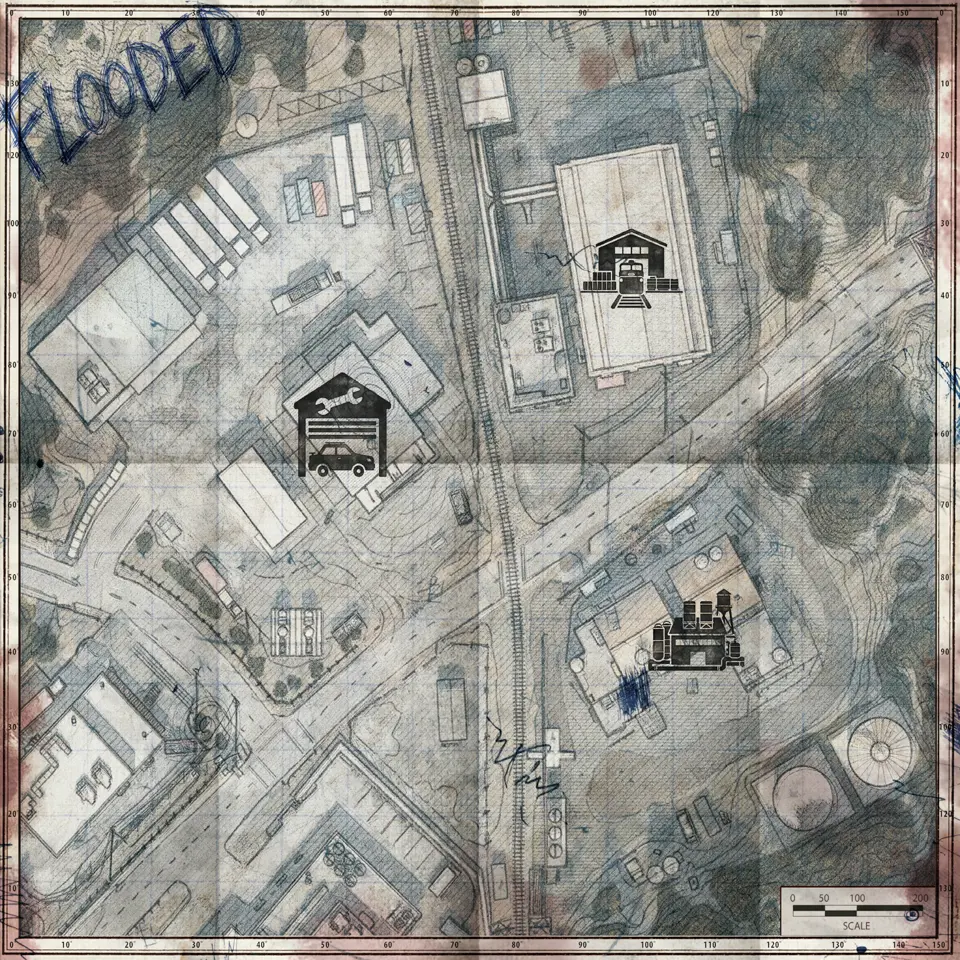
No More Room in Hell 2 Survival mode runs for 3 defense waves of about 5 minutes each. The setup phase includes a supply drop before the first wave, and each successful wave adds another. After completing 3 waves, follow the game prompt to the helicopter extraction. If the team fails 2 waves, early extraction becomes available.
The 3 Survival maps are FLOODED, LIGHTHOUSE, and NIGHT OF THE LIVING DEAD. Each map page separates defense zones, possible supply drops, early extraction candidates, the final extraction point, and named locations. Open the complete layer set on FLOODED to see the full match structure.
Plan one wave at a time
Before the first wave, use the setup phase and the supply drop. Then identify the active defense zone in the game and select the matching map marker. Pick a nearby named location as the regroup callout. The zone is the task; the location name gives scattered players a shared reference.
During the wave, avoid opening a new route just because a supply marker looks close. The next supply drop comes after a successful wave, and the marked points are candidates. When the match announces that additional supply, check which location it enabled. Then decide who collects it and who holds the path back to the next defense.
After the wave, read the new match state before moving. A success, another defense, a supply opportunity, and an extraction prompt lead to different routes. The map shows all of those possible places at once, while the game decides which one matters now.
FLOODED route references
Show the complete FLOODED layout. Its named locations are Mechanic, Chemical Plant, and Train Yard. Use those names to divide the map into understandable areas before the wave begins.
Each defense zone has its own marker, and the map also shows supply candidates plus early and final extraction. Do not assume that the nearest candidate is active. Wait for the current supply indication, then take the shortest route that still lets the collector return safely to the team’s next known point.
LIGHTHOUSE route references
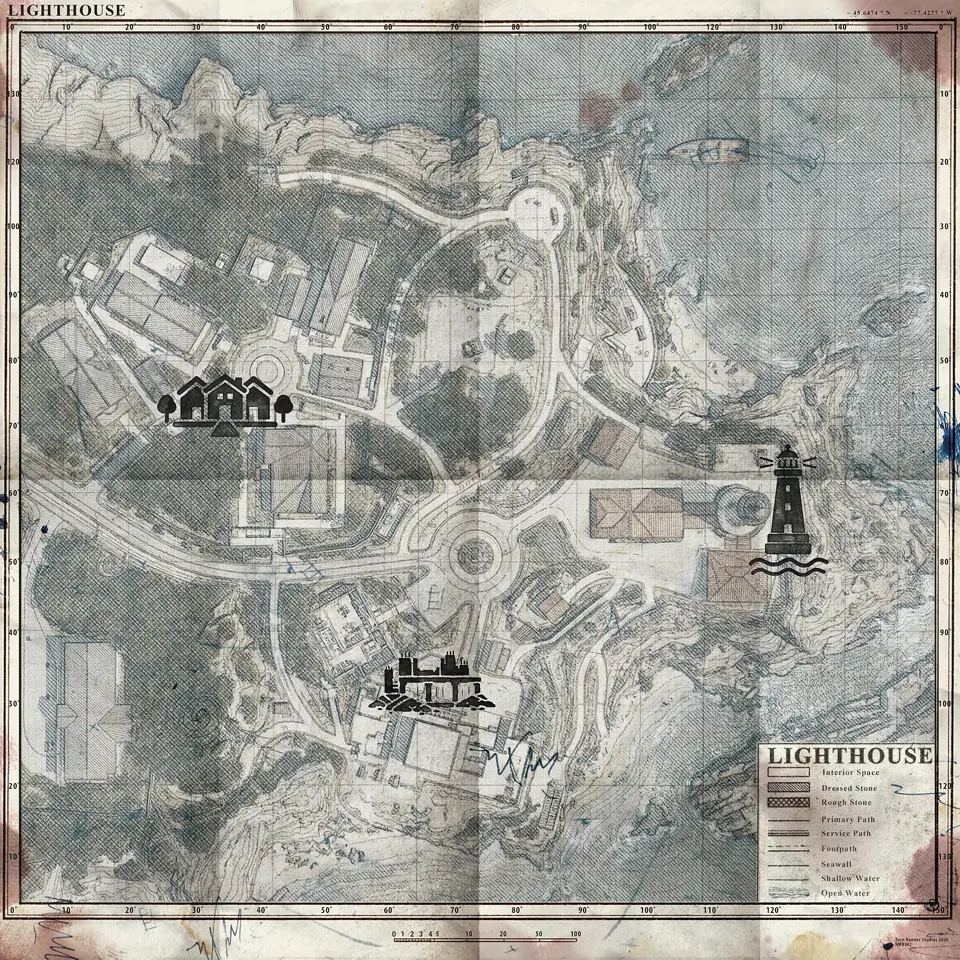
Open every Survival layer on LIGHTHOUSE. The location layer names Fort, Houses, and LIGHTHOUSE. These are clearer voice callouts than compass-only descriptions when the group divides after a wave.
Check which defense zone is active, agree on the approach from the current named area, and keep the extraction markers as later references. If a player heads for a possible supply drop before it is selected, call them back to the last location everyone recognises. A short correction before the next wave is cheaper than rebuilding the group during it.
NIGHT OF THE LIVING DEAD route references
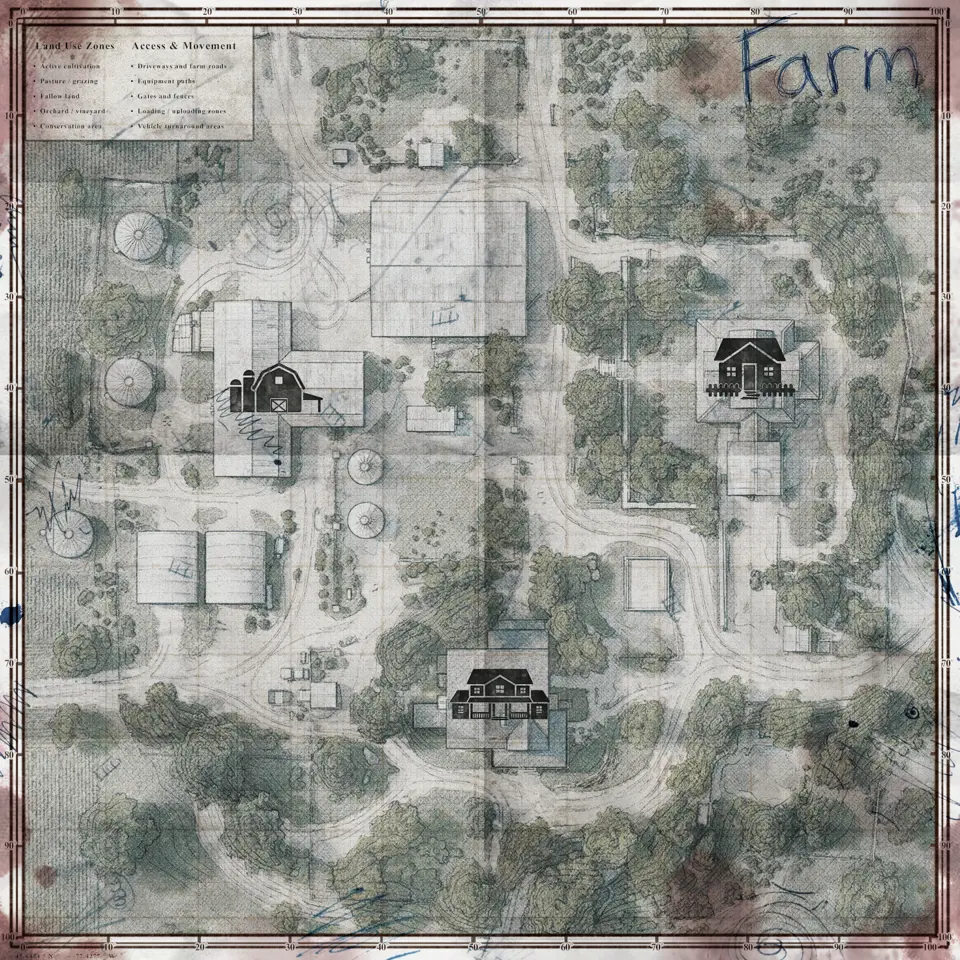
Use the full map for NIGHT OF THE LIVING DEAD. Its landmarks include Barn, Guest House, Farm House, and Butler County.
This page maps 11 possible supply markers, which makes filtering useful. It does not mean every candidate is stocked in one run. Hide the supply layer during a defense if the extra pins obscure the active zone, then switch it back on only when the match offers a drop.
Extraction decisions after success or failure
After completing 3 defense waves, route to the final extraction point shown by the helicopter phase. Keep the team together for the last movement. A final extraction marker is not an invitation to leave the defense early.
After 2 failed waves, the match makes early extraction available. Open the Early Extraction layer and confirm which candidate is active in the game. Leaving can preserve the remaining team, but running toward a map candidate before the prompt appears does nothing useful.
Common failures come from mixing the two extraction types, treating every supply candidate as guaranteed, or travelling to the next defense before the game selects it. Another mistake is planning all 3 waves as one continuous loop. The active sequence can force a different direction, so plan the next confirmed leg and preserve a known regroup point.
These wave and extraction rules apply to build 1.0.4.0 and the Survival mode introduced with an earlier release. Scenario objective markers do not belong in this workflow. If you need changing mission tasks rather than timed defense zones, use the Scenario route guide and one of its 6 maps.
Maps in this guide
More No More Room in Hell 2 guides
No More Room in Hell 2 Maps: All 10 Maps and Modes
No More Room in Hell 2 currently has 10 maps: 6 Scenario maps, 3 Survival maps, and 1 training map.Read the guideNo More Room in Hell 2 Map Difficulty: Best First Map
Start at CRC TRAINING CAMP, then choose BEAULIEU HOSPITAL, POTTSVILLE, or FLOODED for the mode and navigation skill you want to practise.Read the guideNo More Room in Hell 2 POWER PLANT Code and Objectives
POWER PLANT has no single keypad code that works for every match; follow the active objective, find its current clue, and use the map for possible sites.Read the guideNo More Room in Hell 2 Scenario Objective Map Routes
Build each Scenario route from the current objective log, a matching mission marker, one named landmark, and an enabled early extraction option.Read the guide