No More Room in Hell 2 Scenario Objective Map Routes
Build each Scenario route from the current objective log, a matching mission marker, one named landmark, and an enabled early extraction option.
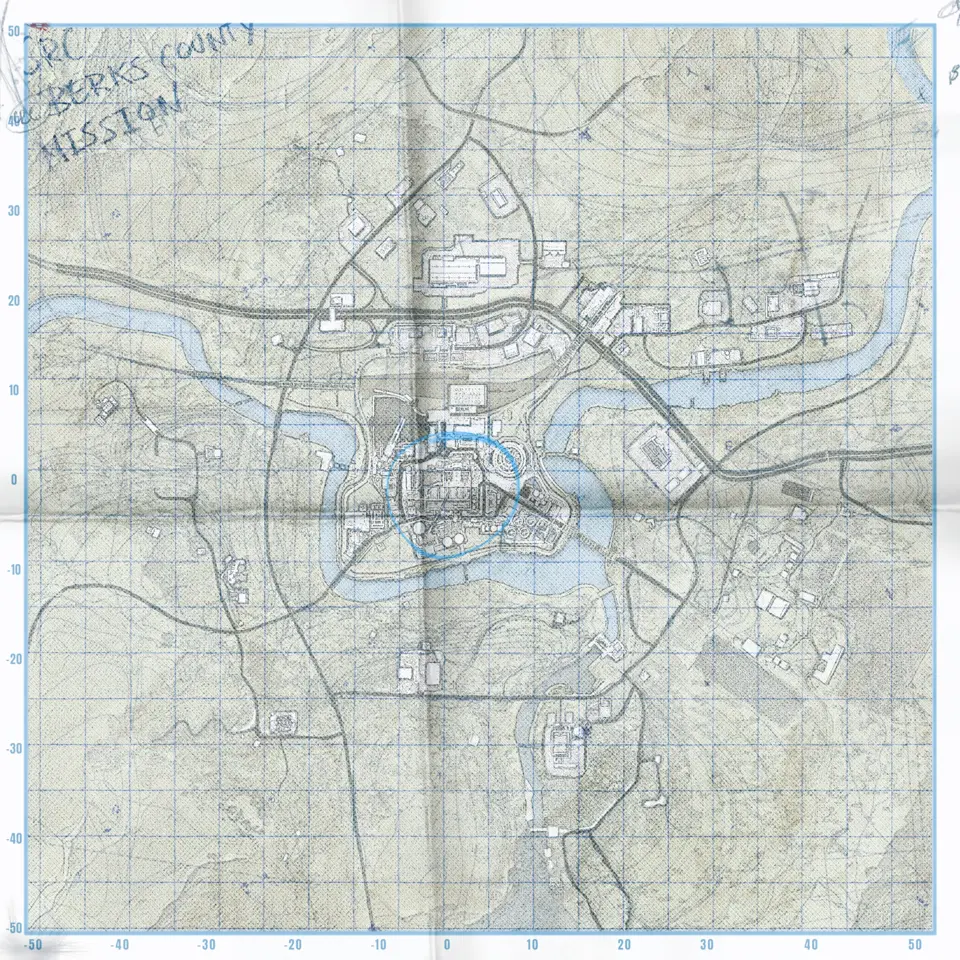
No More Room in Hell 2 has 6 current Scenario maps. Their objective routes are match-driven, so a single permanent walkthrough order is unreliable. Read the current objective, find the matching mission site, choose a named landmark for regrouping, and check early extraction only when the game enables it.
The shared route view separates mission objectives, locations, and early extraction. Start with the full set on POWER PLANT, then use the same method across the Scenario list.
The route method for all 6 maps
- Read the complete objective sentence before anyone starts moving.
- Search for the named mission site and open that marker.
- Pick one nearby location marker as the team’s spoken reference.
- Travel to the active site and follow the current interaction prompts.
- When the task updates, discard the old route and plan the next leg.
- Use an early extraction marker only after its availability appears in the match.
Possible mission markers show the places a Scenario can select. They do not say that every point is active in the same run. A route that tries to connect all possible sites wastes time and often crosses gates before the matching objective opens them.
POWER PLANT: search by task area
POWER PLANT has mission sites across several kinds of terrain and facility areas. Names such as Control Center, Trainyard, and Sluice Gate are better route anchors than a generic instruction like “go to the plant.”
Use mission sites and locations together. Confirm whether the active objective belongs to the plant, transport area, forest, wetlands, or a gate control. If a code is requested, obtain it from the current objective chain. There is no fixed map code that remains valid for every match.
POTTSVILLE: connect town landmarks
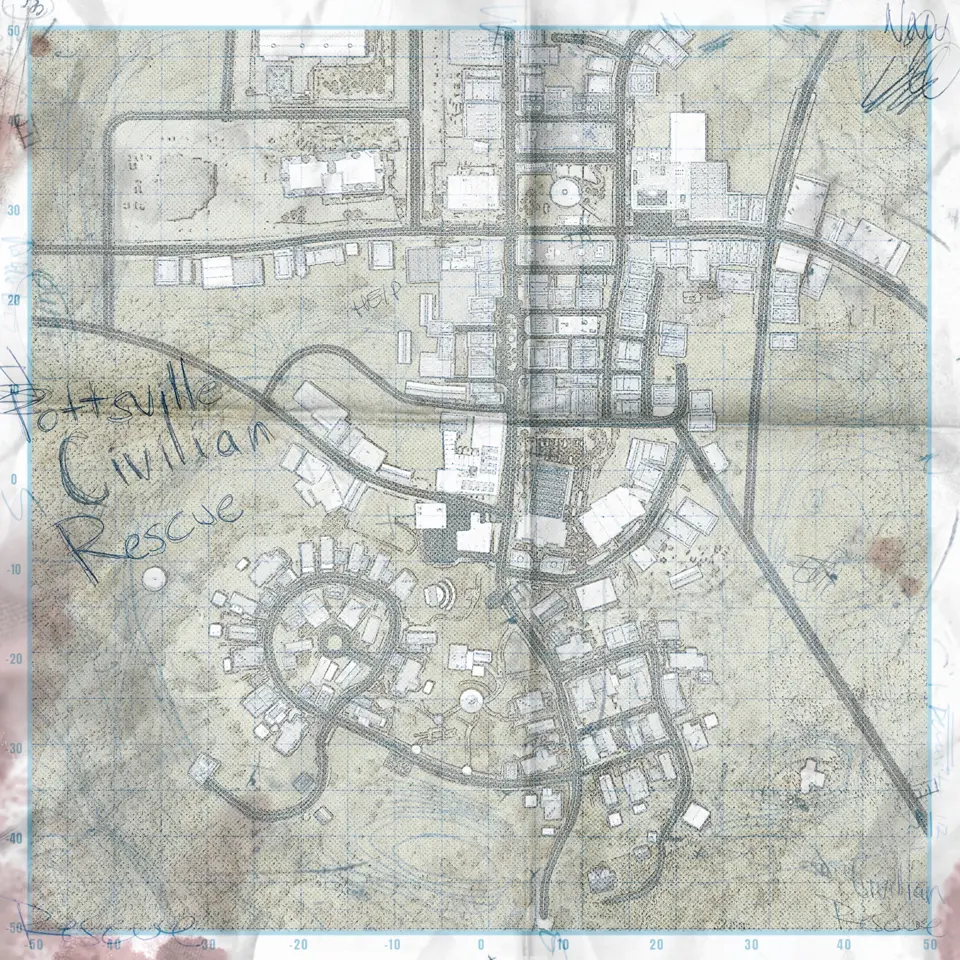
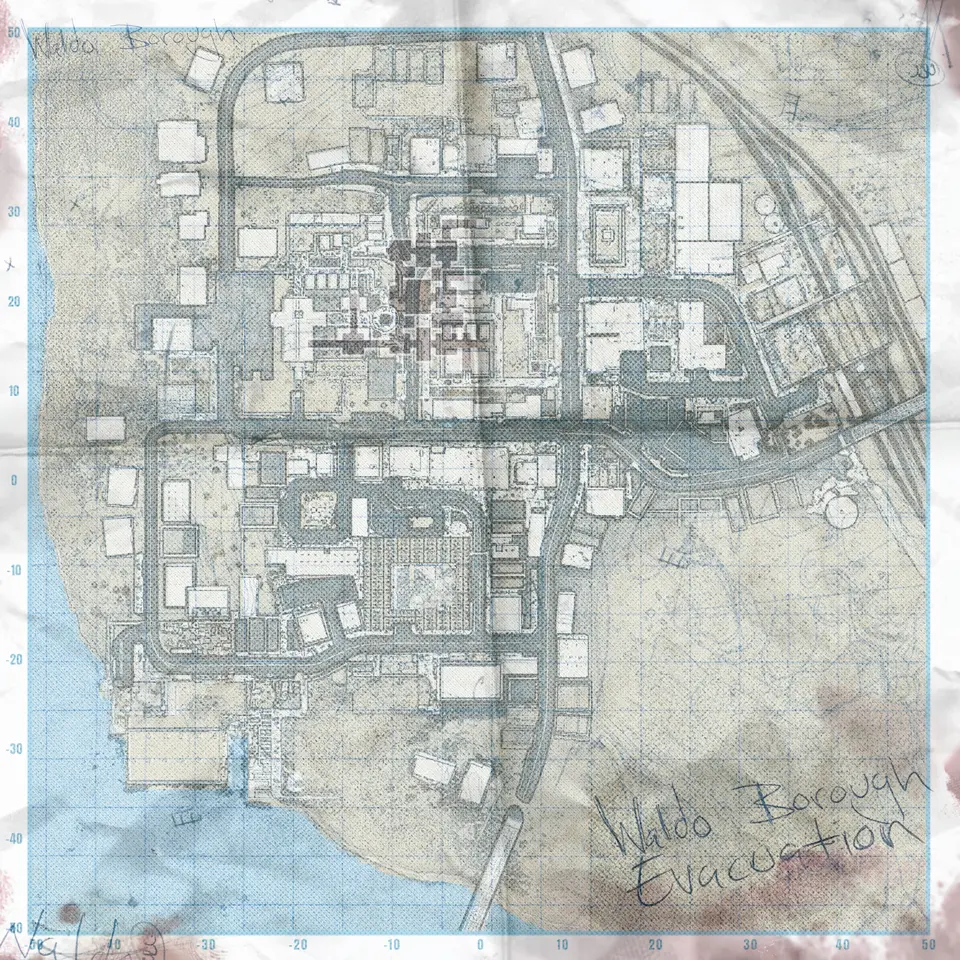
Open the POTTSVILLE route layers. The mission markers include City Hall and Bank. Locations such as Town Square and Community Center help the group agree on the correct part of town.
Do not make a town-wide loop before the match names a destination. Plan one leg from the current landmark to the current task, then update. If teammates split, regroup at a named location rather than describing an unmarked street corner.
LEWISTON: check the category as well as the name
Some LEWISTON names appear as both general locations and possible mission sites. Keep both categories visible and read the category on the selected result. Funeral Home and Chapel can be objectives, while the location layer also uses those names as landmarks.
This is where a search result can look right but answer the wrong question. A location pin establishes where you are. A mission pin identifies a possible active work site. Select the mission result when building the task route.
BROADWAY: separate streets from objective access
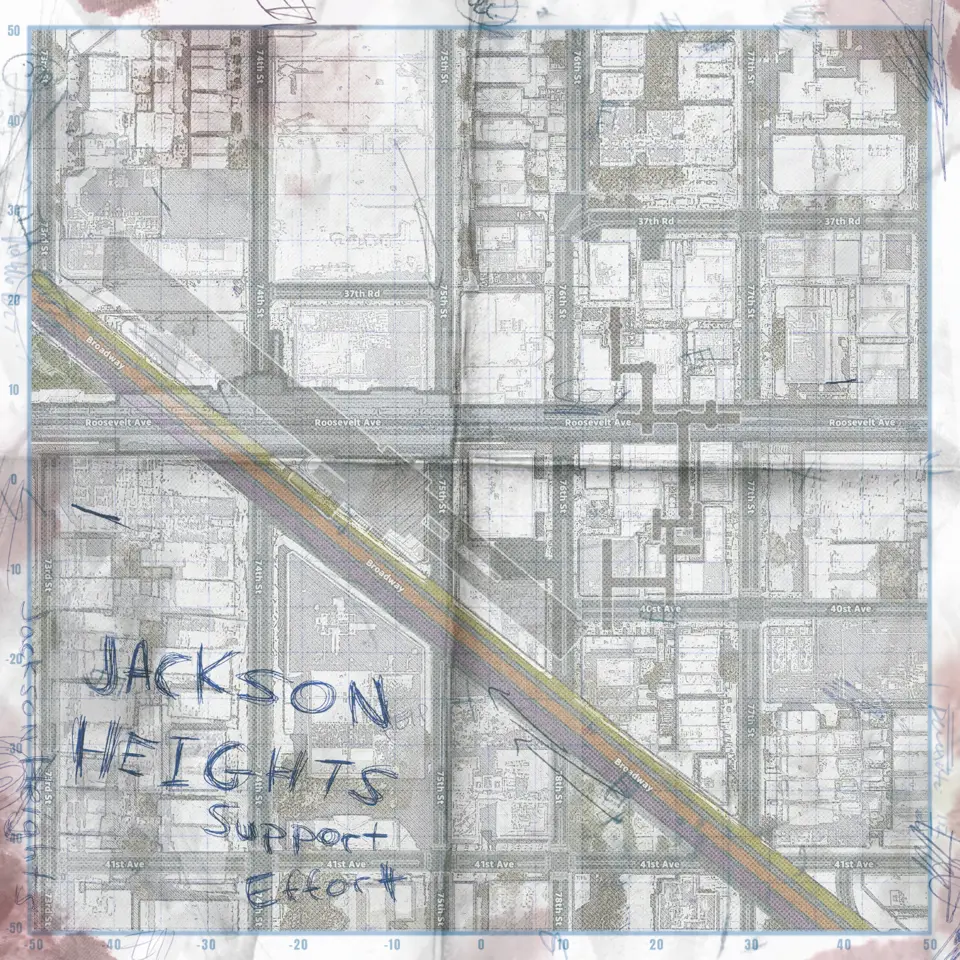
BROADWAY has many named mission sites, including Courthouse, Subway, and CRC Safe Zone. Show objectives and early extraction, then let the current prompt determine which access matters.
Nearby pins on a flat view do not prove that two interiors connect. Reach the named area, read the entrance and interaction cues in the game, and return to the last confirmed site if the objective fails to advance.
BEAULIEU HOSPITAL: use wing names carefully
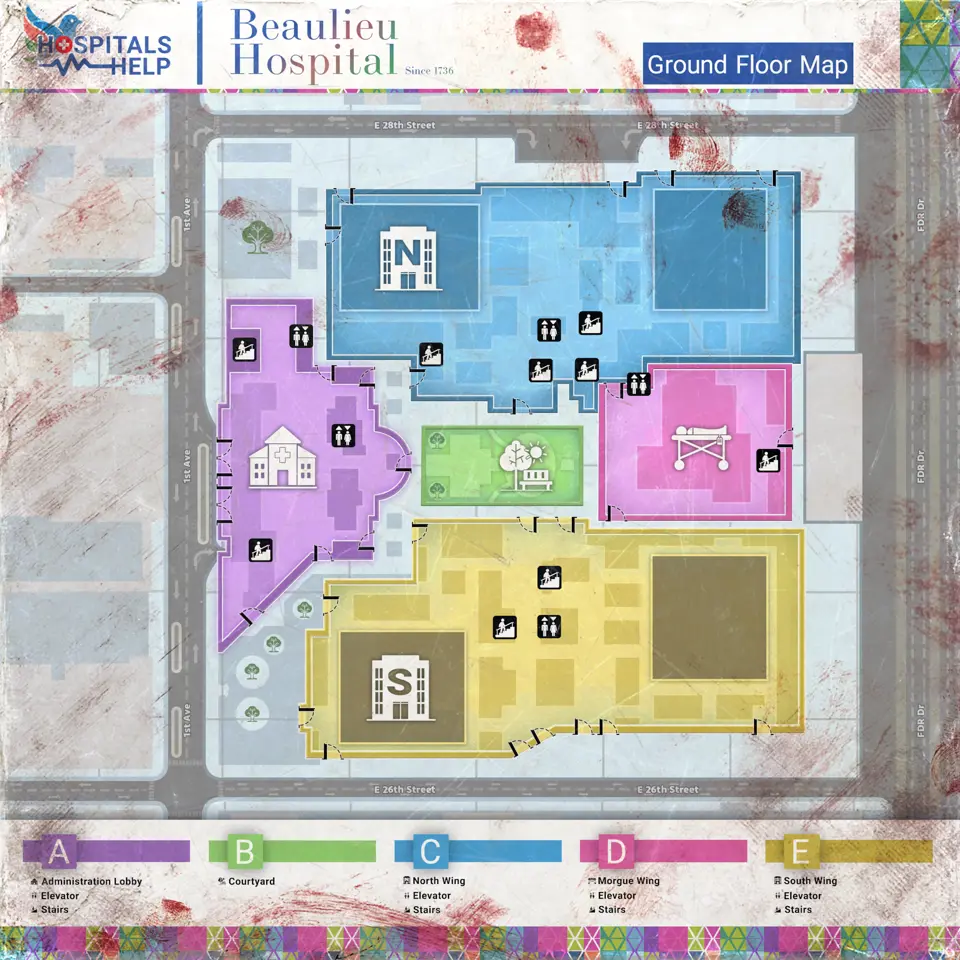
The hospital route view includes Courtyard and mission markers named by wing and floor. The map page itself has one view. Use a marker such as North Wing 2F to identify the destination section, then follow hospital signs and the current objective prompt to the right stair and room.
The easy mistake is reaching the correct wing on the wrong floor and assuming the marker is inaccurate. Repeat the full label before moving inside.
RAVEN ROCK: route through gates and tunnels
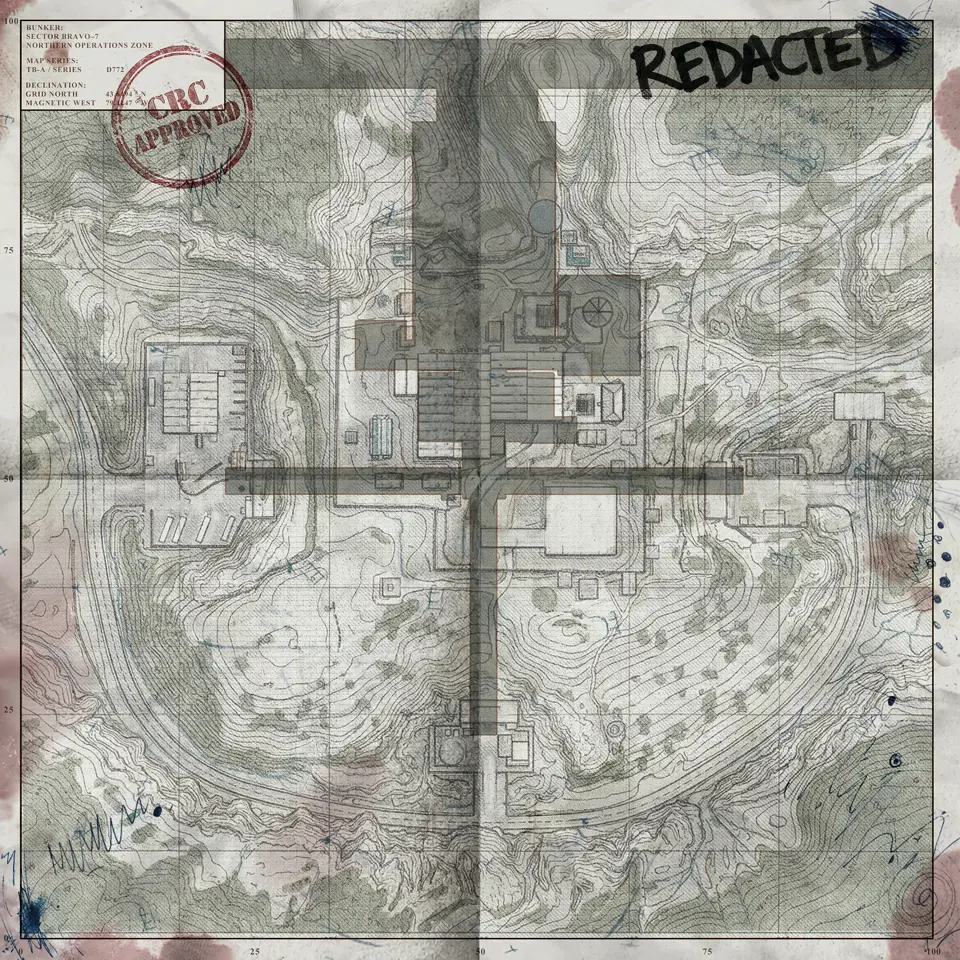
RAVEN ROCK gives you location names for gates, tunnels, Elevator Room, and the facility itself. Open its three route layers. Match the active mission with sites such as Central Command or Ventilation System, then use the named gate or tunnel currently on your side as the regroup point.
RAVEN ROCK joined the Scenario set with an earlier release. Older Scenario guides may omit it or preserve routes changed on other maps. These instructions target build 1.0.4.0. When any old walkthrough disagrees with the live objective log, the live task decides the next stop.
Maps in this guide
More No More Room in Hell 2 guides
No More Room in Hell 2 Maps: All 10 Maps and Modes
No More Room in Hell 2 currently has 10 maps: 6 Scenario maps, 3 Survival maps, and 1 training map.Read the guideNo More Room in Hell 2 Map Difficulty: Best First Map
Start at CRC TRAINING CAMP, then choose BEAULIEU HOSPITAL, POTTSVILLE, or FLOODED for the mode and navigation skill you want to practise.Read the guideNo More Room in Hell 2 POWER PLANT Code and Objectives
POWER PLANT has no single keypad code that works for every match; follow the active objective, find its current clue, and use the map for possible sites.Read the guideNo More Room in Hell 2 Survival Mode Maps and Routes
Survival has 3 maps and 3 waves of about 5 minutes; success adds supplies, while 2 failed waves unlock early extraction.Read the guide