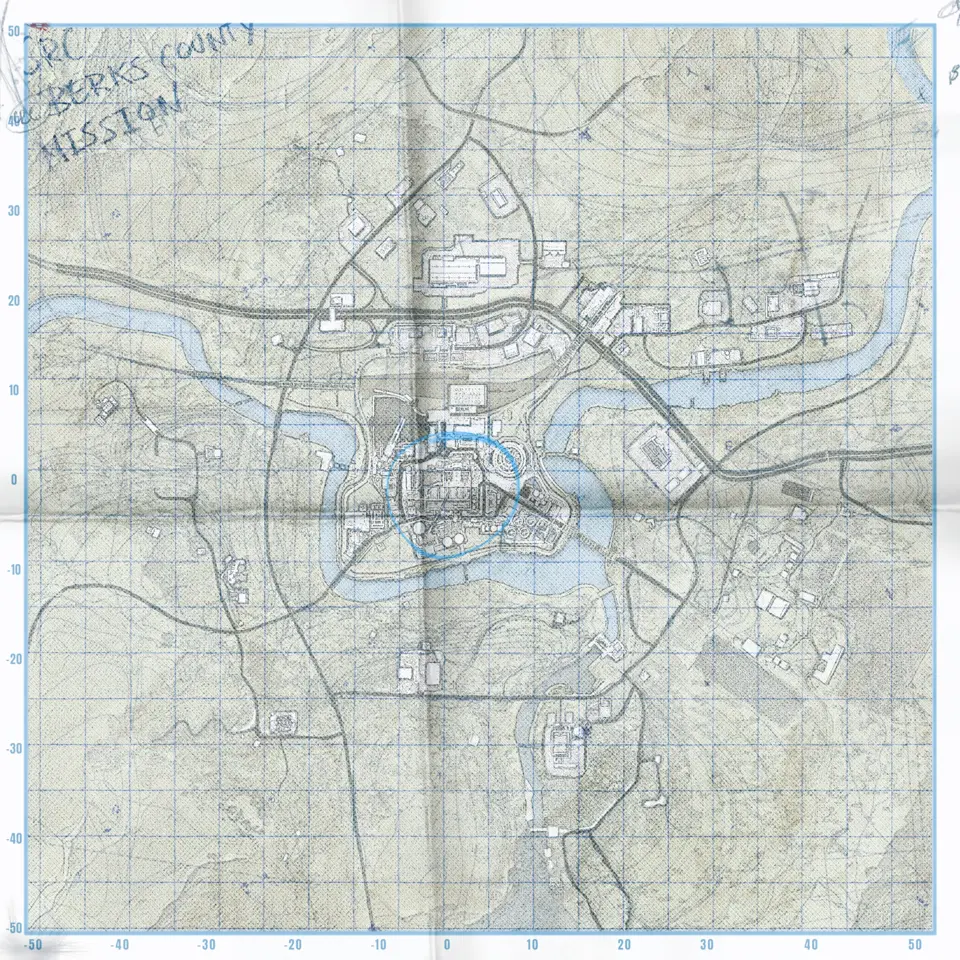
No More Room in Hell 2 Map Difficulty: Best First Map
Start at CRC TRAINING CAMP, then choose BEAULIEU HOSPITAL, POTTSVILLE, or FLOODED for the mode and navigation skill you want to practise.
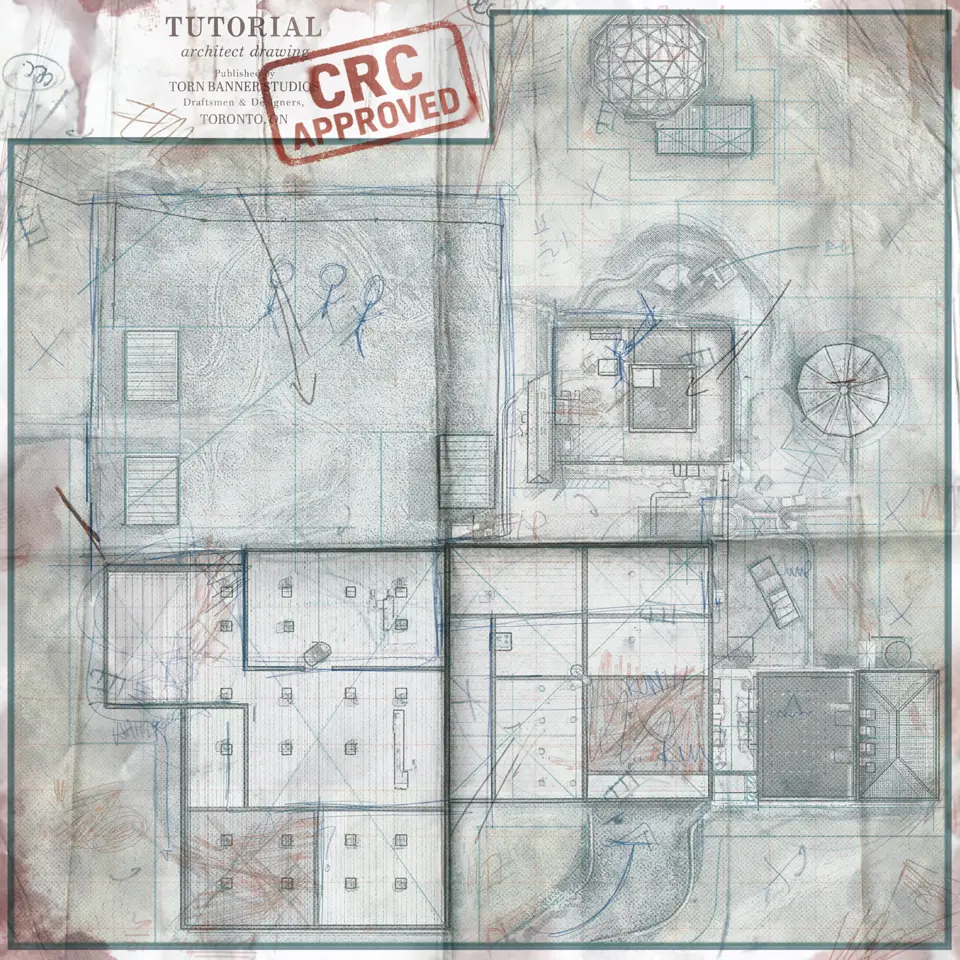
The best first map for a new No More Room in Hell 2 player is CRC TRAINING CAMP. It is the only page built around training lessons and an extraction point. After that, there is no universal difficulty ranking or proven easiest combat map for everyone. Choose BEAULIEU HOSPITAL to practise reading named interior objectives, POTTSVILLE to learn town landmarks, or FLOODED to learn the Survival loop.
Open CRC TRAINING CAMP with every training objective visible. Complete the lessons that are causing real mistakes, then leave through the marked extraction instead of using the range as a general tour.
Start with the training problem you need to fix
The training markers cover HUB, Infection, Melee Range, Firing Range, Obstacle Course, Objective Types, and Zombie Types. They let you make a short checklist. If interaction prompts are the issue, work through Objective Types. If movement fails under pressure, repeat Obstacle Course and one combat lesson. If you reach the end but hesitate over how a run finishes, include the extraction point.
Do not measure progress by clearing every lesson without a mistake. The useful result is being able to recognise one prompt, act on it, and keep enough orientation to reach the next marker. That transfers to both live modes.
First Scenario choice: hospital or town
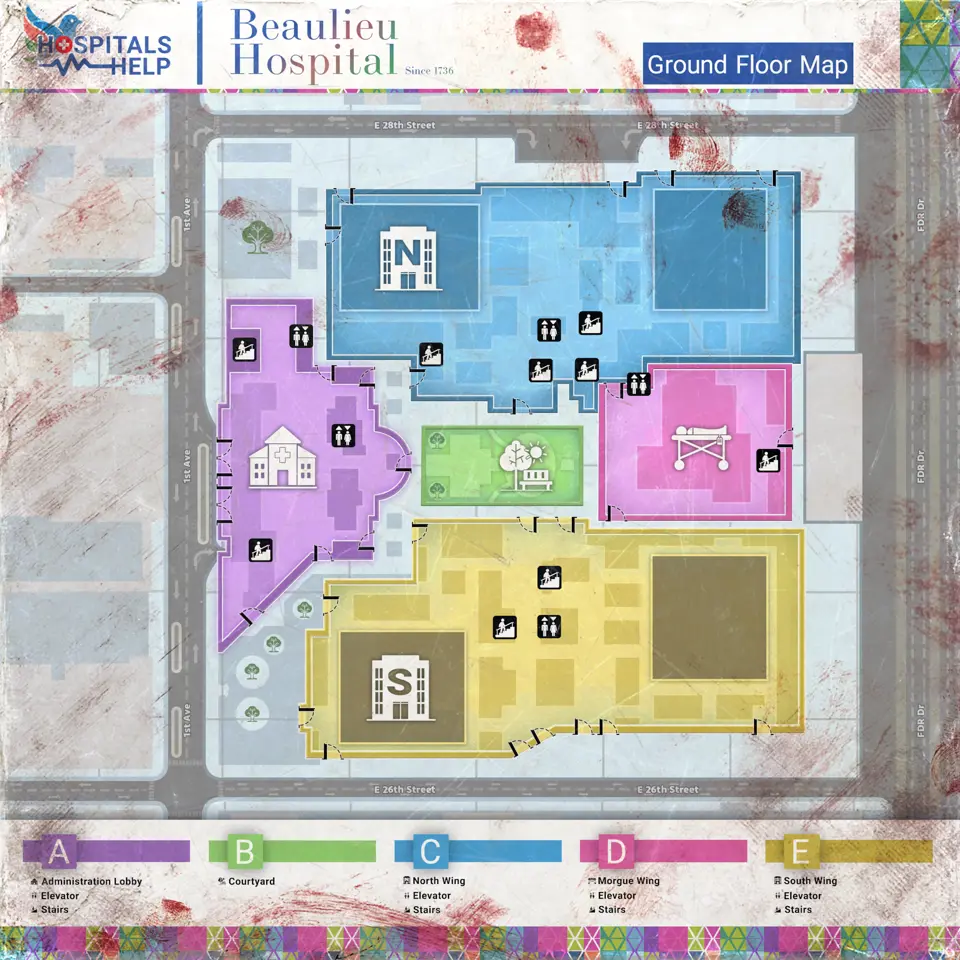
BEAULIEU HOSPITAL is a useful first Scenario reading exercise because the objective markers carry wing and floor names. Show mission sites, Courtyard, and early extraction. Begin at the objective text shown by the match. Find the matching wing marker, use Courtyard as a broad reference when it helps, and let the in-game signs settle the final floor and access route.
The LootMap page has one view, even though names such as North Wing 2F describe floors inside the hospital. Do not look for a floor selector on the page. The marker narrows the destination; the game still tells you which door, stair, and prompt are active.
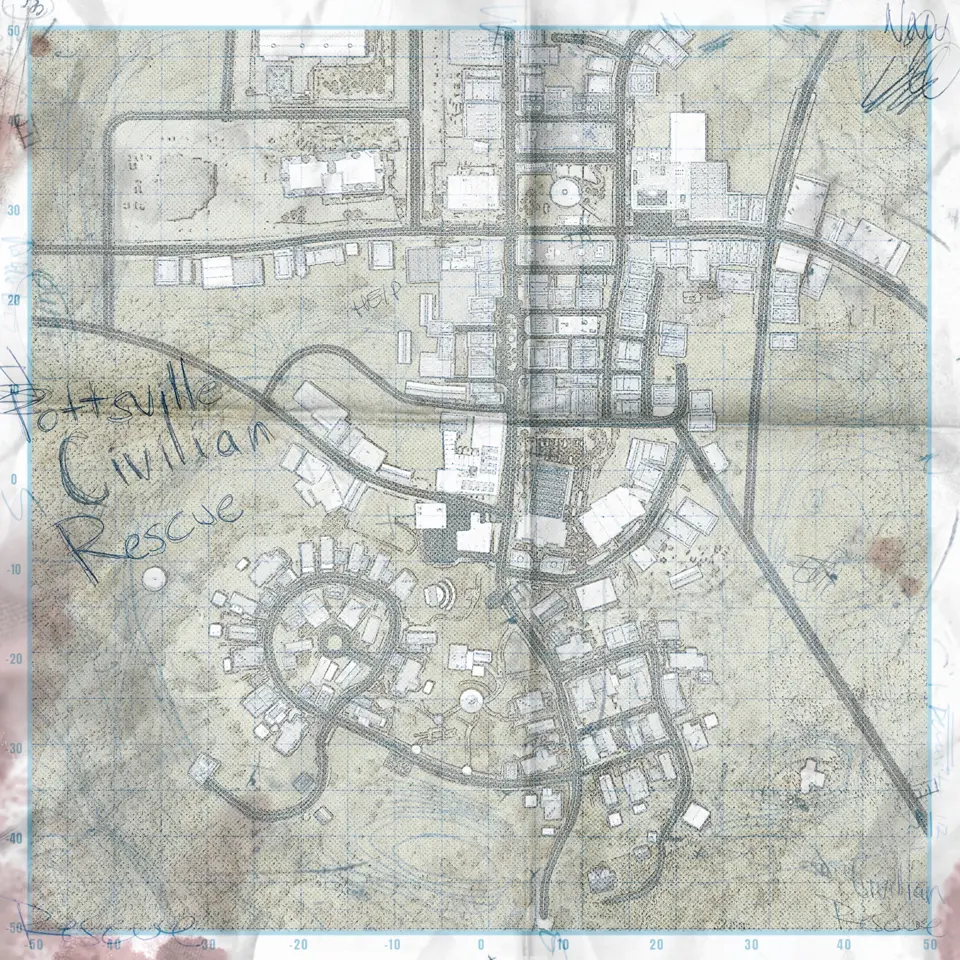
Choose POTTSVILLE instead if indoor floor names are already comfortable but streets and districts are not. Open its locations and mission objectives together. Use Town Square as a map reference, then compare the active task with markers such as City Hall or Bank. Plan only the route required by the current objective.
Neither choice is guaranteed to be easier in combat. Their value lies in exposing a different navigation problem. Hospital tests access and named sections. POTTSVILLE tests larger landmarks and movement between town areas.
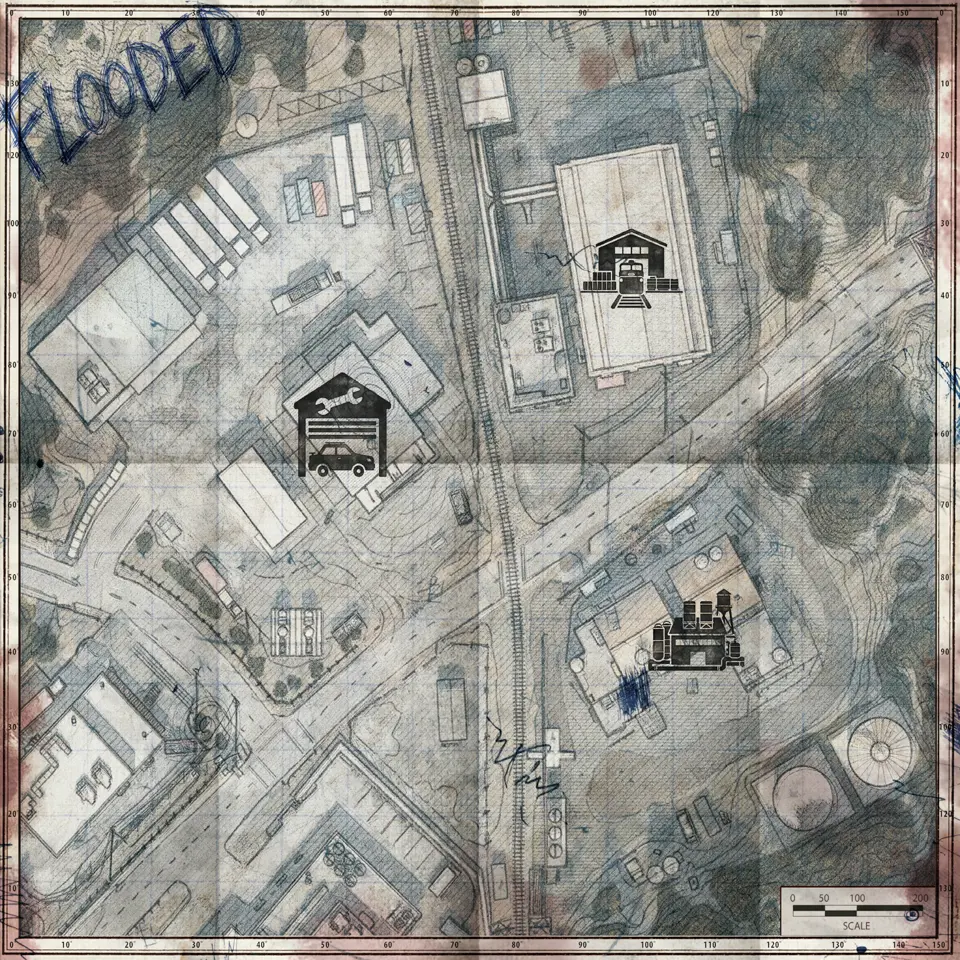
First Survival choice: learn the loop on FLOODED
Survival is a separate lesson. It uses 3 defense waves of about 5 minutes each. The setup phase provides supplies before the first wave, and a successful wave adds more. After completing 3 waves, follow the game prompt to helicopter extraction. 2 failed waves make early extraction available.
Use the complete FLOODED Survival view. First find the active defense zone. Next, note nearby named locations so separated teammates can call the same area. Check supply candidates only after the match offers supplies. Keep the early and final extraction layers visible, but do not run to either until the game presents the relevant option.
The supply pins are possible locations, not fixed boxes promised for every match. Building the opening route around one specific pin can leave the whole team in the wrong place.
A four-run beginner plan
- Complete the relevant lessons on CRC TRAINING CAMP and use its extraction point.
- Enter Solo on the Scenario map you want to study if you need low-consequence route practice. This practice does not carry traditional progression and avoids the risk of permanent character death.
- Run one short Scenario route with only mission objectives, locations, and early extraction visible.
- Try FLOODED when you can already read a prompt while moving and regroup on a named landmark.
If the first Scenario attempt goes badly, identify the first navigation failure. A wrong wing suggests another hospital run. Losing the district suggests POTTSVILLE with fewer layers. Missing the current instruction suggests returning to Objective Types at the training camp. Dying in a fight does not automatically prove that the map was too difficult.
This recommendation applies to build 1.0.4.0. Older beginner lists may describe Scenario flows that changed with an earlier release, so use the present objective log rather than memorising an old fixed sequence.
Maps in this guide
More No More Room in Hell 2 guides
No More Room in Hell 2 Maps: All 10 Maps and Modes
No More Room in Hell 2 currently has 10 maps: 6 Scenario maps, 3 Survival maps, and 1 training map.Read the guideNo More Room in Hell 2 Scenario Objective Map Routes
Build each Scenario route from the current objective log, a matching mission marker, one named landmark, and an enabled early extraction option.Read the guideNo More Room in Hell 2 Survival Mode Maps and Routes
Survival has 3 maps and 3 waves of about 5 minutes; success adds supplies, while 2 failed waves unlock early extraction.Read the guideNo More Room in Hell 2 POWER PLANT Code and Objectives
POWER PLANT has no single keypad code that works for every match; follow the active objective, find its current clue, and use the map for possible sites.Read the guide