All 43 Fast Travel Points on the DragonSword Awakening Map
Fast travel in Orbis runs on 43 nodes: 19 Warp Points, 11 Eona's Legacy towers and 13 Statues of Organa, and the towers are what burn the fog off your map.
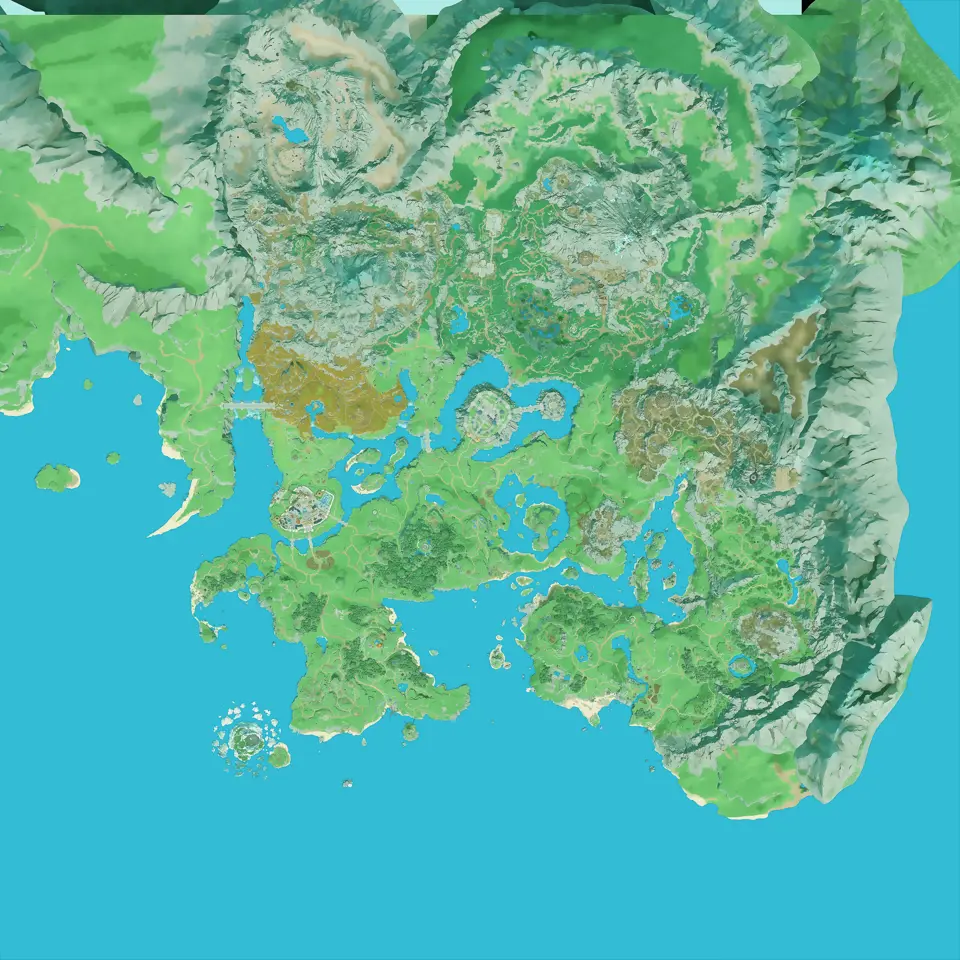
Layers this guide uses


Orbis has 43 travel nodes, split across three systems the game unlocks in different ways: 19 Warp Points, 11 Eona’s Legacy towers and 13 Statues of Organa. Put all three on one map and you can see the whole network at once instead of one system at a time.
How fast travel turns on in the first place
Fast travel is not available from the start. It opens during Chapter 1, in the quest A Mystery From Antiquity, which activates the first Eona’s Legacy tower. Until that quest is done you are walking, and there is no shortcut around it.
That is also the moment the fog rule matters. Eona’s Legacy towers clear the fog from the map around them. Warp Points and statues do not. So the order that saves the most time is towers first, then everything else, because once the fog is gone you can see the terrain you were guessing at.
Where the Tower of Trials is
There is exactly one, and it is marked. Open the Tower of Trials on its own and Orbis has a single marker on it, which is the fastest answer to a question that otherwise costs an hour of riding around.
Worth pairing with the warp points when you go: a single destination you will return to repeatedly is worth reaching from the nearest node rather than from wherever you happened to be standing.
The 11 Eona’s Legacy towers
Show the 11 towers on their own. They carry no individual names in game, so the map is the only practical way to keep track of which ones you have lit. Go by position rather than by name.
A tower is a travel destination and a fog remover at the same time, and it doubles as a launch point you glide down from, which often beats warping to the nearest Warp Point and running the rest.
Because the towers have no names of their own, the workable way to describe them is by the region label each one is closest to. On that basis the 11 sit near Shaded Tree Hill, Shadowed Woods, Echo Canyon, Autumnleaf Zone, Bluehill Wetlands, Mistflower Village, The Barren Old Trading Post, Tranquil Wind Meadow Entrance, Misty Veil Highlands, Skyridge Uplands and Skyfeather Ridge. No two towers share a nearest label, so those are eleven separate corners of Orbis. Towers with the region labels switched on turns that into a checklist you can work down.
Eleven is a small enough number that a dedicated tower run is worth doing early, before you commit to any chest or ingredient sweep. Everything else on this map becomes easier to plan once the fog is off.
All 19 Warp Points
Show the Warp Points on their own. These are the plain teleport nodes, activated when you reach them:
- Fleecy Cloud Ranch
- Seagull Village
- Main Gate of Steelheart Fortress
- Tranquil Wind Meadow Entrance
- Bluehill Wetlands
- Dragon’s Stonepeak
- Entrance to the Skyridge Uplands
- Exit of the Gloaming Cave
- Twilight Field
- Skyspire Rock Mountain
- Blue Lake Island
- Inside the Ruined Temple
- Entrance to Amber Harbor
- Silver Ford Outpost Watchtower
- The Collapsed Bridge in the Starshade Forest
- Inside the Starshade Forest
- Red Axe Village
- Lake of the Traveler
- Mistflower Village
Seven of those names point at a doorway or an interior rather than a settlement, and those are the easy ones to miss. Inside the Ruined Temple, Inside the Starshade Forest and Exit of the Gloaming Cave are not on the road you would take past those places. Check them against the map before you call a region finished.
Dungeon gates work as travel destinations too once you have opened them, so the practical network is a little wider than 43. Those are a separate layer and a separate problem.
All 13 Statues of Organa
Show the 13 statues. Each one is named for where it stands:
- Hill of Journey
- Stronghold Ridge
- Echo Canyon
- Seagull Village
- Shaded Tree Hill
- Dragon’s Stonepeak
- Ruined Temple
- Worm’s Valley
- Autumnleaf Zone
- A Forgotten Haven
- Skyfeather Ridge
- Two Lakes Hill
- The Barren Old Trading Post
Statues are the slowest of the three systems because a statue is not usable when you find it. It has to be restored from fragments scattered nearby, three or four per statue, and 40 fragments in total across the set. Finding the statue is the easy half. The fragments are the slow half, and losing track of which statue is still short is the usual way this stalls.
Working statue by statue is the fix. Warp to the nearest node, clear the fragments for that one statue, restore it, then move on. Chasing fragments across regions in one loop sounds efficient and leaves you unable to say which statue is short.
Turn the whole network on with region labels
The 43 nodes plus the 47 named Locations is the view worth bookmarking. Mid-session the question you have is rarely “where are the statues”. It is “what have I unlocked near the place I am heading”, and putting the region names next to the nodes answers that in one look.
It also shows you which statues are awkward to reach. Skyfeather Ridge is farther from any travel node than any other statue, and the closest Warp Point to it is Inside the Starshade Forest, which is not close. Hill of Journey is the opposite case, sitting nearer to a Warp Point than any other statue does, right by Fleecy Cloud Ranch. Do Hill of Journey when you have ten spare minutes and save Skyfeather Ridge for a trip you were making anyway.
What finishing the network gets you
Each of the three systems has its own achievement in DragonSword: Awakening: activating every Warp Point, activating all of Eona’s Legacy, and restoring all the Goddess Statues of Organa. They are three of the 59 achievements in the game, and they are the three that a map solves outright, because none of them involve combat or timing. They are pure location problems.
Counts are from game build 24597321. If your in-game total for any of them is lower, the missing ones are on the map above.
Maps in this guide
More DragonSword Awakening guides
All 1,498 Treasure Chest Locations in DragonSword Awakening
The Orbis overworld holds 1,498 treasure chests: 551 Premium, 355 Rare, 299 Regular, 181 Hero and 112 Legendary.Read the guideDragonSword Awakening Treasure Maps and Master Skill
The Treasure Map layer marks 29 dig sites in Orbis, and every one of them is a chest you cannot open by walking up to it: 28 Legendary and 1 Hero.Read the guideCooking Ingredient Locations in DragonSword Awakening
Orbis has 4,202 gathering nodes across 34 named ingredients, from Silverwing Fillet at 407 nodes down to three ingredients with only 10 nodes each.Read the guideDragonSword Awakening: 40 Sudden Missions and 9 Field Bosses
Orbis has 40 Sudden Missions and 9 Field Bosses, and the game only puts a Sudden Mission on your own map once you have walked into it.Read the guideDragonSword Awakening Interactive Map: Orbis Guide
The Orbis interactive map contains 15,055 markers across 15 recorded categories, with search, layer filters and local progress tracking.Read the guide