DragonSword Awakening: 40 Sudden Missions and 9 Field Bosses
Orbis has 40 Sudden Missions and 9 Field Bosses, and the game only puts a Sudden Mission on your own map once you have walked into it.
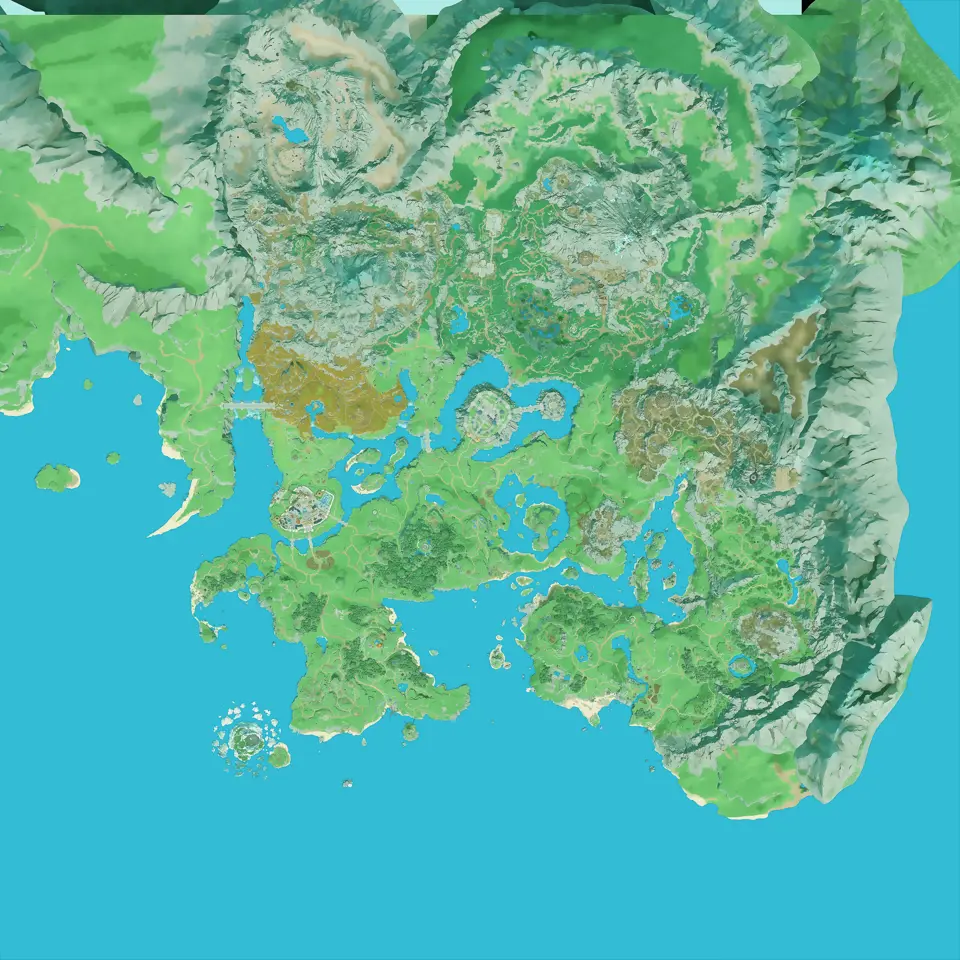
Layers this guide uses


A Sudden Mission does not appear on your in-game map until you have physically run into it. That one rule is why people clear most of them and then stall: the game cannot show you what you have never met, and it keeps no list of what you are missing. Orbis has 40 of them, plus 9 Field Bosses, and both layers are here on one map.
Why the last few Sudden Missions are the hard part
Sudden Missions are repeating bounties. Once you have met one face to face, the game tracks it on your map from then on. Before that first encounter it is not there at all, so the usual advice of “check your map” fails exactly when you need it.
That makes this a location problem with no in-game solution. Show the 40 Sudden Missions on their own, compare against the ones your game is already tracking, and the gap is your list.
Each one pays 300 EXP plus a reward set that includes Fragments of Sacred Light, Shape Grinders, Forging Molds, Tomes of Insight and 50,000 gold. They reset daily at 09:00 local time, so a route you build once is a route you can run every day.
All 40 Sudden Mission targets
Abaddon, Wraith of Destruction · Acidic Slime Drazel · Aela the Wings of Collapse · Autophagist Gult · Bargon, Wings of the Wild · Blood-Red Commander Bespina · Blood-Soaked Krezel · Bone Commander Malaka · Bonechewer Krapel · Braheim, the Heretic’s Guide · Corroded Knight Kalvaros · Cragmo, the Earth-Splitter · Deep Breath Grumto · Faint Veil Sher · Flamefang Brokar · Gordun the Crushing Ironclad · Grak the Bloodmaw · Grimick the Opportunist · Gromkar, the Crumbling Earth · Hidden Hunger Vargul · Hungry Hound Snark · Igniter Snickrak · Knul the Starved Sawblade · Kuaku the Mad · Murdock, the Iron-Plated Captain · Piercing Zektar · Ragrun the Staggering Fang · Reska, the Buried Blade · Sand Claw Dragus · Skullhead Lukaki · Sniffy the Fierce · Soulwarden Zelmoor · Spark Droplet Murto · Sticky Slime Frunk · The Gluttonous Kailok · Trapped Predator Brugon · Trickster Mongchacha · Undiscarded Erat · Vash the Tribal Warrior · Void Twilight Nor
Read that list against your bounty log rather than against your memory. The names run close together: Grak the Bloodmaw sits right next to Grimick the Opportunist, and there are two separate slimes on the list. Every name above works in the map’s search box, which jumps straight to that target’s position.
All 9 Field Bosses and where they stand
Show the Field Boss layer. Nine bosses, one marker each, fixed positions:
| Field Boss | Nearest named Location |
|---|---|
| Andras the Cave Predator | Bluehill Wetlands |
| Barpedin, the Crushing Darkness | A Forgotten Haven |
| Flaming Ash Feather Lavanis | Skyfeather Ridge |
| Hagen the Dark Necromancer | Ruined Temple |
| Horg the Roamer | Field of Plenty |
| Hungry Eyes Octavia | Starshade Forest |
| Karon the Tyrant | Dragon’s Stonepeak |
| Pakirus the Specter of Thirst | Slumbering Star Tree |
| Scraping Brack | Autumnleaf Zone |
The Location column names the closest of the 47 region labels to each boss. It is there to help you find them and it says nothing about where region boundaries actually run. Several bosses sit almost on top of their label. Andras the Cave Predator is the loosest fit of the nine, so give yourself room when you go looking for that one.
Turning on region labels alongside the bosses makes this easier to use in practice: bosses with the 47 Locations.
Sweep region by region for the first encounters
The two systems need different handling. Field Bosses are nine fixed uniques you can go and find in any order. Sudden Missions are 40 first encounters you have to trigger before the game will help you with them at all, and the only reliable way through that is geographic.
Sudden Missions with the 47 named Locations is the view for it. Pick a region, see how many mission markers fall inside it, and ride through all of them in one pass. Reaching every marker in a region is the unit of work here, so plan the route around coverage rather than around which targets look worth killing.
Doing this by region rather than by name also means you never have to decide whether a mission you half remember was one you met or one you read about. The map answers per region, and a region you have swept is settled.
The named bosses appear on the Monster layer too
Orbis has 4,511 monster markers across 80 distinct names, and all 9 Field Bosses and all 40 Sudden Mission targets are in there as well as on their own layers. That is worth knowing for two reasons.
First, if you switch on Field Bosses together with Monsters, each boss draws twice, once from each layer. Both layers hold the same boss, so you are looking at one creature under two icons.
Second, the Monster layer is what you want when the goal is volume rather than a specific target. The game has an achievement for defeating 1,000 monsters in the world, and a dense patch of ordinary spawns clears that faster than hunting named uniques one at a time.
Building a daily loop
The 09:00 reset makes Sudden Missions a routine rather than a one-time clear, and a routine is worth planning once. Missions, bosses and the 19 Warp Points on one map gives you the whole planning surface: where the targets are and which teleport gets you closest.
Mark each mission on the map as you clear it for the first time. After that the game tracks it for you, so the map’s job is to get you through the first encounter with all 40. Beyond that it is a route planner.
What is not settled
Field boss respawn timing is not something map data covers, and the numbers circulating for it are not confirmed. Positions are fixed, and they are on the map above. How long a boss takes to come back is a different question, so do not build a farming schedule around a specific interval you read somewhere.
The counts above come from game build 24597321.
Maps in this guide
More DragonSword Awakening guides
All 1,498 Treasure Chest Locations in DragonSword Awakening
The Orbis overworld holds 1,498 treasure chests: 551 Premium, 355 Rare, 299 Regular, 181 Hero and 112 Legendary.Read the guideAll 43 Fast Travel Points on the DragonSword Awakening Map
Fast travel in Orbis runs on 43 nodes: 19 Warp Points, 11 Eona's Legacy towers and 13 Statues of Organa, and the towers are what burn the fog off your map.Read the guideDragonSword Awakening Treasure Maps and Master Skill
The Treasure Map layer marks 29 dig sites in Orbis, and every one of them is a chest you cannot open by walking up to it: 28 Legendary and 1 Hero.Read the guideCooking Ingredient Locations in DragonSword Awakening
Orbis has 4,202 gathering nodes across 34 named ingredients, from Silverwing Fillet at 407 nodes down to three ingredients with only 10 nodes each.Read the guideDragonSword Awakening Interactive Map: Orbis Guide
The Orbis interactive map contains 15,055 markers across 15 recorded categories, with search, layer filters and local progress tracking.Read the guide