All 85 Silksong Bench Locations and Every Bellway Station
Pharloom has 85 benches spread over 26 of its 31 areas, and 19 fast travel markers, with 28 of those benches in areas you cannot fast travel out of.
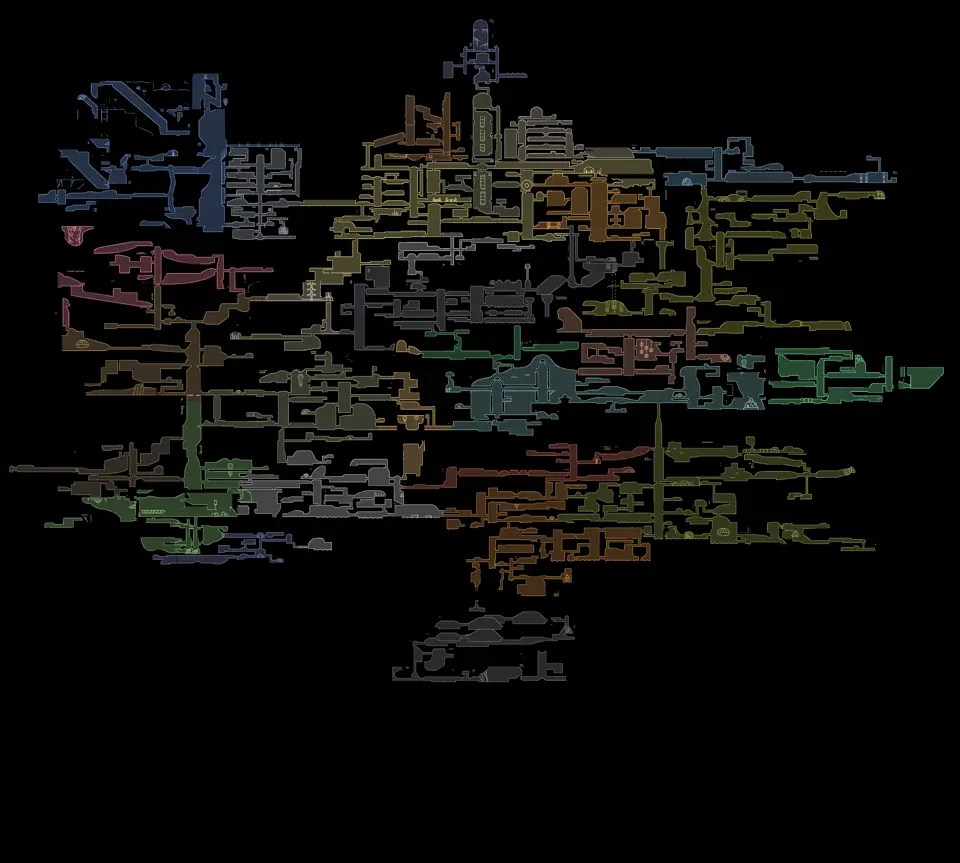
Layers this guide uses


Pharloom has 85 benches. They sit in 26 of the kingdom’s 31 areas, and the fullest are the Citadel and Far Fields with seven apiece. Open the bench and station view and both layers draw together, which is the pair you actually plan a run with.
The fast travel layer marks 19 points. Every area that has a station also has at least one bench except the Cradle, whose Ventrica hub is the one station-area exception.
The bench layer splits in two when you open its name rather than its checkbox. 73 of the 85 are ordinary benches and the other 12 are bell benches, spread over nine areas: two each in Blasted Steps, Far Fields and Shellwood, and one each in the Marrow, Deep Docks, Sinner’s Road, Mount Fay, Bilewater and Putrified Ducts. The bell benches on their own is a twelve-marker map.
Benches by area
| Area | Benches | Station |
|---|---|---|
| The Citadel | 7 | yes |
| Far Fields | 7 | yes |
| Deep Docks | 6 | yes |
| Shellwood | 6 | yes |
| Underworks | 6 | yes |
| Blasted Steps | 6 | yes |
| The Marrow | 5 | no |
| Mount Fay | 5 | no |
| Bilewater | 5 | yes |
| Sinner’s Road | 4 | no |
| The Slab | 4 | yes |
| Greymoor | 2 | yes |
| Whispering Vaults | 2 | no |
| Bone Bottom | 2 | yes |
| Bellhart | 2 | yes |
| Mosshome | 2 | no |
| Weavenest Atla | 2 | no |
| Putrified Ducts | 2 | yes |
| High Halls | 2 | yes |
| The Abyss | 2 | no |
| Verdania | 1 | no |
| Wormways | 1 | no |
| Hunter’s March | 1 | no |
| Whiteward | 1 | no |
| Wisp Thicket | 1 | no |
| Memorium | 1 | no |
Twenty-eight of the 85 benches are in the thirteen areas with no station. Resting there does not shorten the walk out, so those are the benches to treat as checkpoints rather than as bases.
Compare map-record density per bench
Bench count on its own does not measure route length. The only direct comparison here is total map records divided by benches. That ratio describes record density, not walking distance, area size or the amount of work required.
- Greymoor: 309 marked places, 2 benches.
- Sinner’s Road: 312 marked places, 4 benches.
- Whispering Vaults: 231 marked places, 2 benches.
- Verdania: 148 marked places, 1 bench.
- Wormways: 129 marked places, 1 bench.
- Hunter’s March: 119 marked places, 1 bench.
Among these examples, Greymoor has about 155 marked locations per bench. Sinner’s Road has 78, while Whispering Vaults has about 116.
At the other end, Bilewater has about 19 map records per bench and the Abyss has 33. Use these values only to anticipate how crowded the map may look. Filter one category at a time, then inspect Passages and terrain before estimating an actual route.
Cogwork Core, Moss Grotto, the Cradle and Sands of Karak have no bench between them. Those four named areas contain 203 markers. A fifth 81-marker area record also has no bench but currently has no published display name, so keep it separate from a named route.
The fast travel stations
The station layer on its own is 19 markers, and it carries both of Pharloom’s fast travel systems: 12 bell stations out in the kingdom and 7 Ventrica tubes, four of which are filed under the Citadel. Outside the Citadel, the bell stations alone is the view worth keeping.
Twelve areas have exactly one station: Far Fields, Deep Docks, Shellwood, Underworks, Blasted Steps, Bilewater, the Slab, Greymoor, Bone Bottom, Bellhart, Putrified Ducts and High Halls. The Citadel has more than any of them.
The 19 markers split into 12 bell stations and 7 Ventrica entries. The Cradle’s two near-identical hub transforms refer to one physical station and appear once.
Thirteen areas with benches have no station at all. The Marrow, Mount Fay and Sinner’s Road are the largest of them, and between them they hold 14 benches.
Planning a run around the two layers
A practical comparison view leaves both layers on and treats each station as the centre of a candidate loop. Pan to a station, look at which benches surround it, and inspect Passages before choosing where one loop ends and the next begins.
For a collection run, add the layer you are clearing. Benches, stations and tools together puts the 27 tool pickups on the same sheet as the places you can rest, which is enough to see in one look whether an area is worth a trip.
Marking works the same way here as everywhere else on the map. Open a bench, tick Mark, and turn on Hide marked once you have found most of them. What remains is a clean view of the benches you have not sat on during this save.
Maps in this guide
More Hollow Knight: Silksong guides
Silksong Interactive Map: 5,019 Markers in Pharloom
The Pharloom map holds 5,019 markers in 20 layers across 31 areas, with 371 of them drawn the moment you open it and the other 4,648 waiting behind a switch.Read the guideSilksong Tool Locations Map: 52 Markers, 38 Names Guide
Pharloom's Tool layer holds 52 markers across 39 subtype records and 38 English names: 27 room pickups and 25 shop listings.Read the guideSilksong Memory Lockets and All 102 Collectible Locations
Pharloom's collectible layer holds 102 markers, 86 lying in rooms and 16 on traders' shelves, and 19 of them are Memory Lockets.Read the guideSilksong Lost Flea Locations: Reading the Flea Layer
Pharloom's Lost fleas layer holds 30 rescue locations and 4 caravan stops, and the caravan can be switched off in one click.Read the guideHollow Knight Silksong Boss and Enemy Locations Map
The Pharloom map contains 2,261 enemy markers and 38 battle locations; use search or the Enemies type list, then add route layers.Read the guide