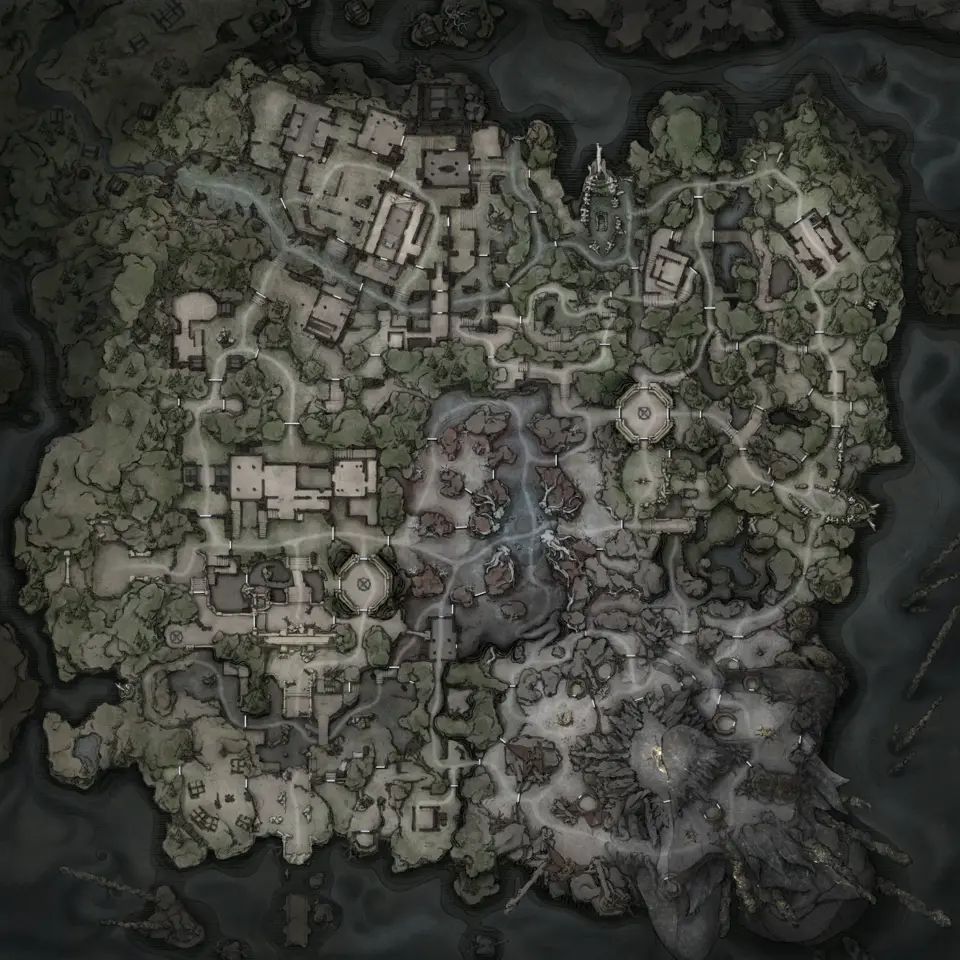
Mistfall Hunter Brandrgarde Map Guide: North vs South
Brandrgarde is published as two maps: Brandrgarde North with 2,170 markers and six layers, and Brandrgarde South with 1,675 markers and eight.
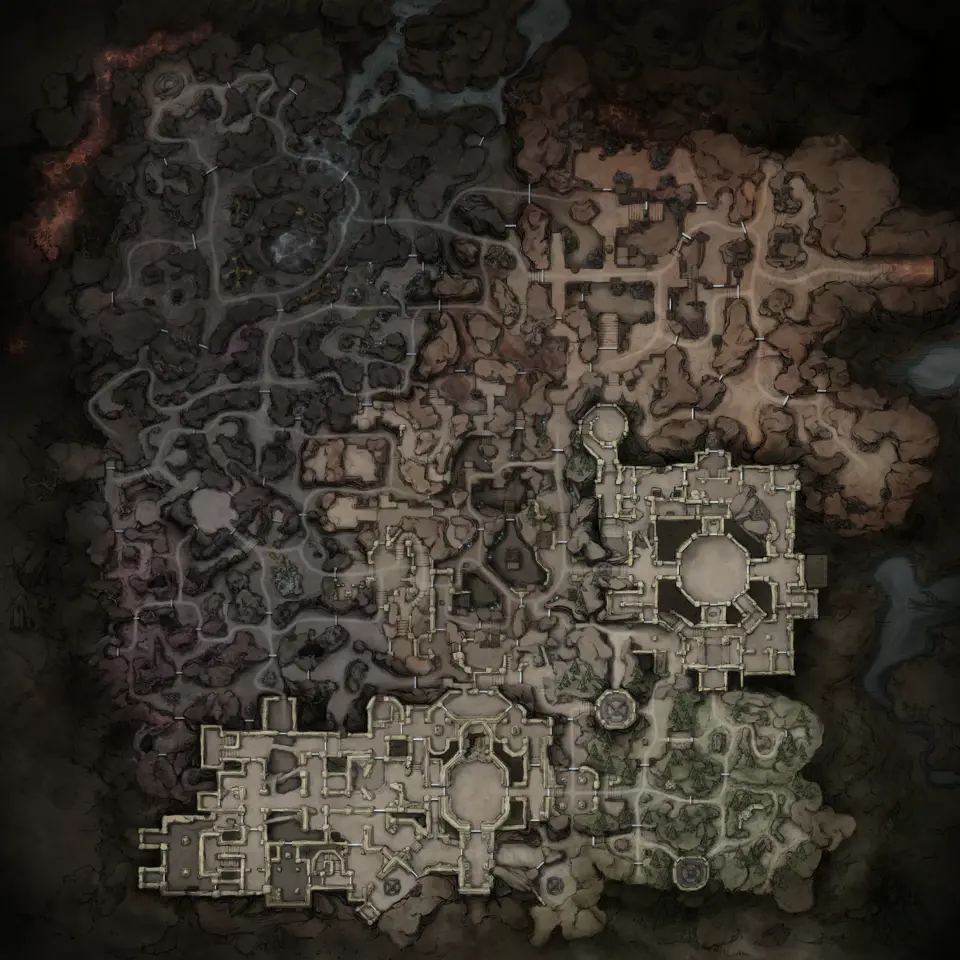
Brandrgarde is one place you load into as two separate maps. Brandrgarde North carries 2,170 markers across six layers. Brandrgarde South carries 1,675 across eight. They share a name and almost nothing else about how a run on them goes.
South is the easier map to get out of and the only one of the two with merchants. North is where the ore and the heavier fighting are. The gap shows up in one comparison: on South, 663 of the 664 containers sit within 300 units of a marked exit, while on North 397 of the 806 do not.
What each map carries
| Layer | Brandrgarde North | Brandrgarde South |
|---|---|---|
| Treasure | 806 | 664 |
| Loose loot | 96 | 122 |
| Enemy spawns | 1,191 | 696 |
| Objectives | 47 | 41 |
| Extraction | 22 | 38 |
| Traversal | 8 | 22 |
| Landmarks | none | 79 |
| Merchants | none | 13 |
North has no landmark layer and no merchant layer at all. Those layers are missing because the map has nothing to put in them. There is nowhere on Brandrgarde North to sell and nothing marked as a landmark, so everything you pick up there you either carry out or lose.
South carries 79 landmark markers, all labelled Ancestor Tree, and 13 merchant markers, all labelled Richie the Merchant. Both layers are on by default. Open them together and you get the map’s skeleton without the container clutter, which is the fastest way to learn South’s geography.
Brandrgarde North: every exit sits in the north
All 22 Soul Ferries on Brandrgarde North sit between y 298 and y 971. The map runs to 2,048. Containers run down to y 1,947.
That means the entire southern half of the map has no marked way out. Open the exit layer and the bottom half of the screen is empty. Its eight traversal markers do not help either, since seven of the eight also sit above y 1,024.
The consequences show up in the distances. 397 of North’s 806 containers are more than 300 units from the nearest exit, 246 are more than 500, and 142 are more than 800. The worst container on the map sits 1,122 units out, more than half the map’s width.
The densest container patch is squarely in that dead zone. The circle around x 1,425, y 1,250 holds 114 containers, the most of any 200 unit circle on the map, with 78 enemy markers alongside them and the nearest exit 338 units away. There is a second cluster in the far south around x 696, y 1,695 with 65 containers and no exit closer than 872 units.
The exits North does have are packed tightly together, from 129 to 223 units apart with an average of 168. Once you are in the northern band you almost always have a second option if the first is busy. The problem is getting back to the band.
Brandrgarde South: exits everywhere
Thirty eight exits on 1,675 markers is the densest exit coverage in the game, and they cover the map properly: 18 in the upper half, 20 in the lower, spread from y 324 to y 1,737 and averaging 171 units from their nearest neighbour.
The result is that carrying loot is barely a problem here. The median container sits 115 units from an exit. The single worst one on the map sits 332 units out, barely further than North’s median of 297. Open South’s exit layer and the coverage is obvious at a glance.
South’s densest container patch is the circle around x 1,425, y 650, which holds 88 containers with an exit 82 units away and 39 enemy markers around it. The same comparison on North gives you 114 containers, 78 enemy markers and a 338 unit walk.
South is also the calmer map to fight on. Its 696 enemy markers work out to roughly one per container, against North’s 1,191 for 806, which is about one and a half.
Which containers sit on which map
Both maps carry the same broad container set, but the counts run in opposite directions often enough to decide where you go.
| Container | Brandrgarde North | Brandrgarde South |
|---|---|---|
| Civilian Chest | 74 | 93 |
| The Exiled | 78 | 37 |
| Iron Pot | 59 | 25 |
| Equipment Rack | 41 | 51 |
| Iron Chest | 17 | 48 |
| Gift of Fate | 44 | 46 |
| Fungus | 49 | 24 |
| Withered Nest | 46 | 18 |
| Small Ore Pile | 34 | 18 |
| Copper Chest | 10 | 25 |
| Mistchaser’s Satchel | 24 | 22 |
| Silver Chest | 2 | 22 |
| Military Chest | 20 | 6 |
| Gilded Chest | 2 | 10 |
North is the gathering map. It carries 49 Fungus against South’s 24 and 46 Withered Nest against 18, and it is the only map anywhere with Thermal Vents at 8, Forge Furnaces at 5 and Timber Chests at 4. Open North’s containers and pan to the upper left, around x 725, y 757, where 8 Small Ore Piles and 3 Thermal Vents sit inside a 200 unit circle with an exit 85 units away. That combination of gathering and a short walk out is rare on this map.
South is the chest map. Iron Chest runs 48 against 17, Copper Chest 25 against 10, Silver Chest 22 against 2 and Gilded Chest 10 against 2. If you want metal chests rather than raw materials, South is where they are.
The Solo and Team labels
Click any marker on either map and its detail card names the run mode it was recorded under. Both Brandrgarde maps use Solo and Team labels, and neither uses Day or Night.
| Map | Team label only | Solo label only | Both | Neither |
|---|---|---|---|---|
| Brandrgarde North | 1,035 | 316 | 438 | 381 |
| Brandrgarde South | 808 | 245 | 382 | 240 |
Nearly half of all markers on both maps carry a Team label and no Solo one. That includes containers, enemies, loose loot and objectives. Every extraction marker, traversal marker, landmark and merchant on both maps carries no run mode label at all.
Read every count on this page as what the maps record for build 24708702 rather than as what a single solo run will put in front of you.
Which map to load into
- If you are carrying anything you care about, or you are learning the region, take South. The exit coverage removes most of the ways a run ends badly, and the 13 merchants mean you can bank value mid run instead of gambling on the walk out.
- If you want ore, fungus or the crafting containers, take North. It has 48 of the game’s 74 ore piles and the only Thermal Vents and Forge Furnaces anywhere.
- If you take North, treat y 1,024 as a hard line. Everything below it is a one way trip that ends in a long carry across open Gylden with no exit in sight. Go in light and turn back early, or stay north and accept the smaller haul.
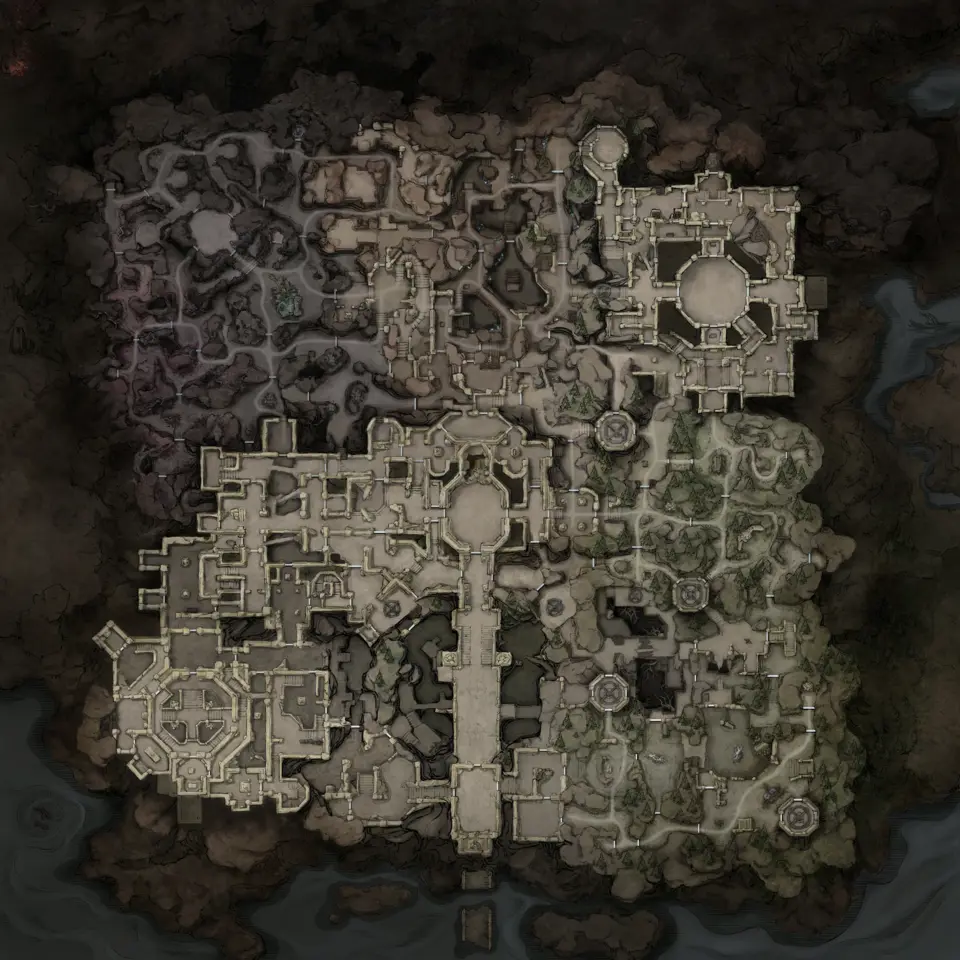
Maps in this guide
More Mistfall Hunter guides
Mistfall Hunter Extraction Points: All 78 Exits Mapped
Mistfall Hunter's three maps carry 78 marked extraction points: 38 on Brandrgarde South, 22 on Brandrgarde North and 18 in Hallowgrove.Read the guideMistfall Hunter Chest Locations: 2,998 Containers Mapped
Hallowgrove holds 1,528 containers, Brandrgarde North 806 and Brandrgarde South 664, and you can filter the layer down to a single named type such as Gift of Fate or Spirit Jar.Read the guideMistfall Hunter Enemy and Boss Locations: 3,781 Mapped
The enemy layer holds 3,781 spawn markers and starts switched off on all three maps: 1,894 in Hallowgrove, 1,191 on Brandrgarde North and 696 on Brandrgarde South.Read the guideMistfall Hunter Interactive Map: All Three Areas Guide
Mistfall Hunter has three area maps here: Hallowgrove, Brandrgarde South and Brandrgarde North, with 7,537 recorded positions across eight layer types.Read the guideMistfall Hunter Loose Loot Locations and Exit Routes
The generic Loose loot layer has 108 candidates on Hallowgrove, 122 on Brandrgarde South and 96 on Brandrgarde North, 326 positions in total.Read the guide