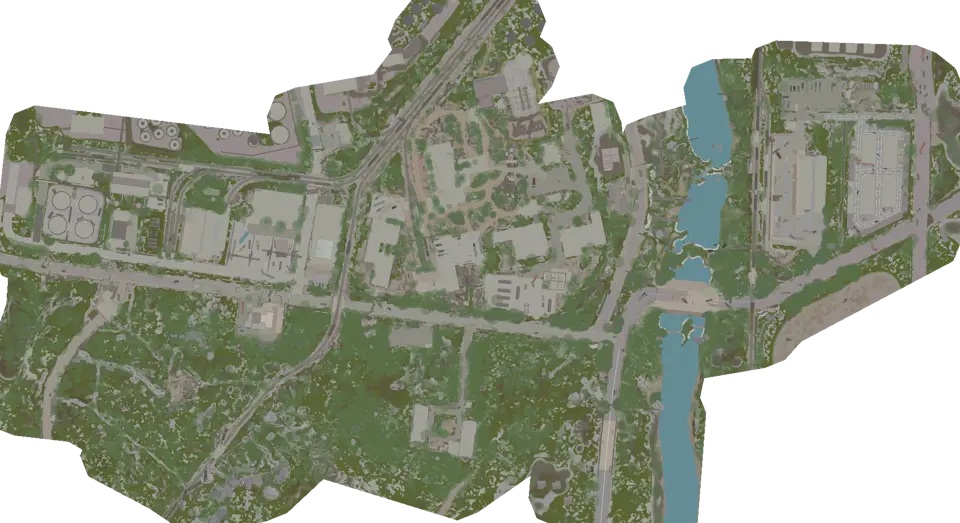
Woods Map: Orientation and Exits | Escape from Tarkov
When orientation fails, stop and recover a sector from two terrain features. Rebuild only the next leg while keeping boundary hazards visible.
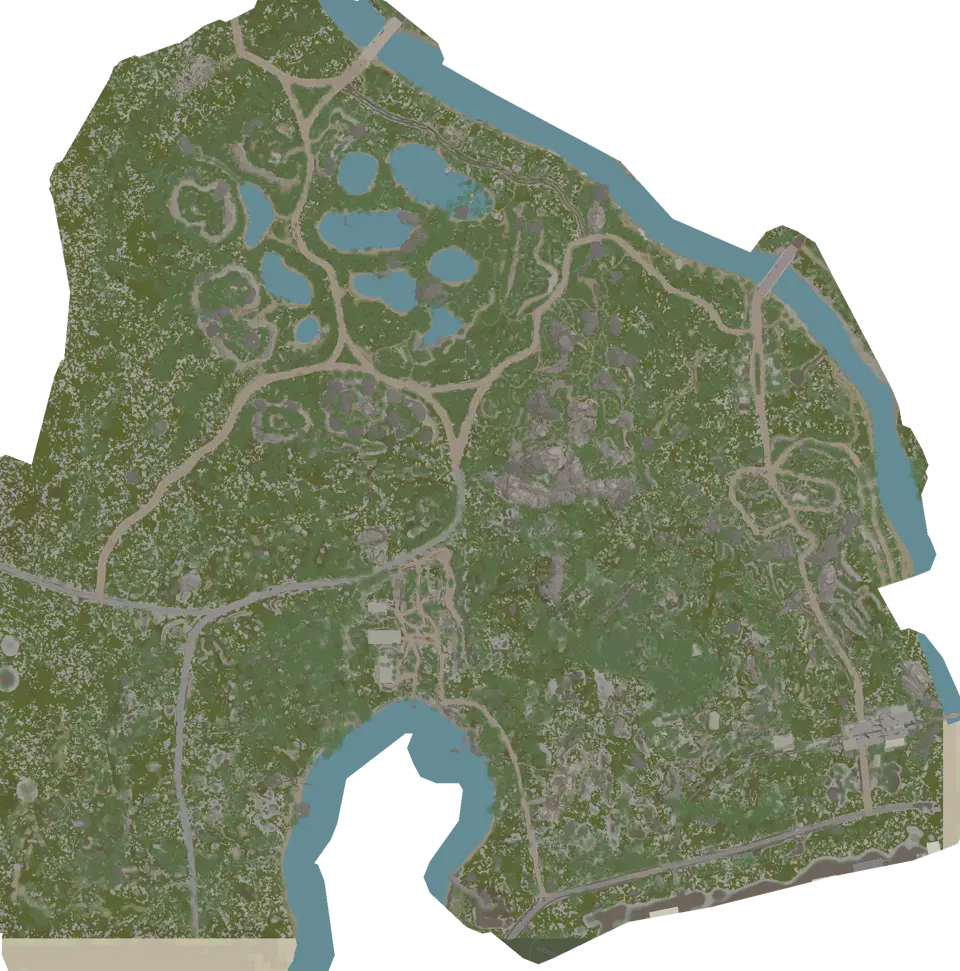
Layers this guide uses


Woods has 706 markers on the Surface view. When you lose the route, stop moving and recover a sector from two terrain features. A road bend paired with an open area is useful. One generic tree or rock is not. Rebuild the next leg only after both references agree.
Run the lost-position recovery drill
- Stop before another turn changes the view of the terrain.
- Find one large feature with a clear shape, such as a road, clearing edge, water line, or building group.
- Find a second feature in a different direction.
- Match the pair on the map and identify the small sector where those directions cross.
- Walk to the easier reference, then verify the second again.
You do not need an exact pin at the first check. Reducing the possible position to one sector is enough to choose a safe confirming move. If the second feature conflicts with the first, discard the match instead of forcing the route to fit.
PMC spawns can be used before the first move to inspect possible start areas. It does not show players in the current raid. Hide it after the starting sector is confirmed.
Use hazards to reject a direction
Keep extractions, minefields, and sniper zones on one view. Minefields and Sniper zones tell you which apparent directions should be rejected. They are not safe landmarks to approach for confirmation.
If a proposed leg runs close to a boundary, choose an interior terrain feature that parallels it. A missing fence or open-looking gap does not establish a route. Return to the last road, clearing, or structure if the interior reference disappears.
During recovery, do not walk toward the edge just to discover where it is. The hazard layers let you identify that risk before the direction becomes a test.
Rebuild two legs toward extraction
Clear the view down to extraction markers and match the exact names in the raid list. Choose the next terrain feature and the feature after it. Do not plan the whole map from an uncertain sector.
At the end of the first leg, repeat the two-reference check. Going around trees, slopes, or blocked ground can shift the path onto a parallel line. The second check corrects that drift before the final approach.
A backup exit should branch at a confirmed terrain feature, not beside the primary extraction. If both routes follow the same boundary corridor until the end, move the branch inland.
Add outdoor loot without weakening recovery
Use Loot containers to choose stops already close to the two-leg route. A container can also serve as a physical reference, but the current contents are not guaranteed. Skip a marker that requires leaving both visible terrain anchors.
Set the end of the loot sweep at the next confirming feature. Remove the layer there and repeat the recovery drill if the route no longer matches. Do not add another stop merely because it appears close at the edge of the phone screen.
Check transit as a different route type
Put transit beside assigned exits for a category check. Transit points and Extraction points do different jobs. Open the marker, read the destination and details, and choose the type required by the plan.
The map records fixed points and access information. The current raid remains the source for assignment and live conditions. Make this check at the last confirmed terrain feature, while a correction is still possible.
Questions about Woods orientation
What if every nearby tree looks the same?
Ignore individual trees and search for larger shapes: a road bend, clearing boundary, water edge, or building group. Pair one with a second feature in another direction before moving.
Is the map boundary useful for finding my position?
Only when identified from a safe interior route. Keep minefields and sniper zones visible and do not approach an uncertain edge to test it. Recover from known terrain inside the boundary.
Maps in this guide
More Escape from Tarkov guides
All Extraction Points and Exits | Escape from Tarkov Map
The raid list decides which exits matter. Match those names to the map, read each marker, and choose a fallback before moving toward the final sector.Read the guidePMC Starts, Boss Areas and AI Zones | Escape from Tarkov Map
Read spawn layers before the first route choice, then clear them. Reopen boss or AI areas only when planning a specific approach on the correct floor.Read the guideKeys, Locked Doors and Map Controls | Escape from Tarkov
Search the exact door before routing to it. Check the threshold, the return path, and any separate control point without assuming its live state.Read the guideLoot Containers and Loose Loot Routes | Escape from Tarkov
Choose a compact cluster beside the extraction route. Treat containers as known stops and loose-loot markers as possible locations rather than promised items.Read the guideTransit Routes Between Maps | Escape from Tarkov Guide
Treat every transit as a directed leg to a named location, then rebuild the next route under the new map and raid conditions.Read the guide